Building a Galaksija Computer

I recently got my hands on a Galaksija kit from the official website (https://galaksija.org.rs). Since I was in Serbia soon after, I met with Aleksandar in Novi Sad to pick it up in person. This coincided with our trip to Belgrade, where we were visiting old friends.
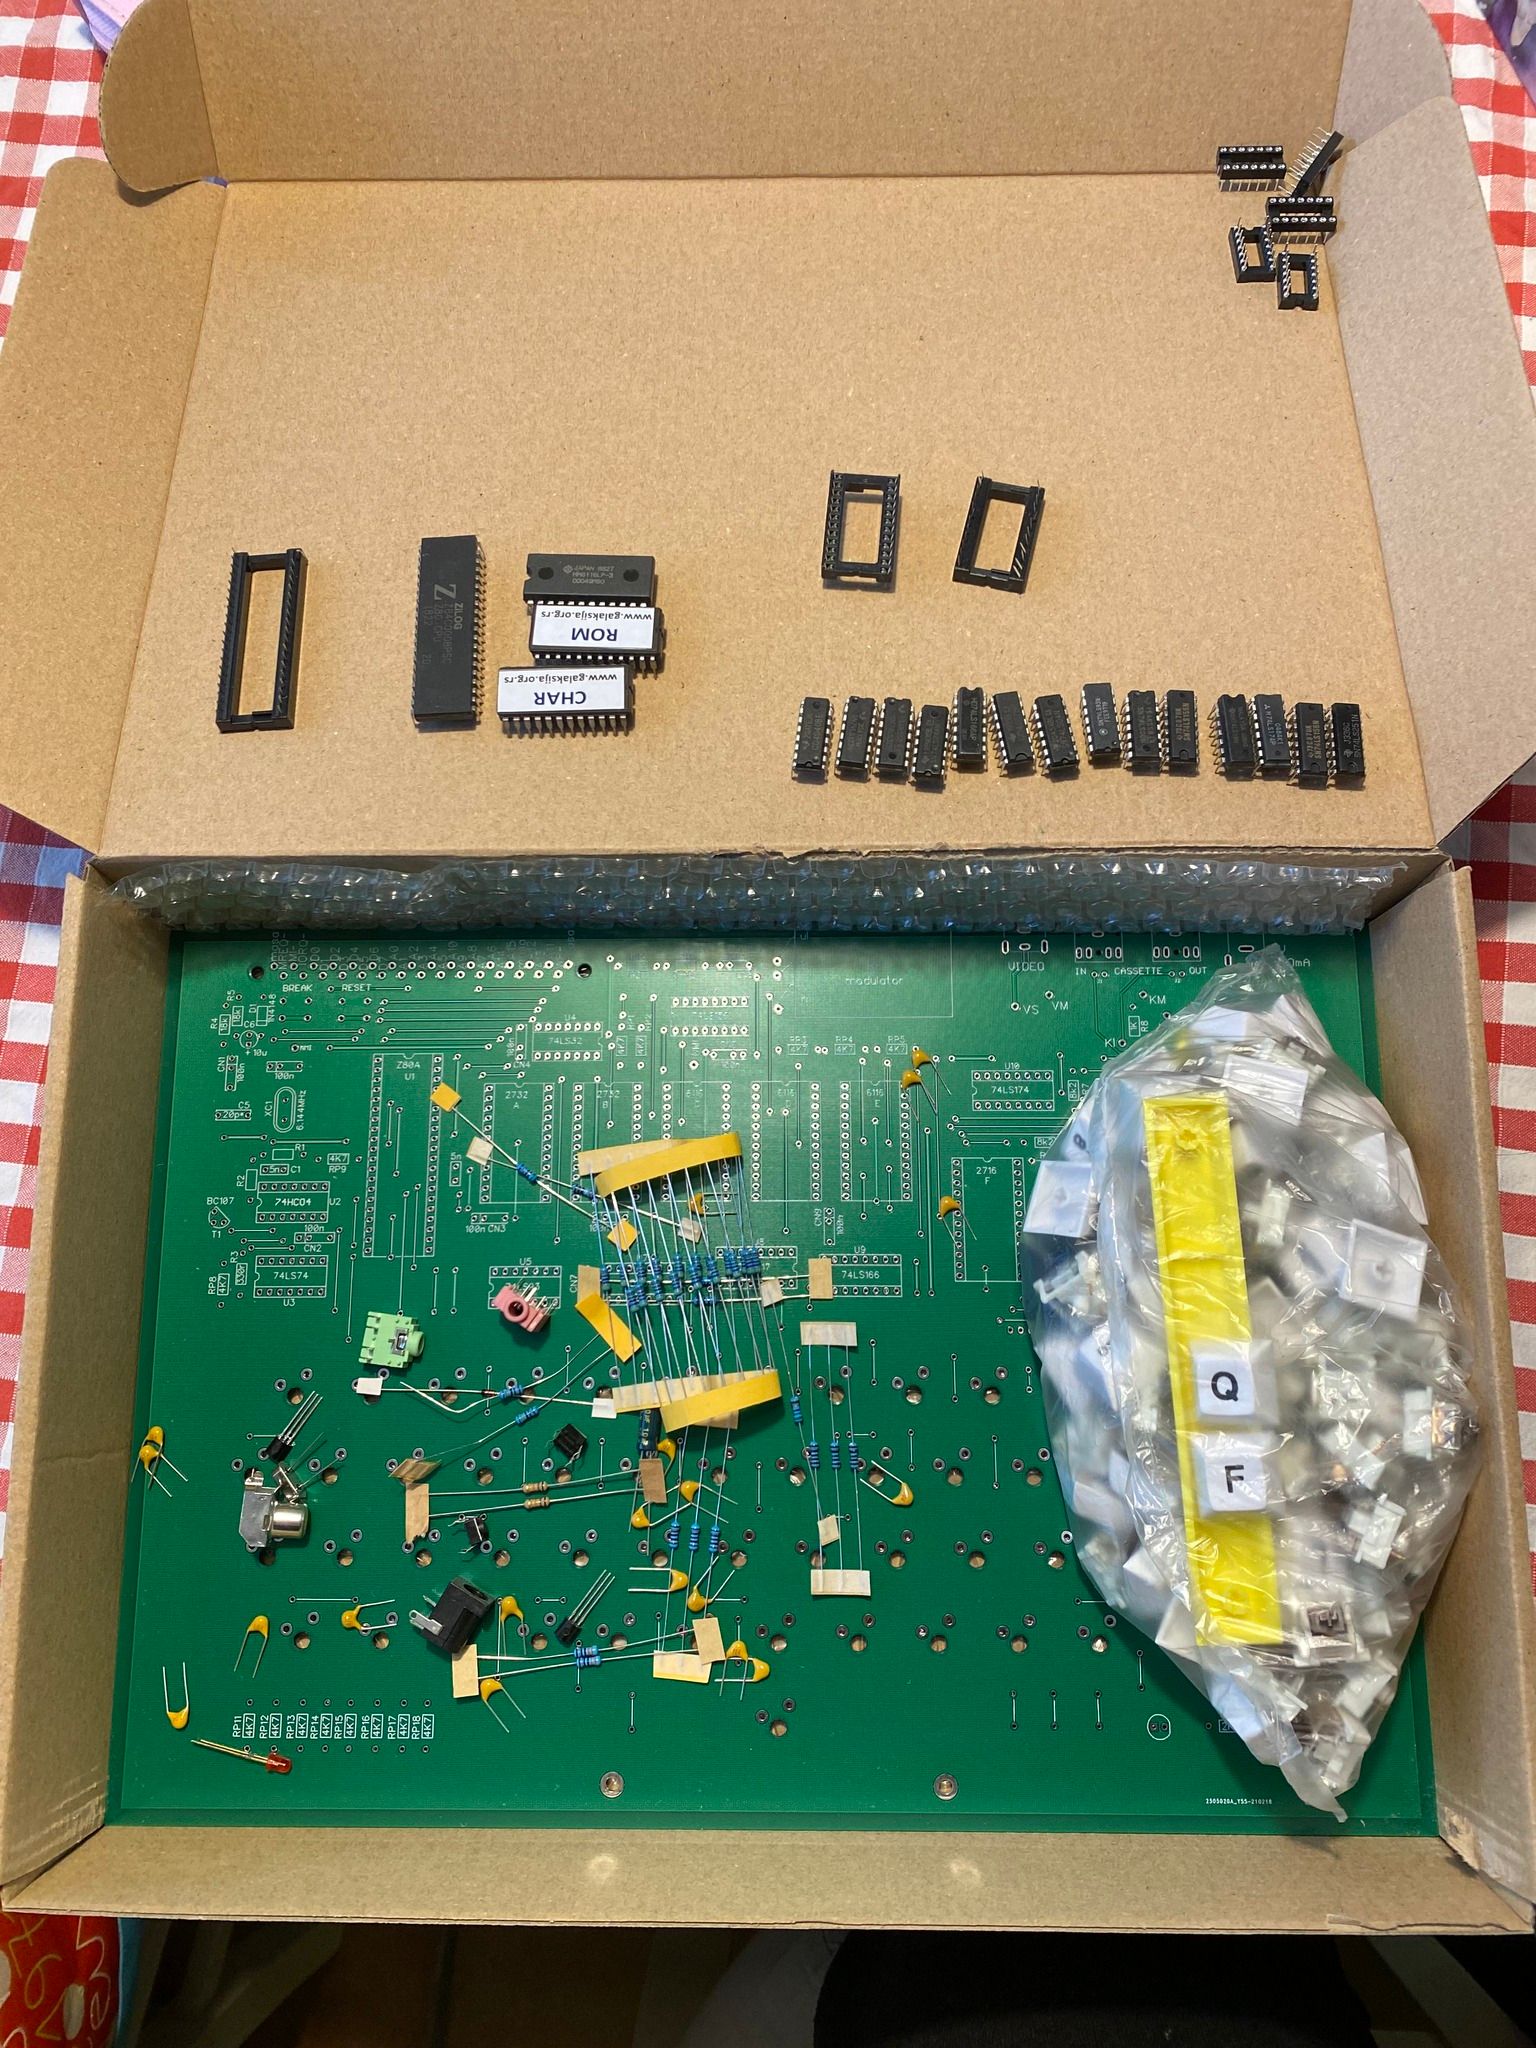
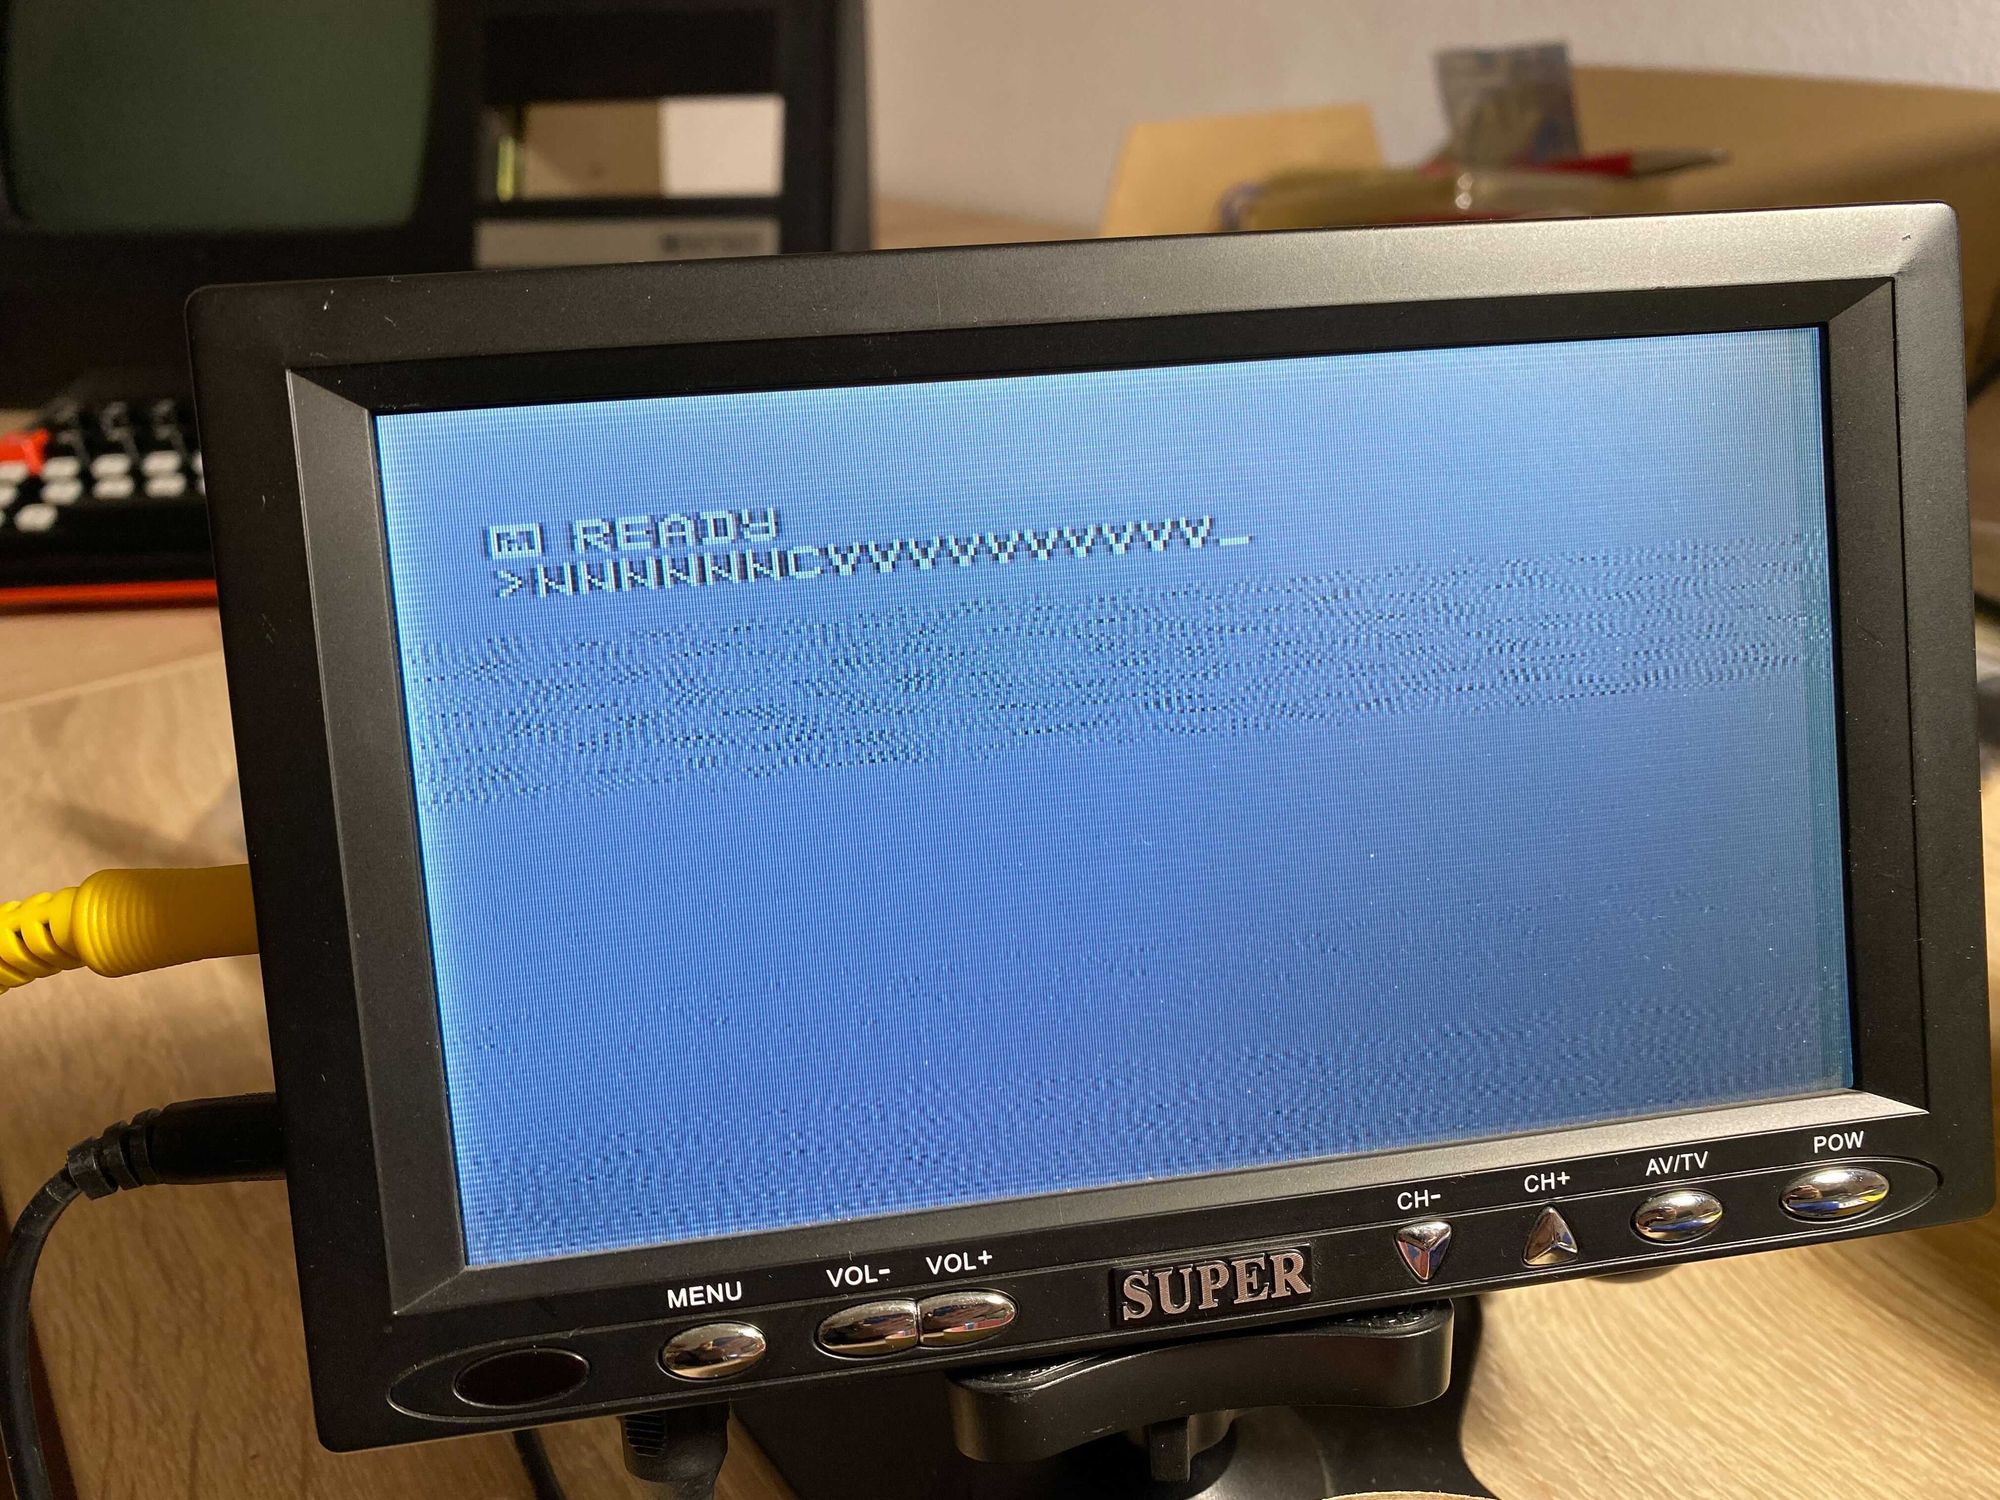
Surprisingly, I managed to persuade my daughter to help me assemble the kit. She was even more pumped about it than I was. The assembly itself was fairly straightforward, taking just a couple of hours, thanks to the well-structured instructions. However, our Galaksija didn't show up on the TV screen when we turned it on for the first time.
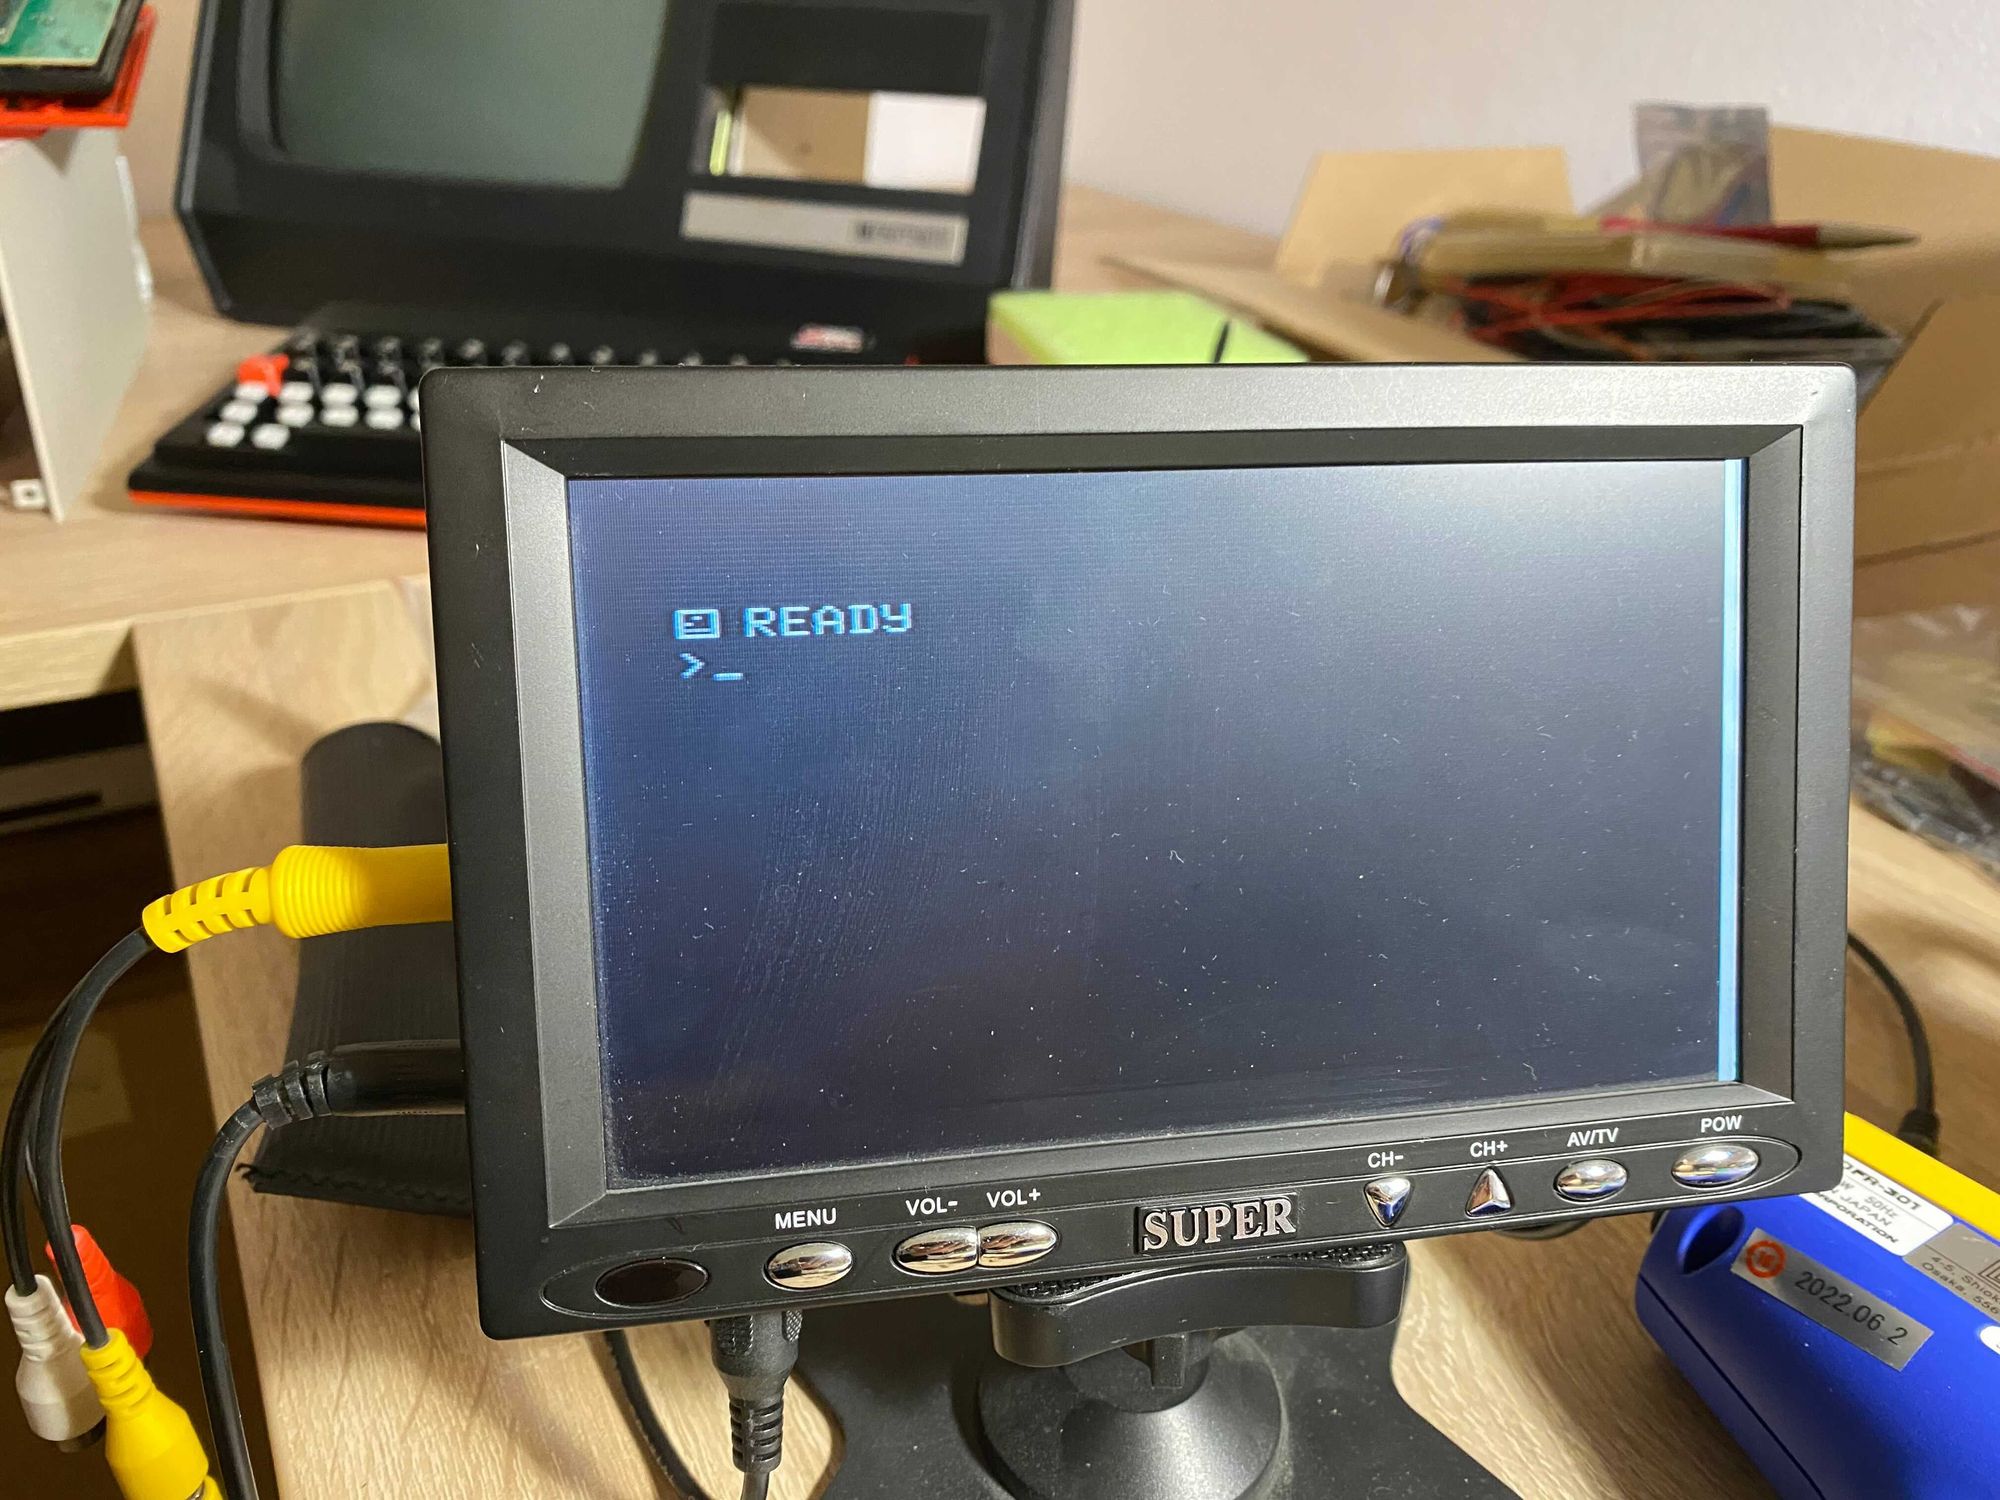
As with any DIY project, things don't always go smoothly. After some troubleshooting and tinkering, I figured out that I needed to tweak resistor R9 and swap out integrated circuits U2 (74LS04) and U3 (74LS74). The reasons behind these modifications remained a puzzle for me, and we left it at that, at least for the time being. Nevertheless, a closer look at the original building instructions (http://www.voja.rs/galaksija/0102.htm) does reveal a passage connecting R9 to image synchronization.
The Galaksija kit offered a mix of nostalgia, technical challenges, and a chance to explore together with my daughter. While the modifications remain a puzzle, it's a challenge I'm open to revisiting in the future. If you're looking for a hands-on journey into the world of retro computing, a project like this could be just what you need.