Fixing a Couple of Spectrums

ZX Spectrum computers were extremely popular in the 80s and 90s, and they still have a significant following today. As with any older technology, they can experience problems, and in this blog post, I will be talking about fixing a couple of vintage ZX Spectrums.
A friend recently bought a ZX Spectrum from a seller in Slovenia. It was in great condition and came in a box, so we were both excited to get started with it. However, our excitement was short-lived as we soon encountered some problems with the computer.
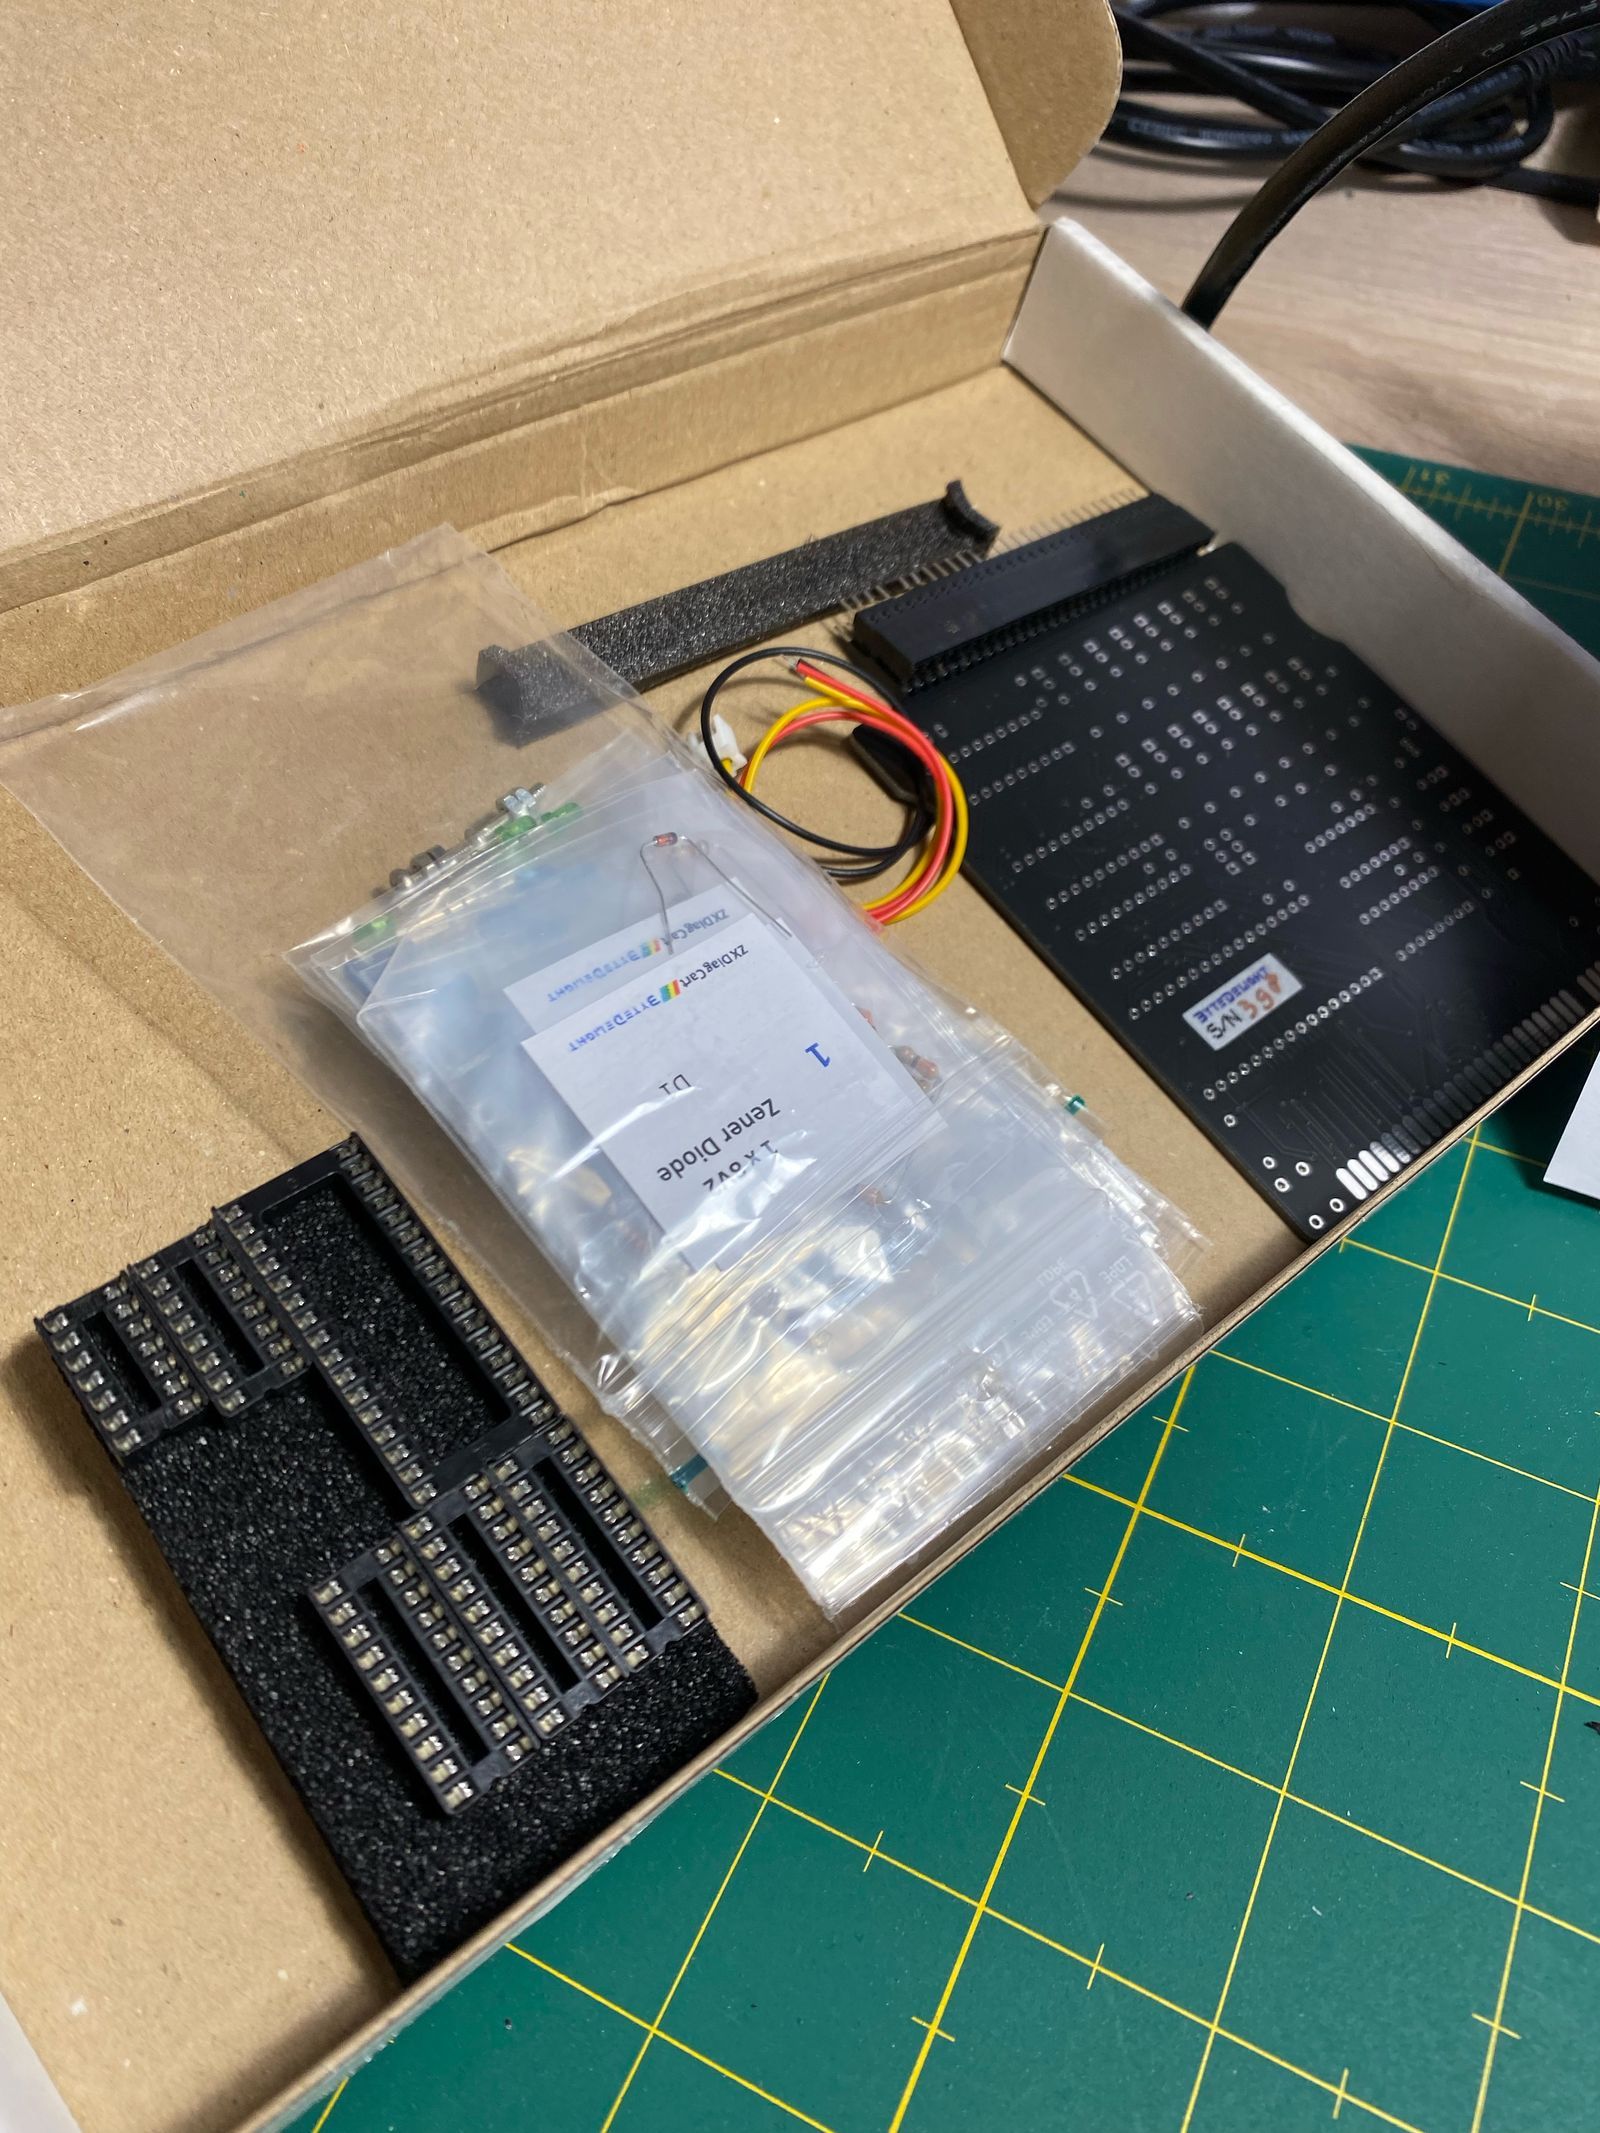
The first task we took on was changing the keyboard membrane. This went smoothly, but just a few minutes after working flawlessly, the Spectrum started displaying random garbage on the screen. Since I had no idea how to troubleshoot a ZX Spectrum, I decided to buy a diagnostics module.
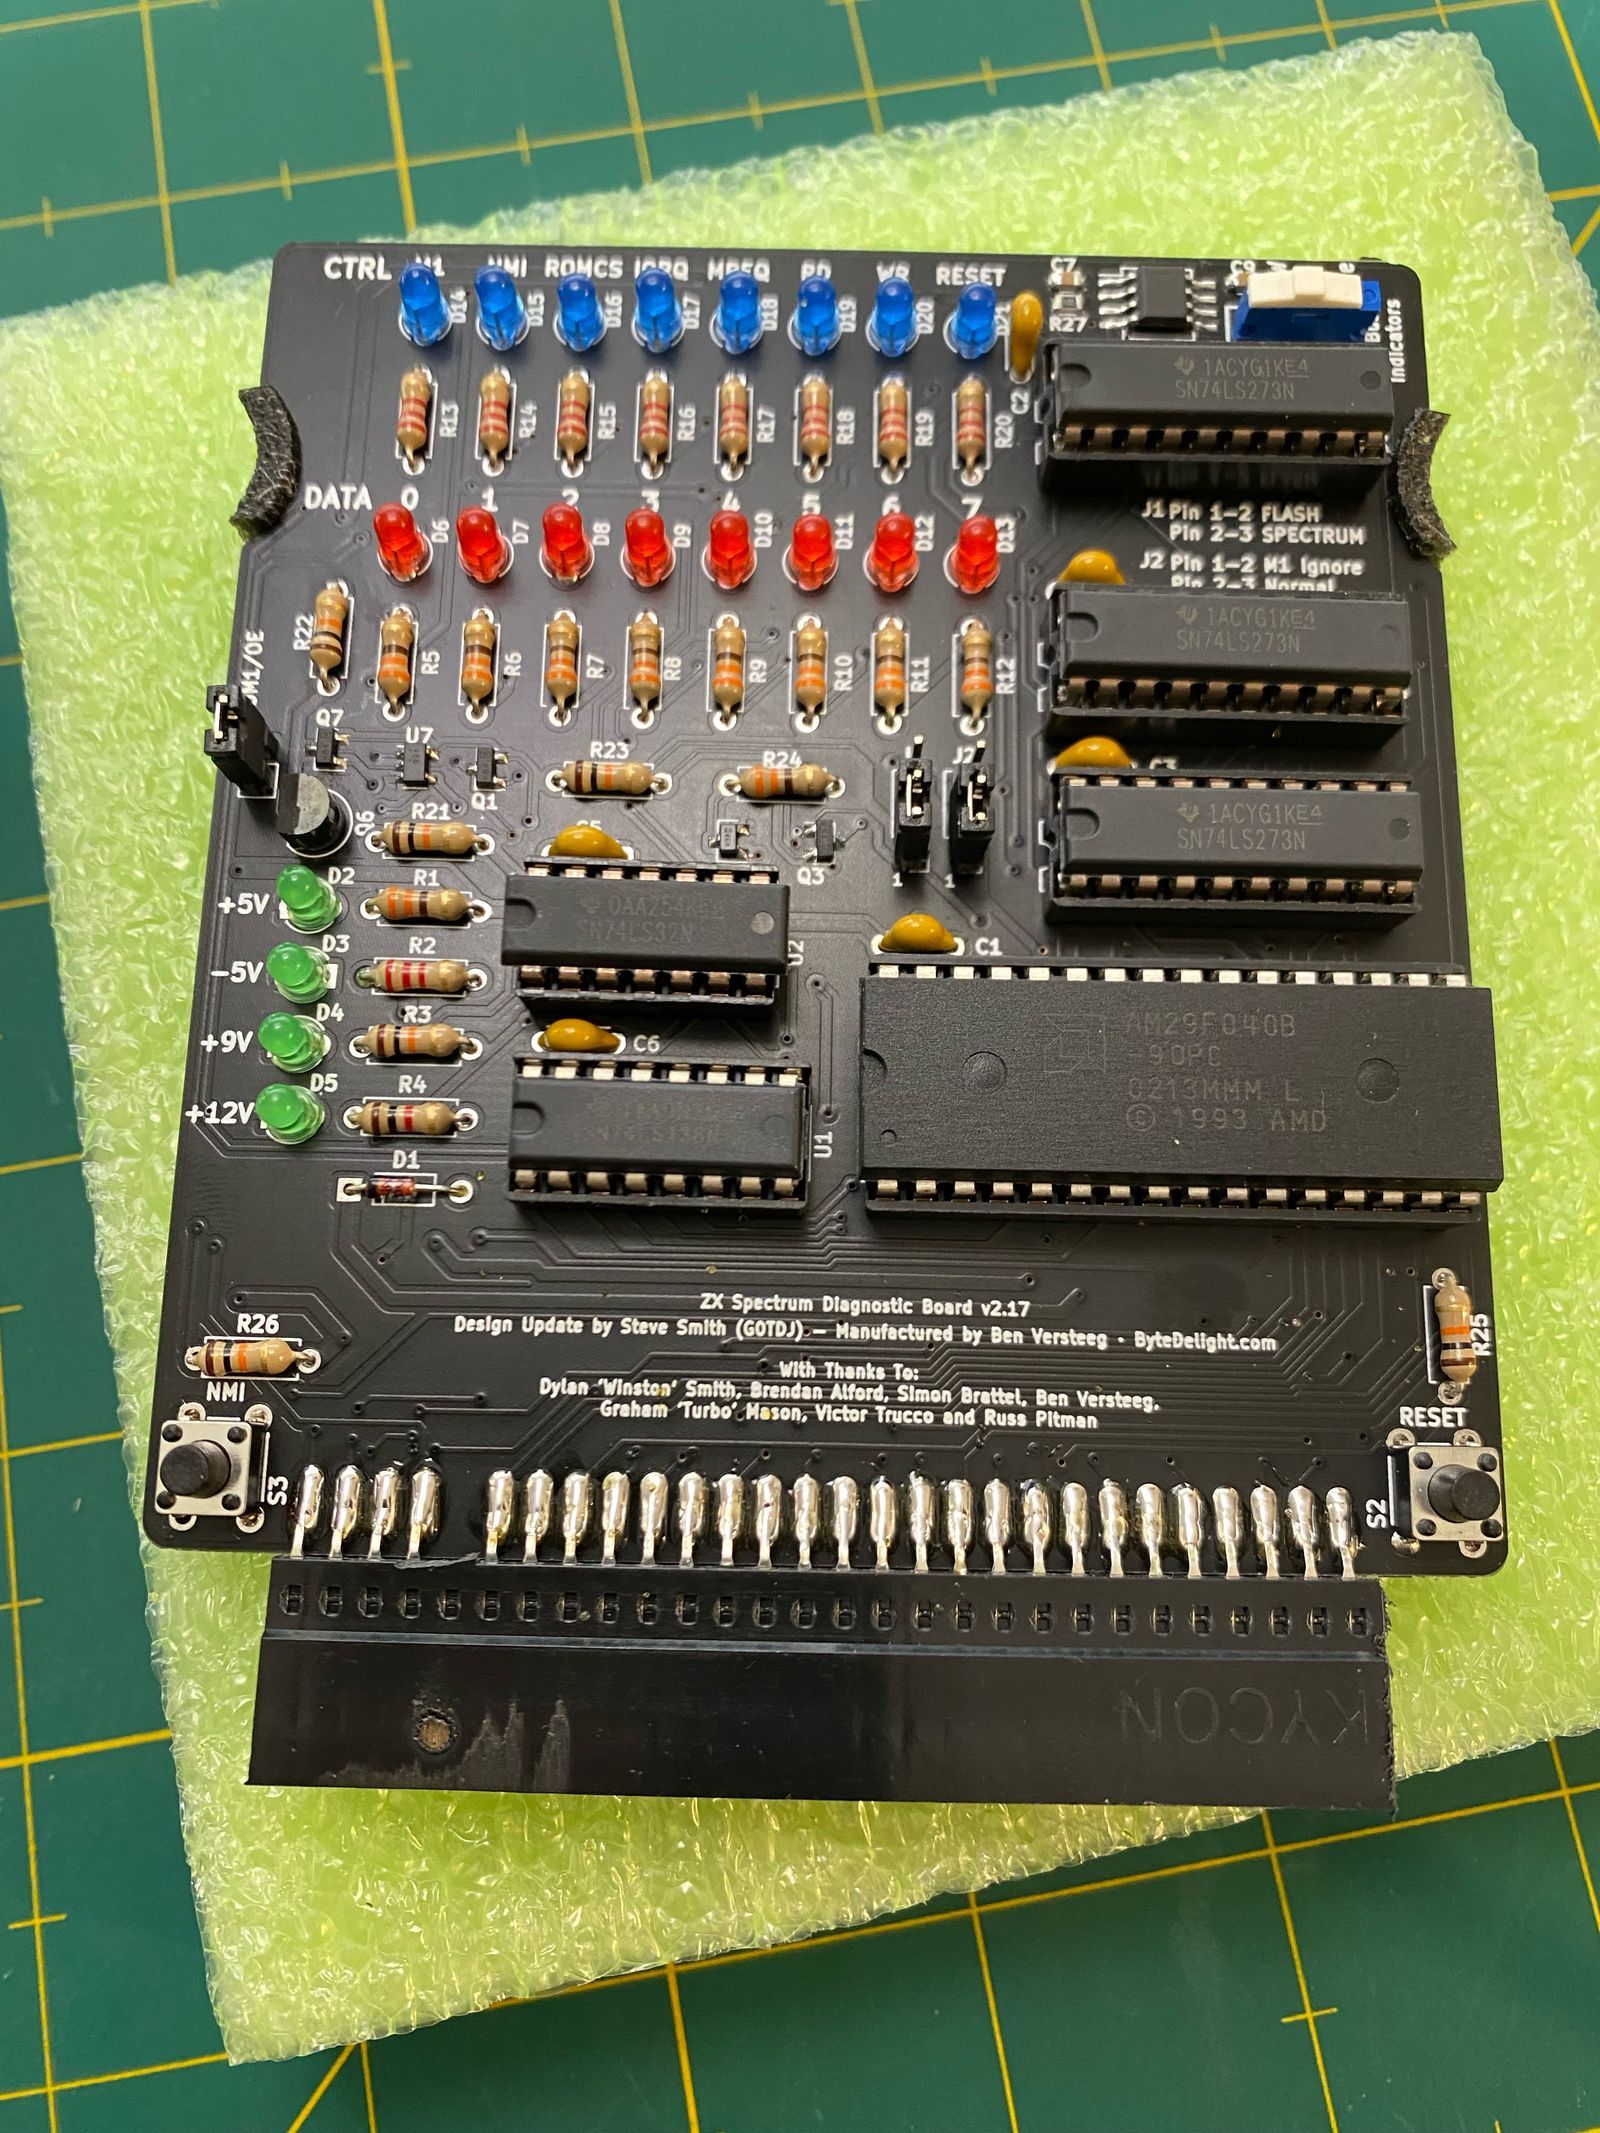
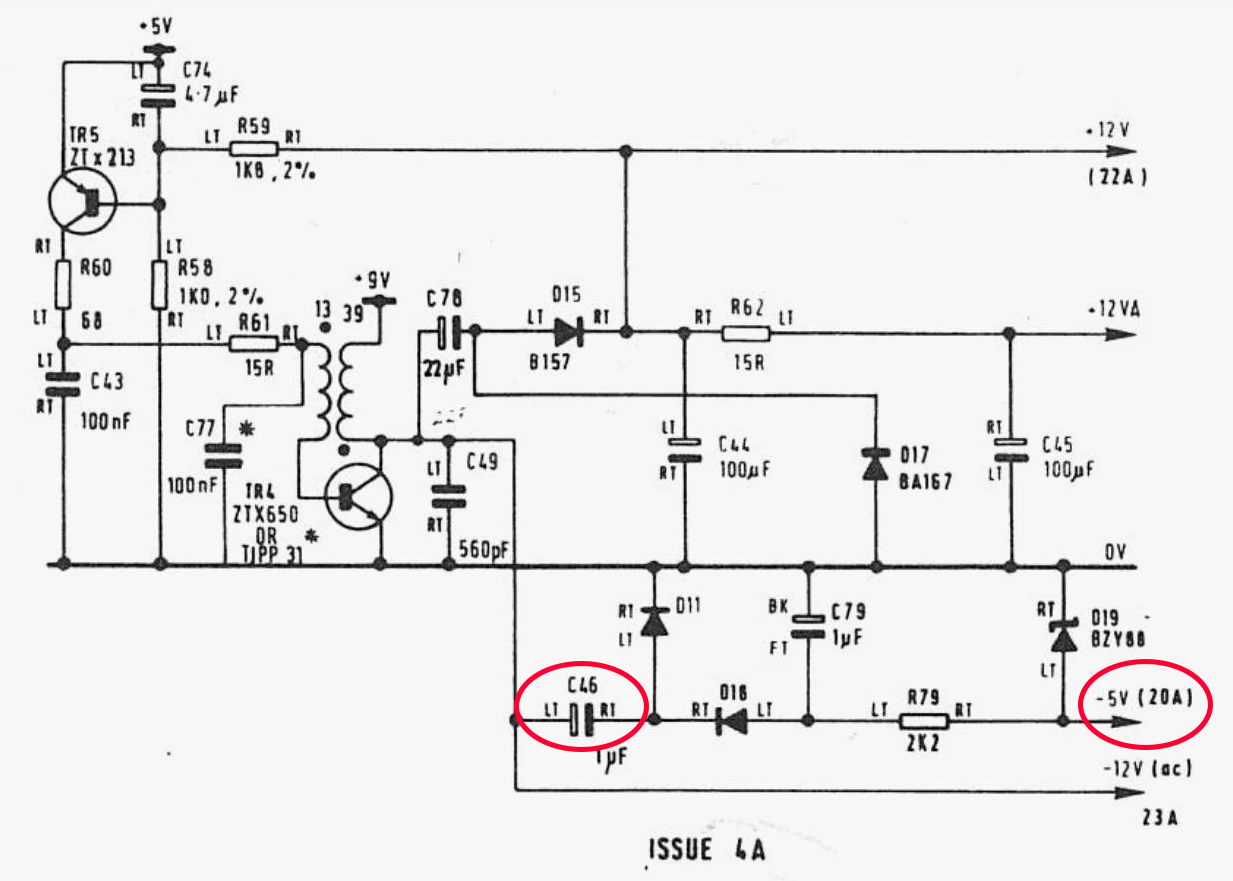
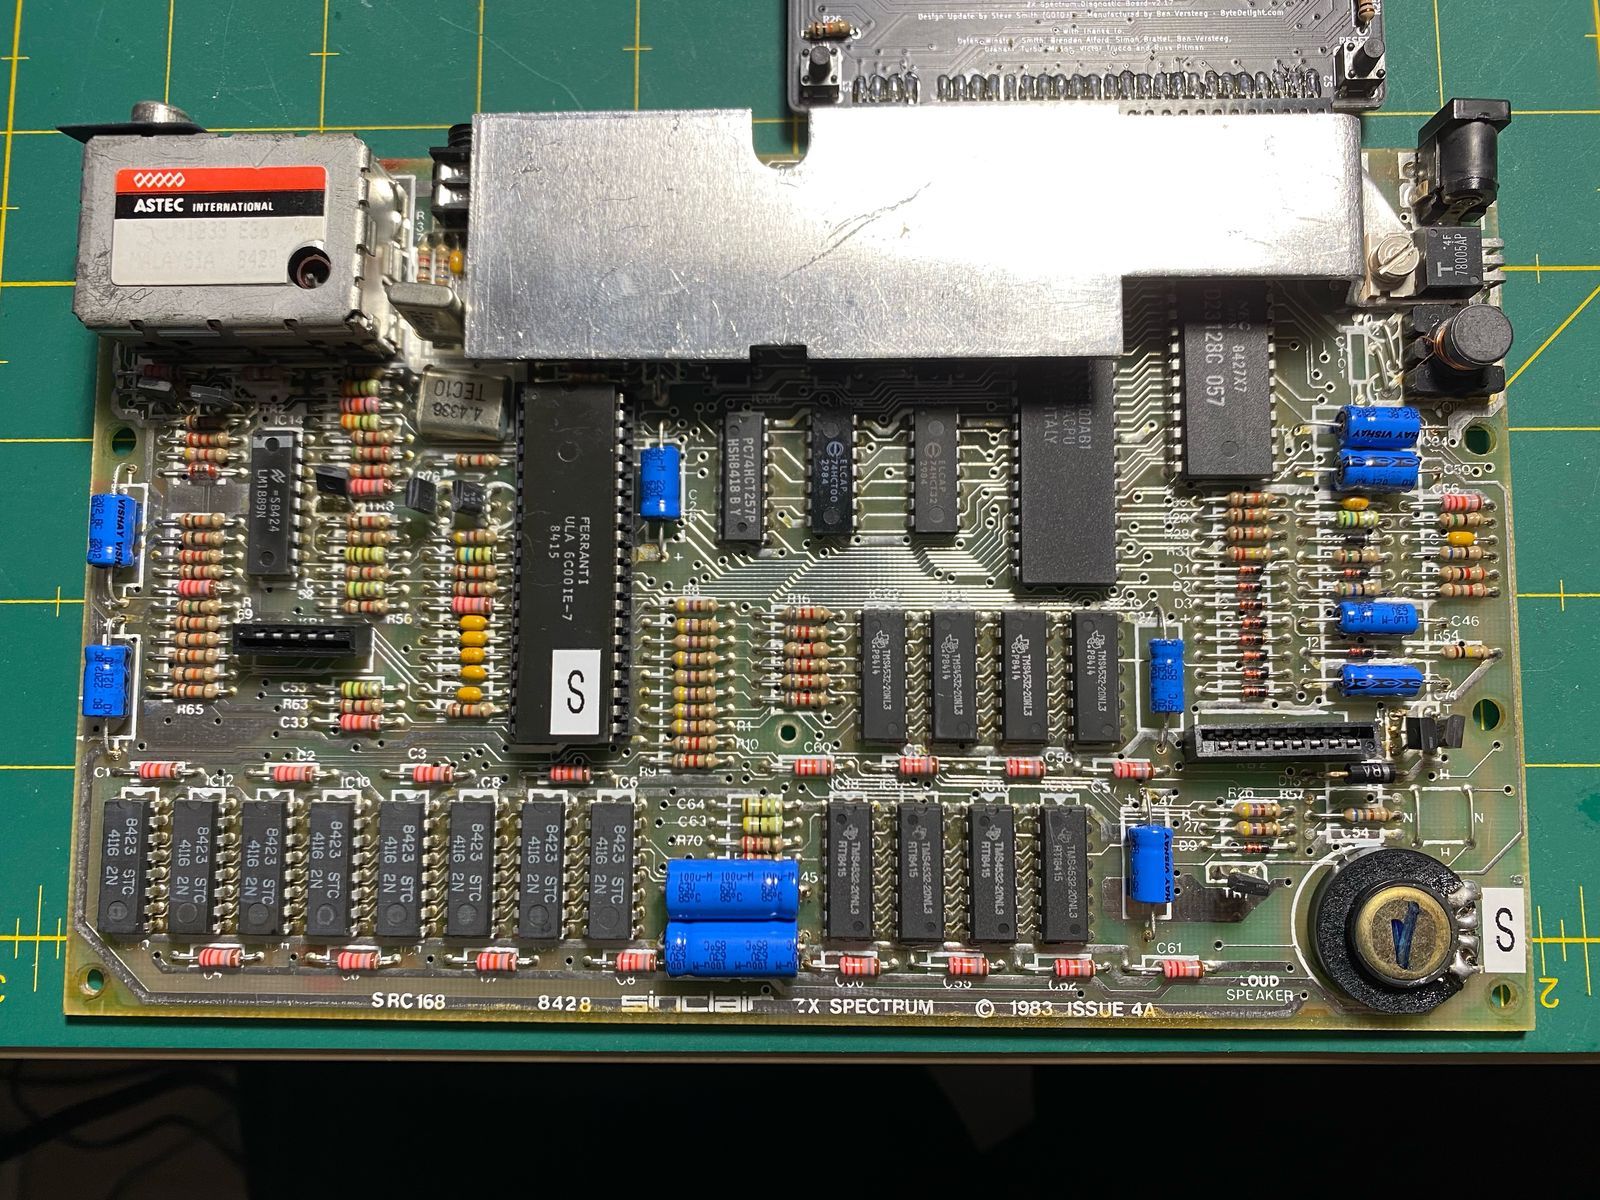
The module showed that the -5 voltage, essential for driving the computer's lower RAM circuits, was not present. While I was able to see where the -5V was generated in the schematics, it was not immediately apparent to me which component was the prime suspect. So, I turned to a Facebook group for help. One of the comments I received suggested that the electrolytic capacitor "C46" was likely dried up and needed to be replaced.
I followed this advice, replaced the capacitor, and voila, the Spectrum came back to life.
Feeling relieved and confident, I decided to replace all the electrolytic capacitors in the computer to avoid any future issues. The Spectrum is now ready to take on the next 40 years.
The second Spectrum that I attempted to fix was given to me by a childhood friend when we were kids. It broke down back in 2017.
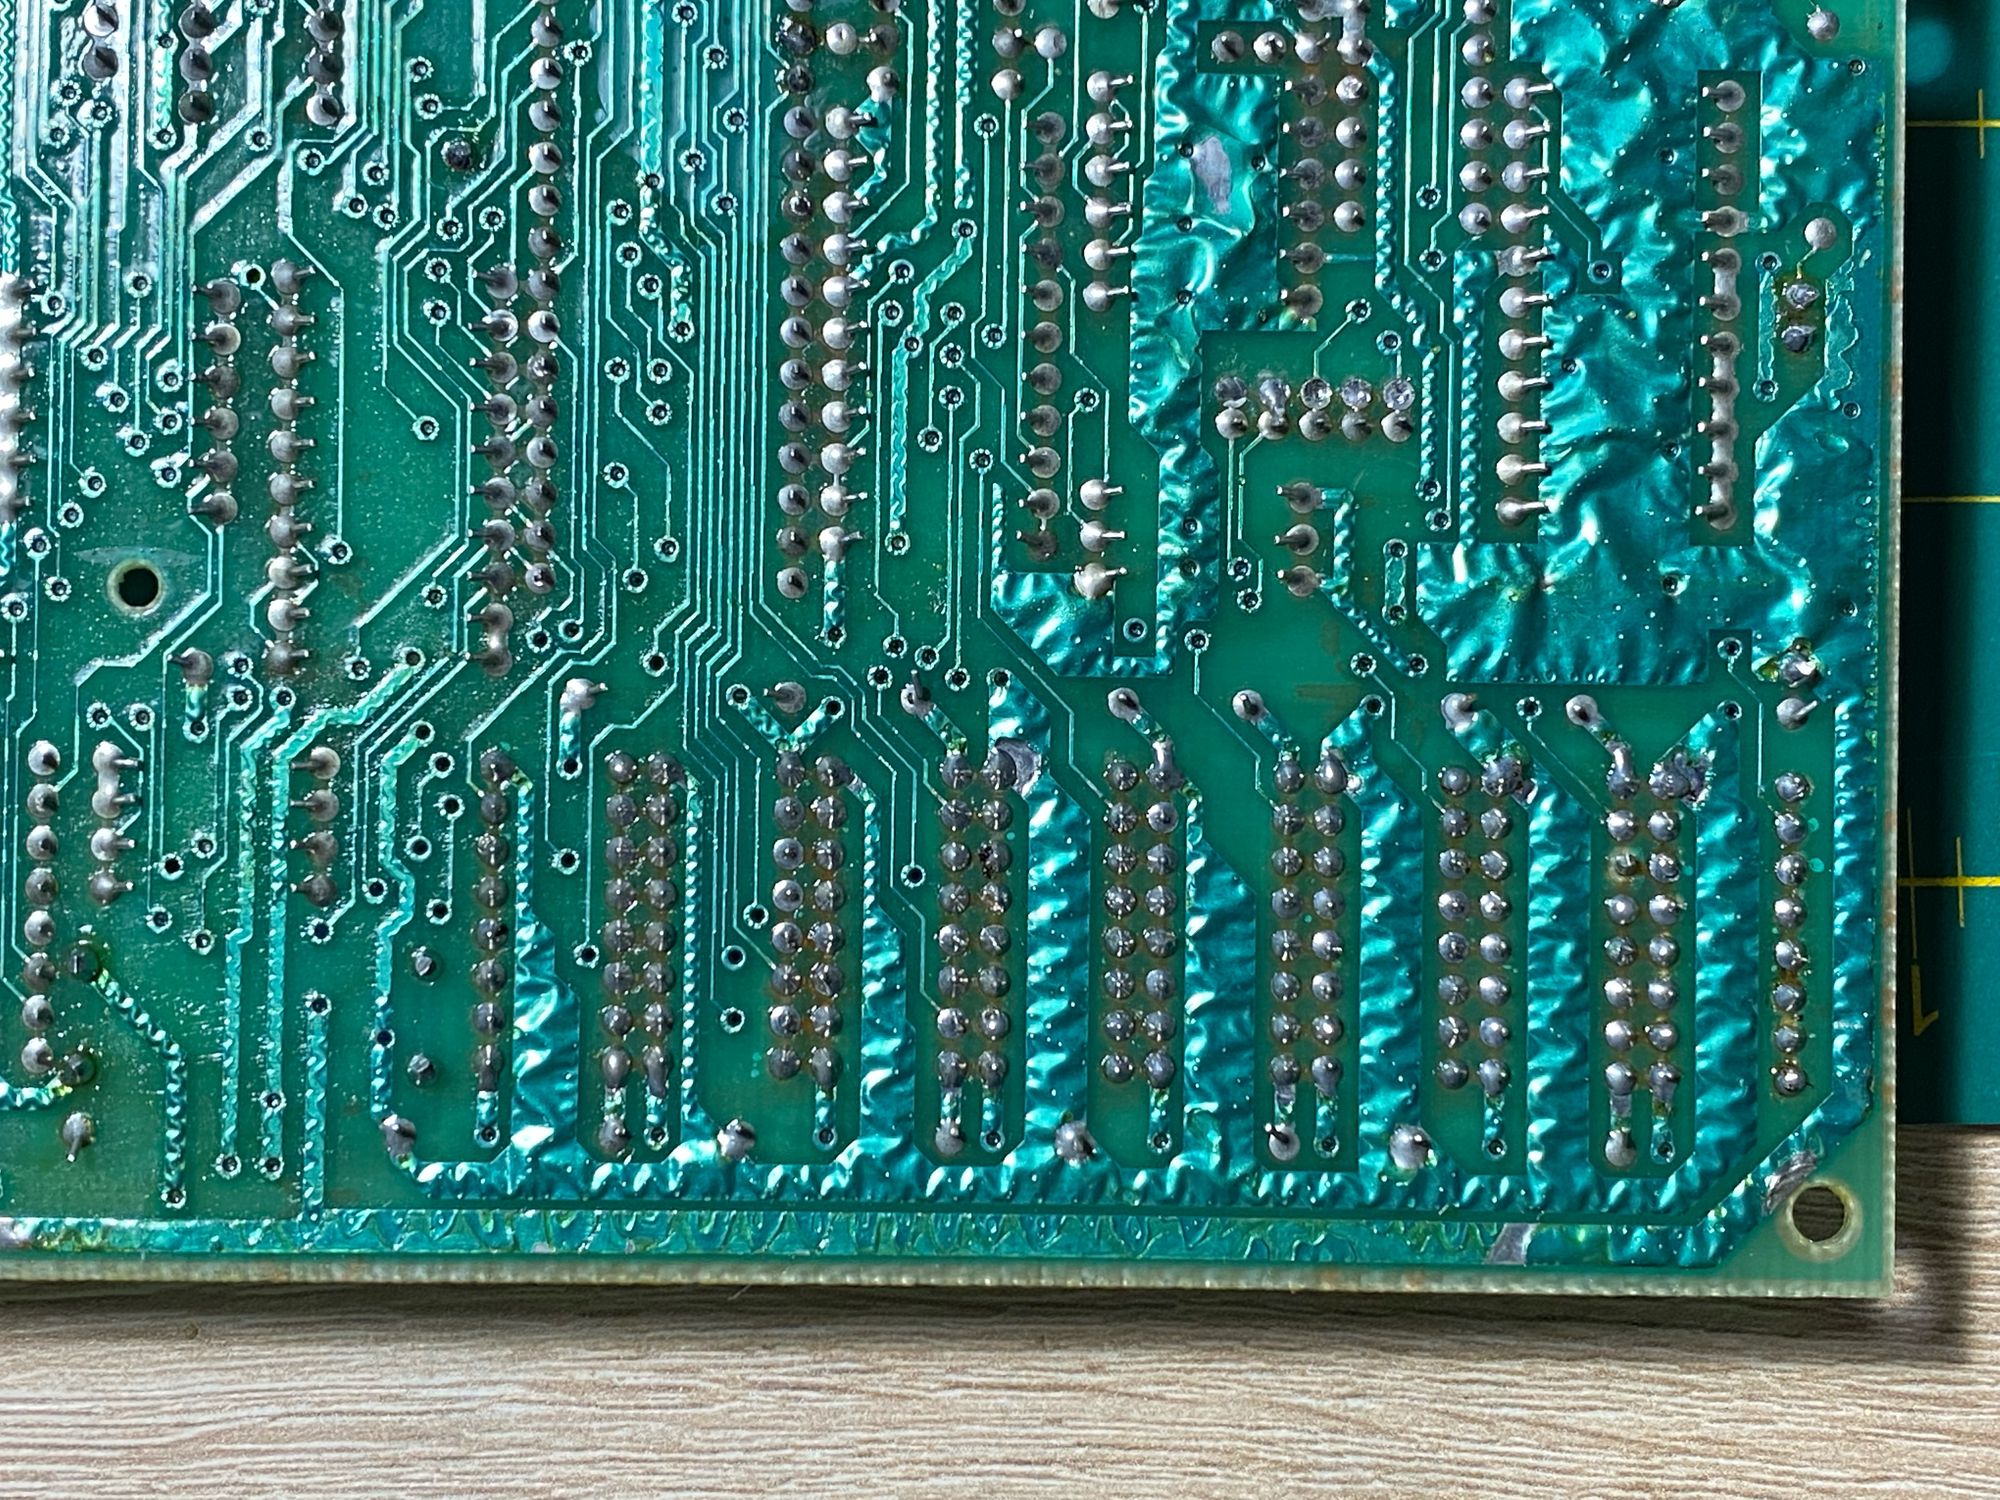
At that time, as I did not know any better, I browsed through a couple of forums and came to the conclusion that I should replace the lower RAM chips to fix it. That was of course a very naive and silly approach towards fixing a relatively complex machine. What is worse, I did not have the proper tools to unsolder the chips, so I clipped the legs and pulled them out one by one, destroying a bunch of traces in the process. The end result was a complete mess. When I saw the "carnage" I had done, I put the Speccy into a drawer and pretended the whole thing had never happened...
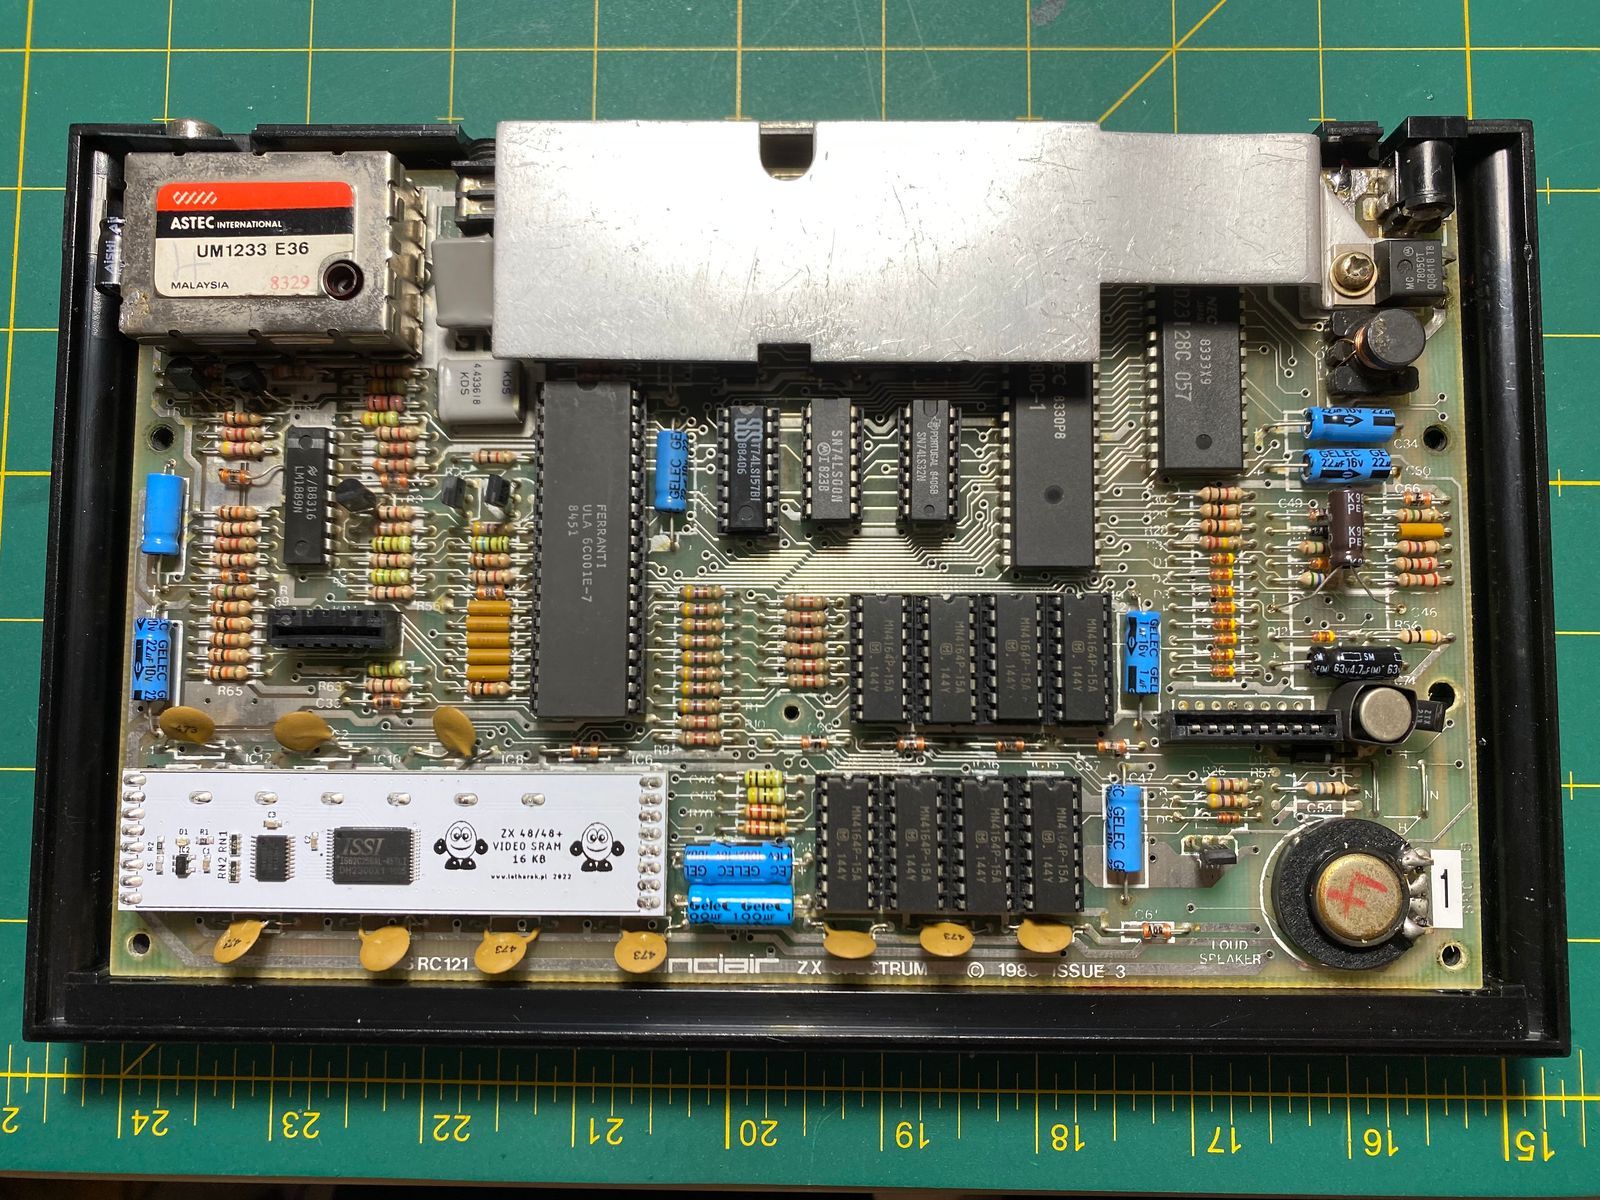
Fast forward to today, I decided to fix my mistakes and revive the Speccy. With more knowledge and experience (or at least I would like to think so), I was confident that I could fix it. Since the board was quite destroyed under the lower RAM chips, I decided to buy a RAM module. I figured it will compensate for the damage that I have done to at least some extent (as it has its own little board).
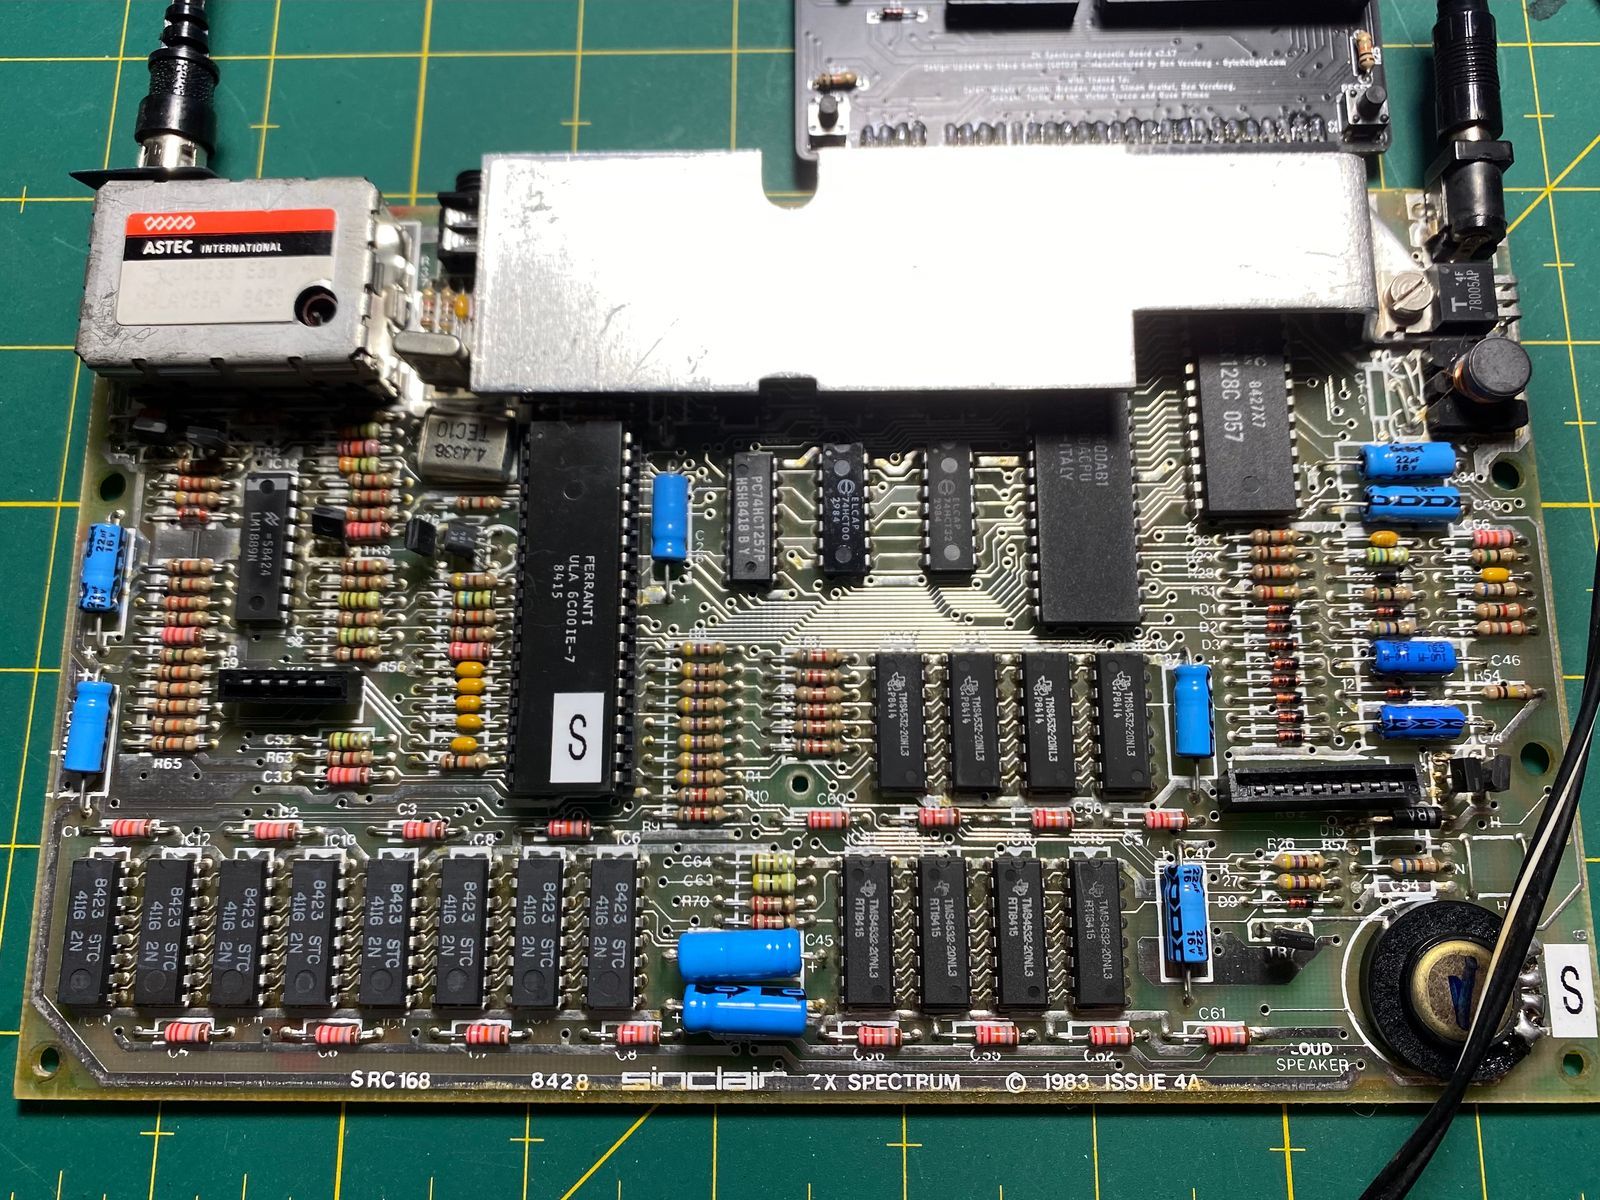
When it arrived, I installed it and attached the diagnostics module. The diagnostics module showed that the -5V line was missing. This means that back then, I would only have needed to change that capacitor... The RAM module didn't really need the -5V, so I hoped that the Speccy would come to life. However, it didn't. I checked the traces between the RAM module and the ULA and found that two of them were broken.
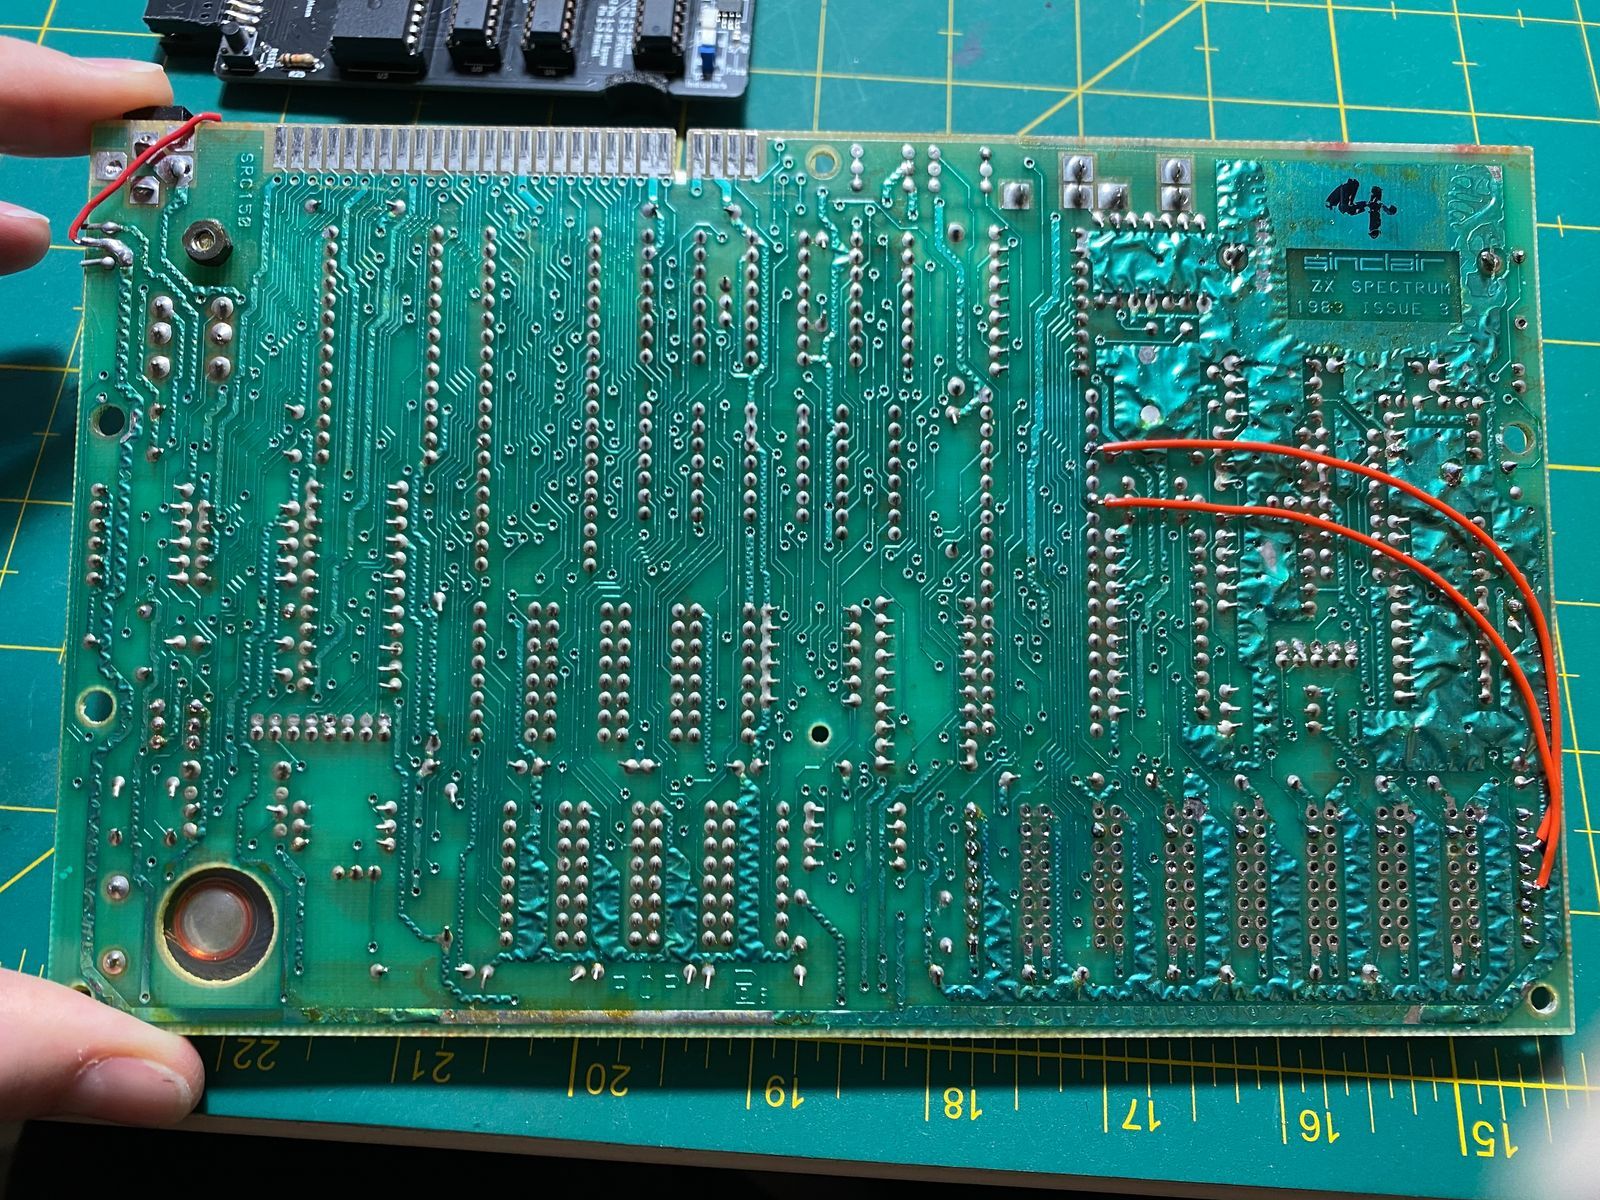
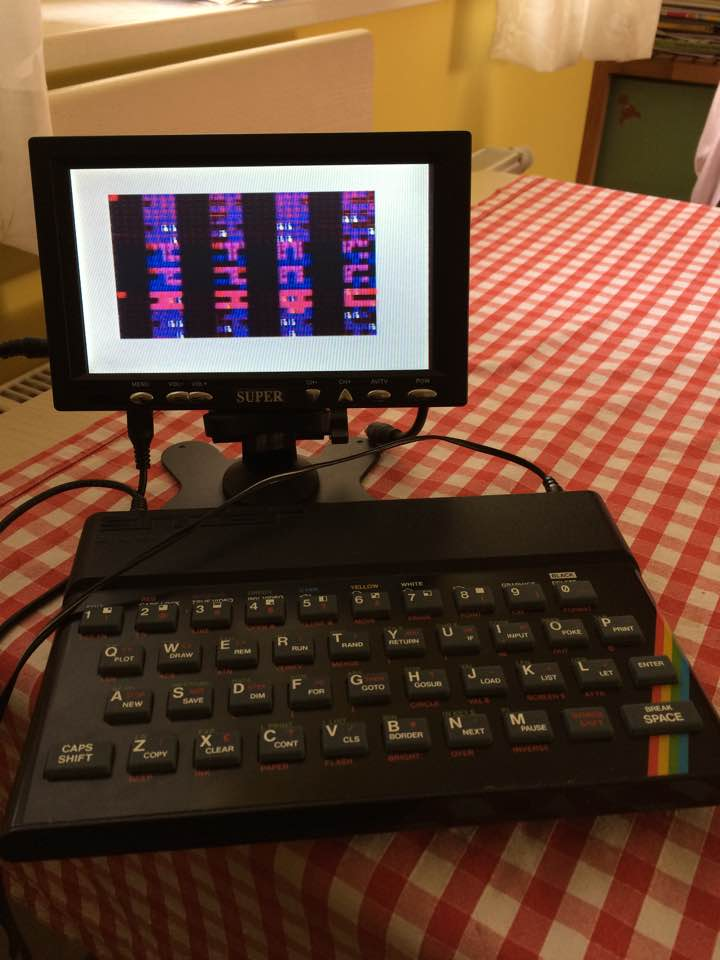
I added the two broken traces, and to my great surprise, the Speccy came back to life. The diagnostics passed, and I was able to see the familiar Sinclair logo on the screen once again. I was overjoyed and relieved that my old computer was finally working again.
However, I noticed that the picture still showed some defects, even after doing the composite video mod and replacing the electrolytic capacitors. First, I thought the traces that I added were too long or too thick, so I attached them elsewhere and used much thinner wires. To my delight, the picture did indeed improve. However, I soon noticed that some hiccups were still happening from time to time.
I have to admit, at this point I am not able to troubleshoot this issue further. I do have some ideas that I will implement eventually, but for now, the Speccy is going back into the drawer. Despite the imperfections, I am relieved that it feels much better and I can clearly see it working perfectly some time in the future.
Working on this project has been a great adventure, and as always, I have learned a lot. I am grateful for the experience, and I look forward to continuing this journey when the time is right.
Update
As posted above, after "fixing" my Spectrum #1, I noticed some artefacts on the screen during the upper RAM March test. I put it aside and decided to explore the issue when I had upgraded my skills enough to pursue it. Recently, I felt that the time was right and started discussing the issue in a Facebook group. The members suggested that it could be either the CPU (because the CPU needs to "listen to" the ULA when the ULA is refreshing the screen) or the RAM module.
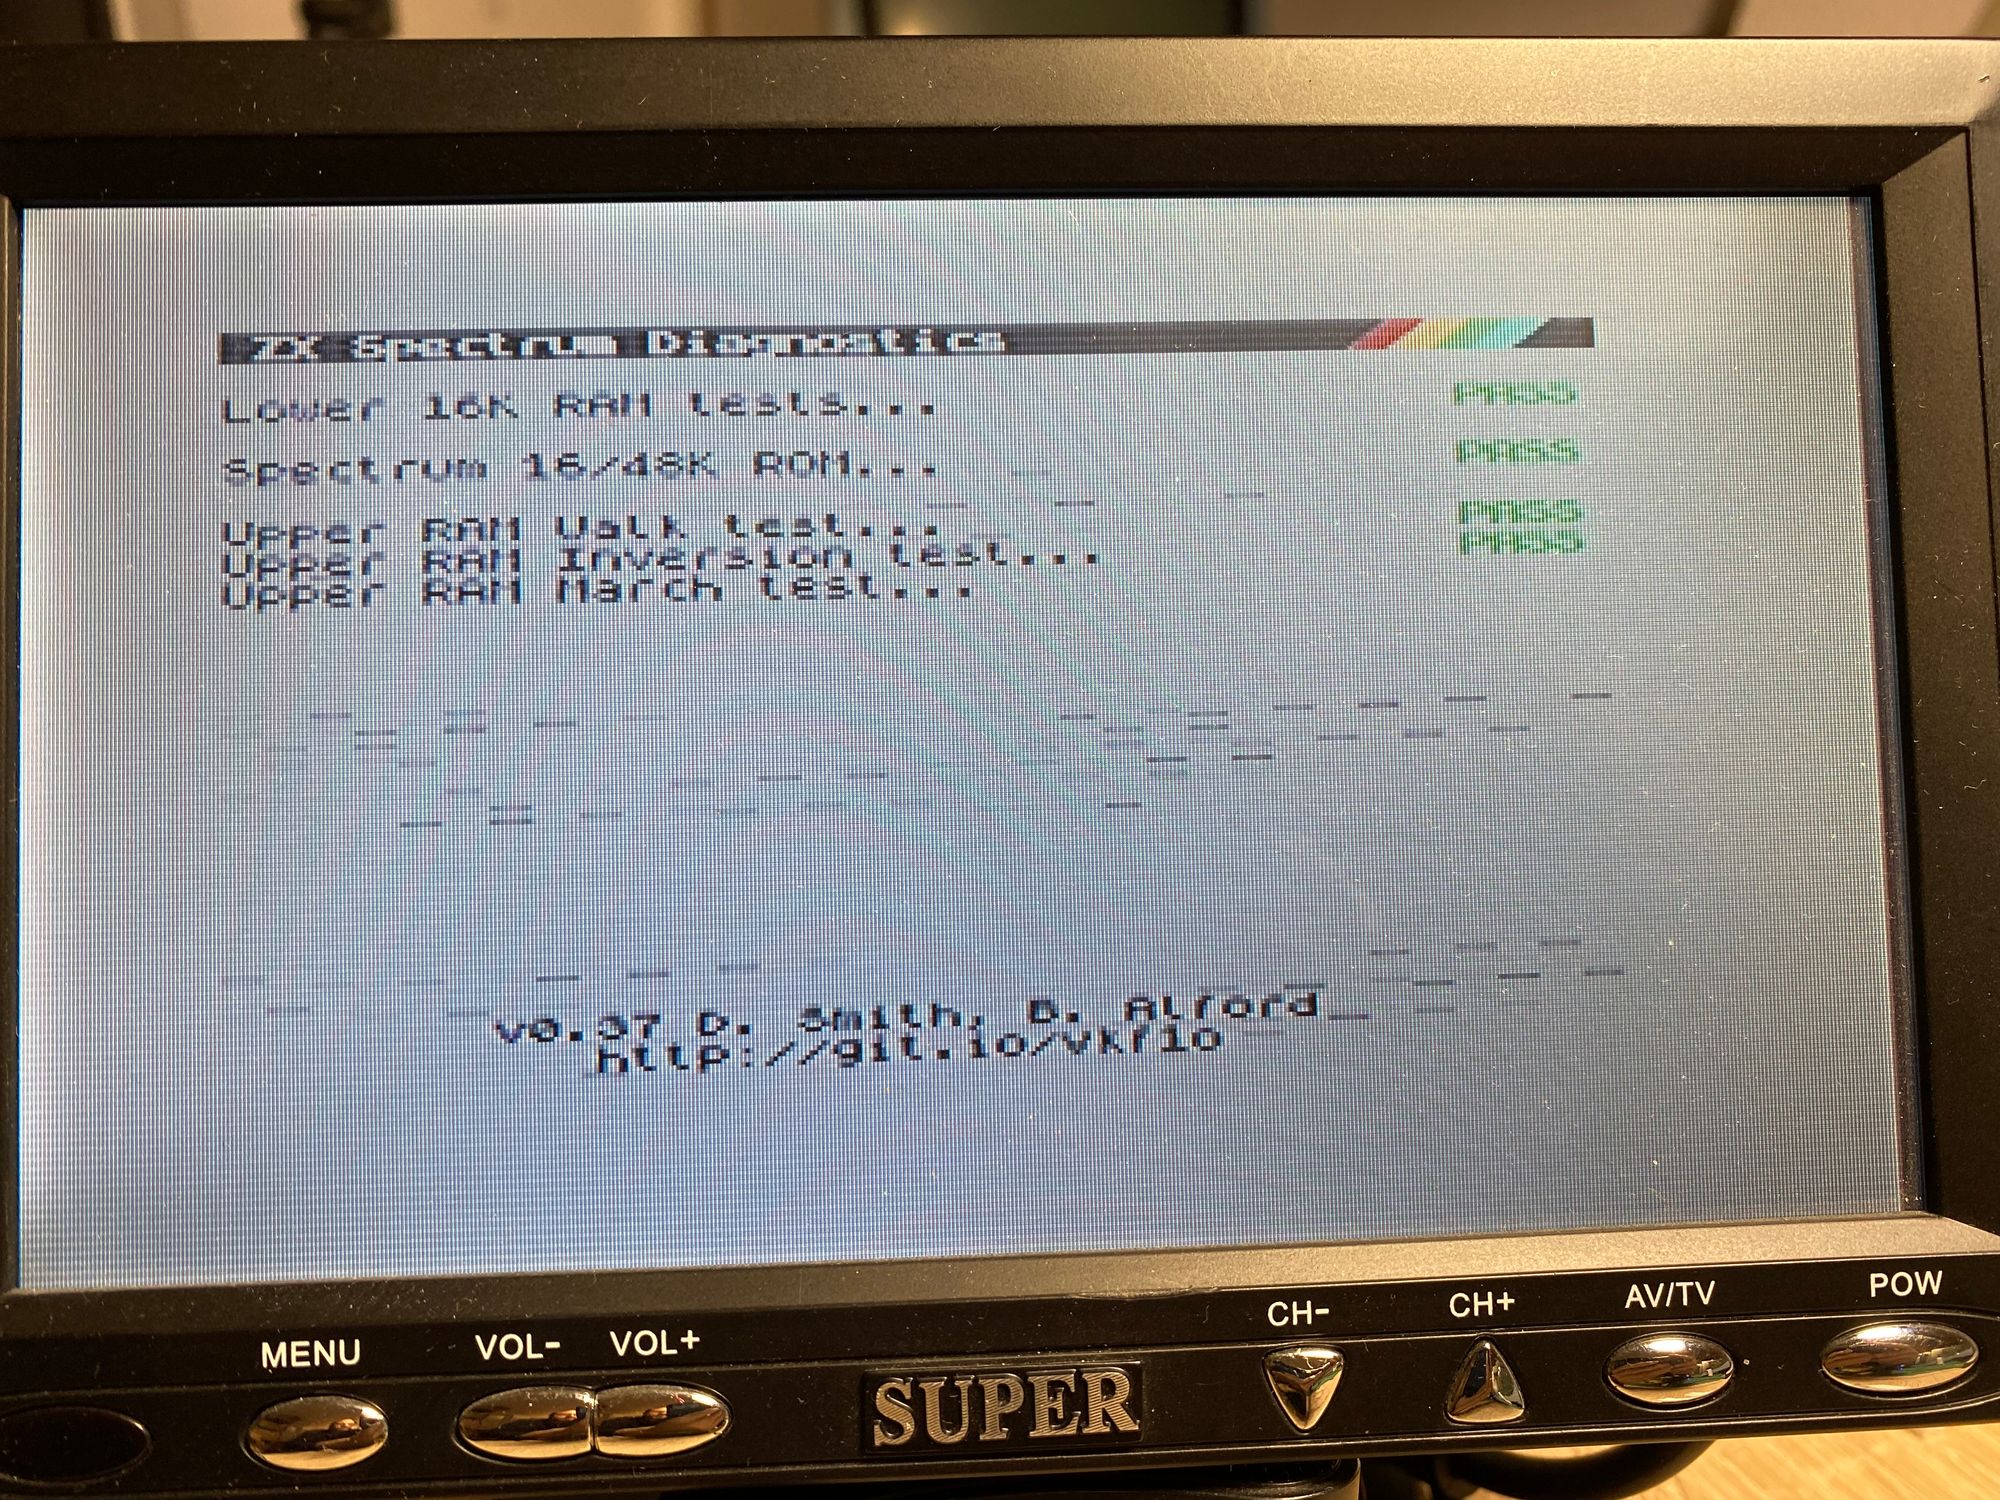
Based on a blog post I read, I suspected that it was the RAM module (see this blog post). Timings and levels matter a lot for a RAM module to work properly, and if they are off, the screen will show artefacts. I decided to remove the module, restore the broken traces, and solder sockets in.
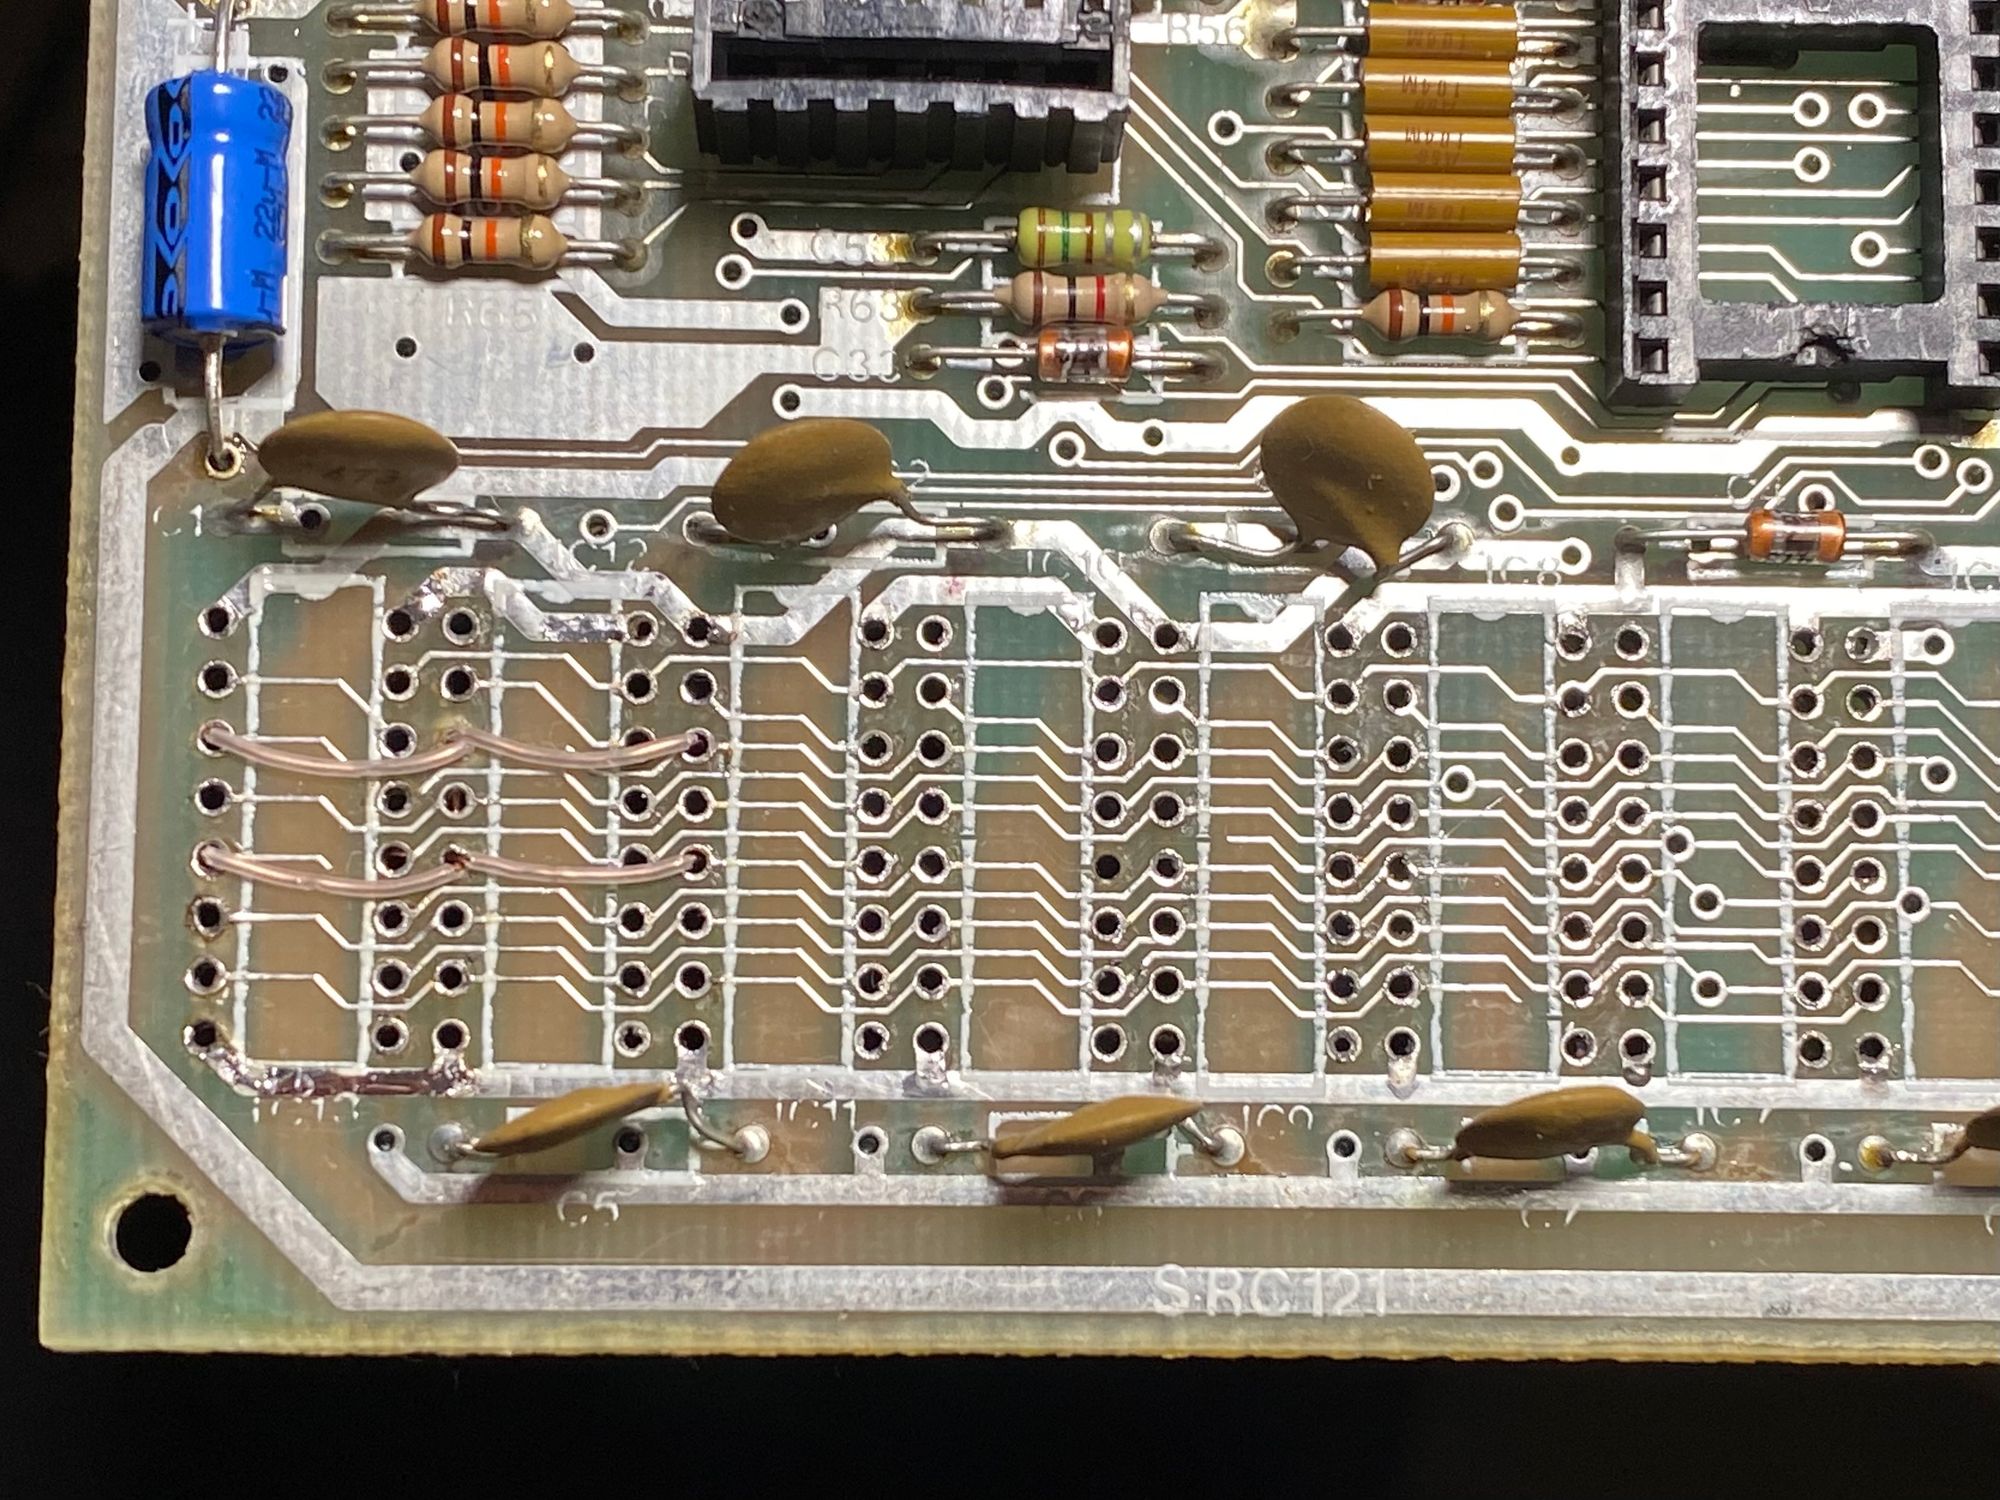
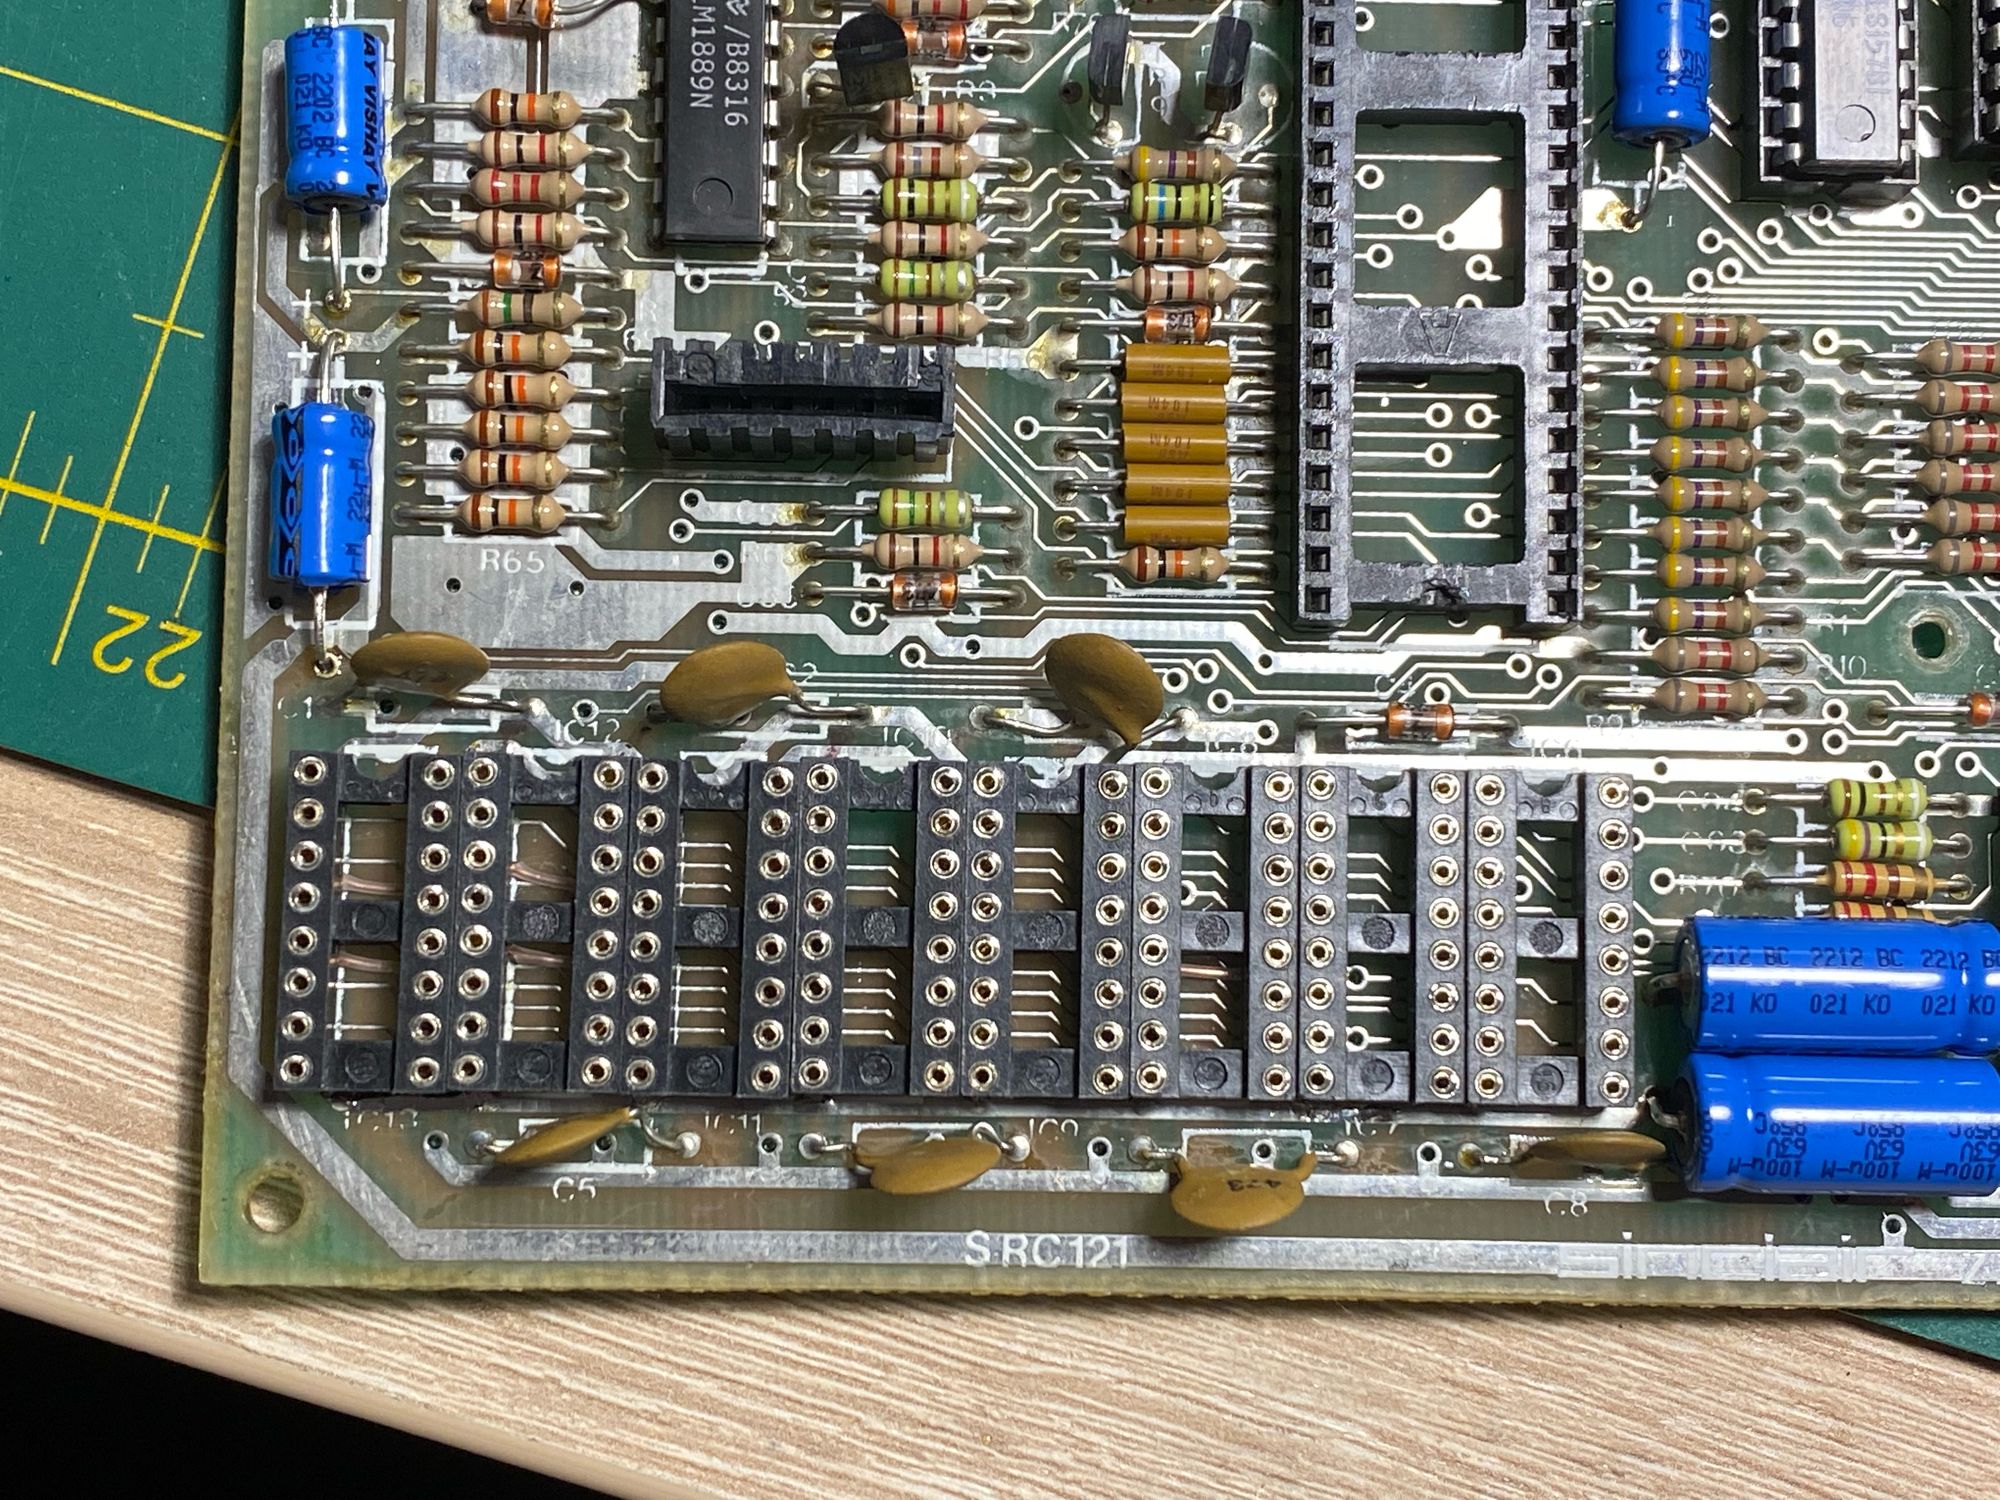
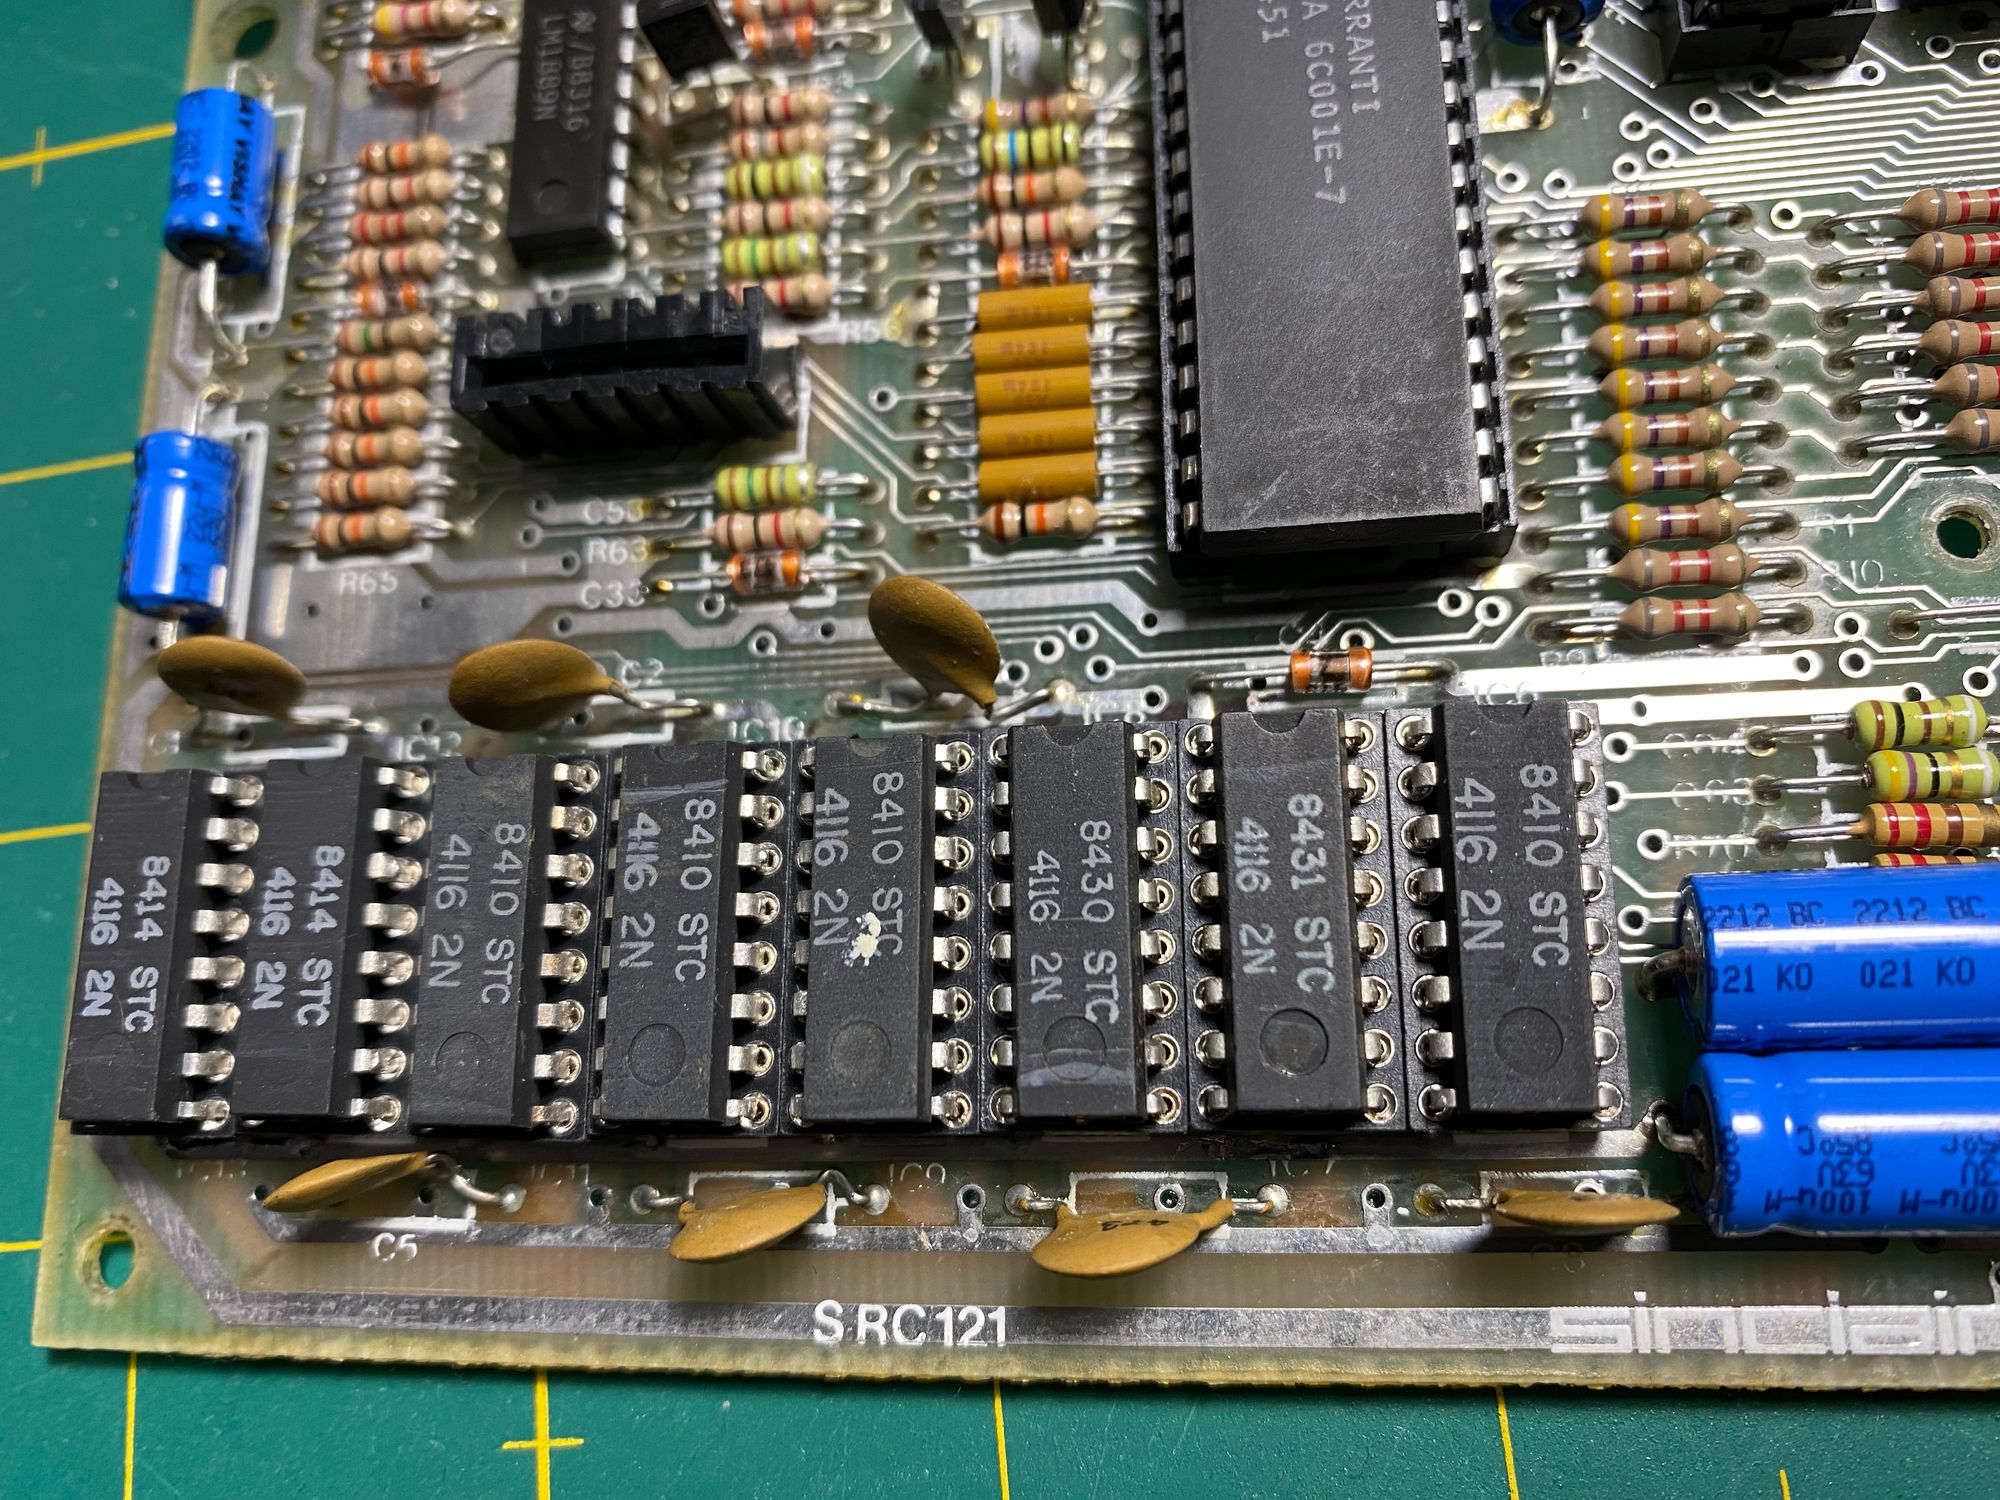
Once I had populated the sockets with some old RAM chips, the artefacts disappeared, and my first Spectrum was working flawlessly.
Interestingly, if I reinsert the module, the artefacts come back, which suggests that the module was not thoroughly tested or is for some reason not fully compatible with this computer. I am extremely pleased with the outcome, and I look forward to my next retro adventure.