Fixing a ZX Spectrum Issue 2: The Good, the Bad, and the Ugly
I recently got my hands on a ZX Spectrum Issue 2. It was housed in a keyboard casing made in the former Yugoslavia, with keys produced by a Slovenian company (IEVT). The excitement of finding it quickly turned into a mix of curiosity and dread once I opened it up.
Here’s how the repair went.
What I Found
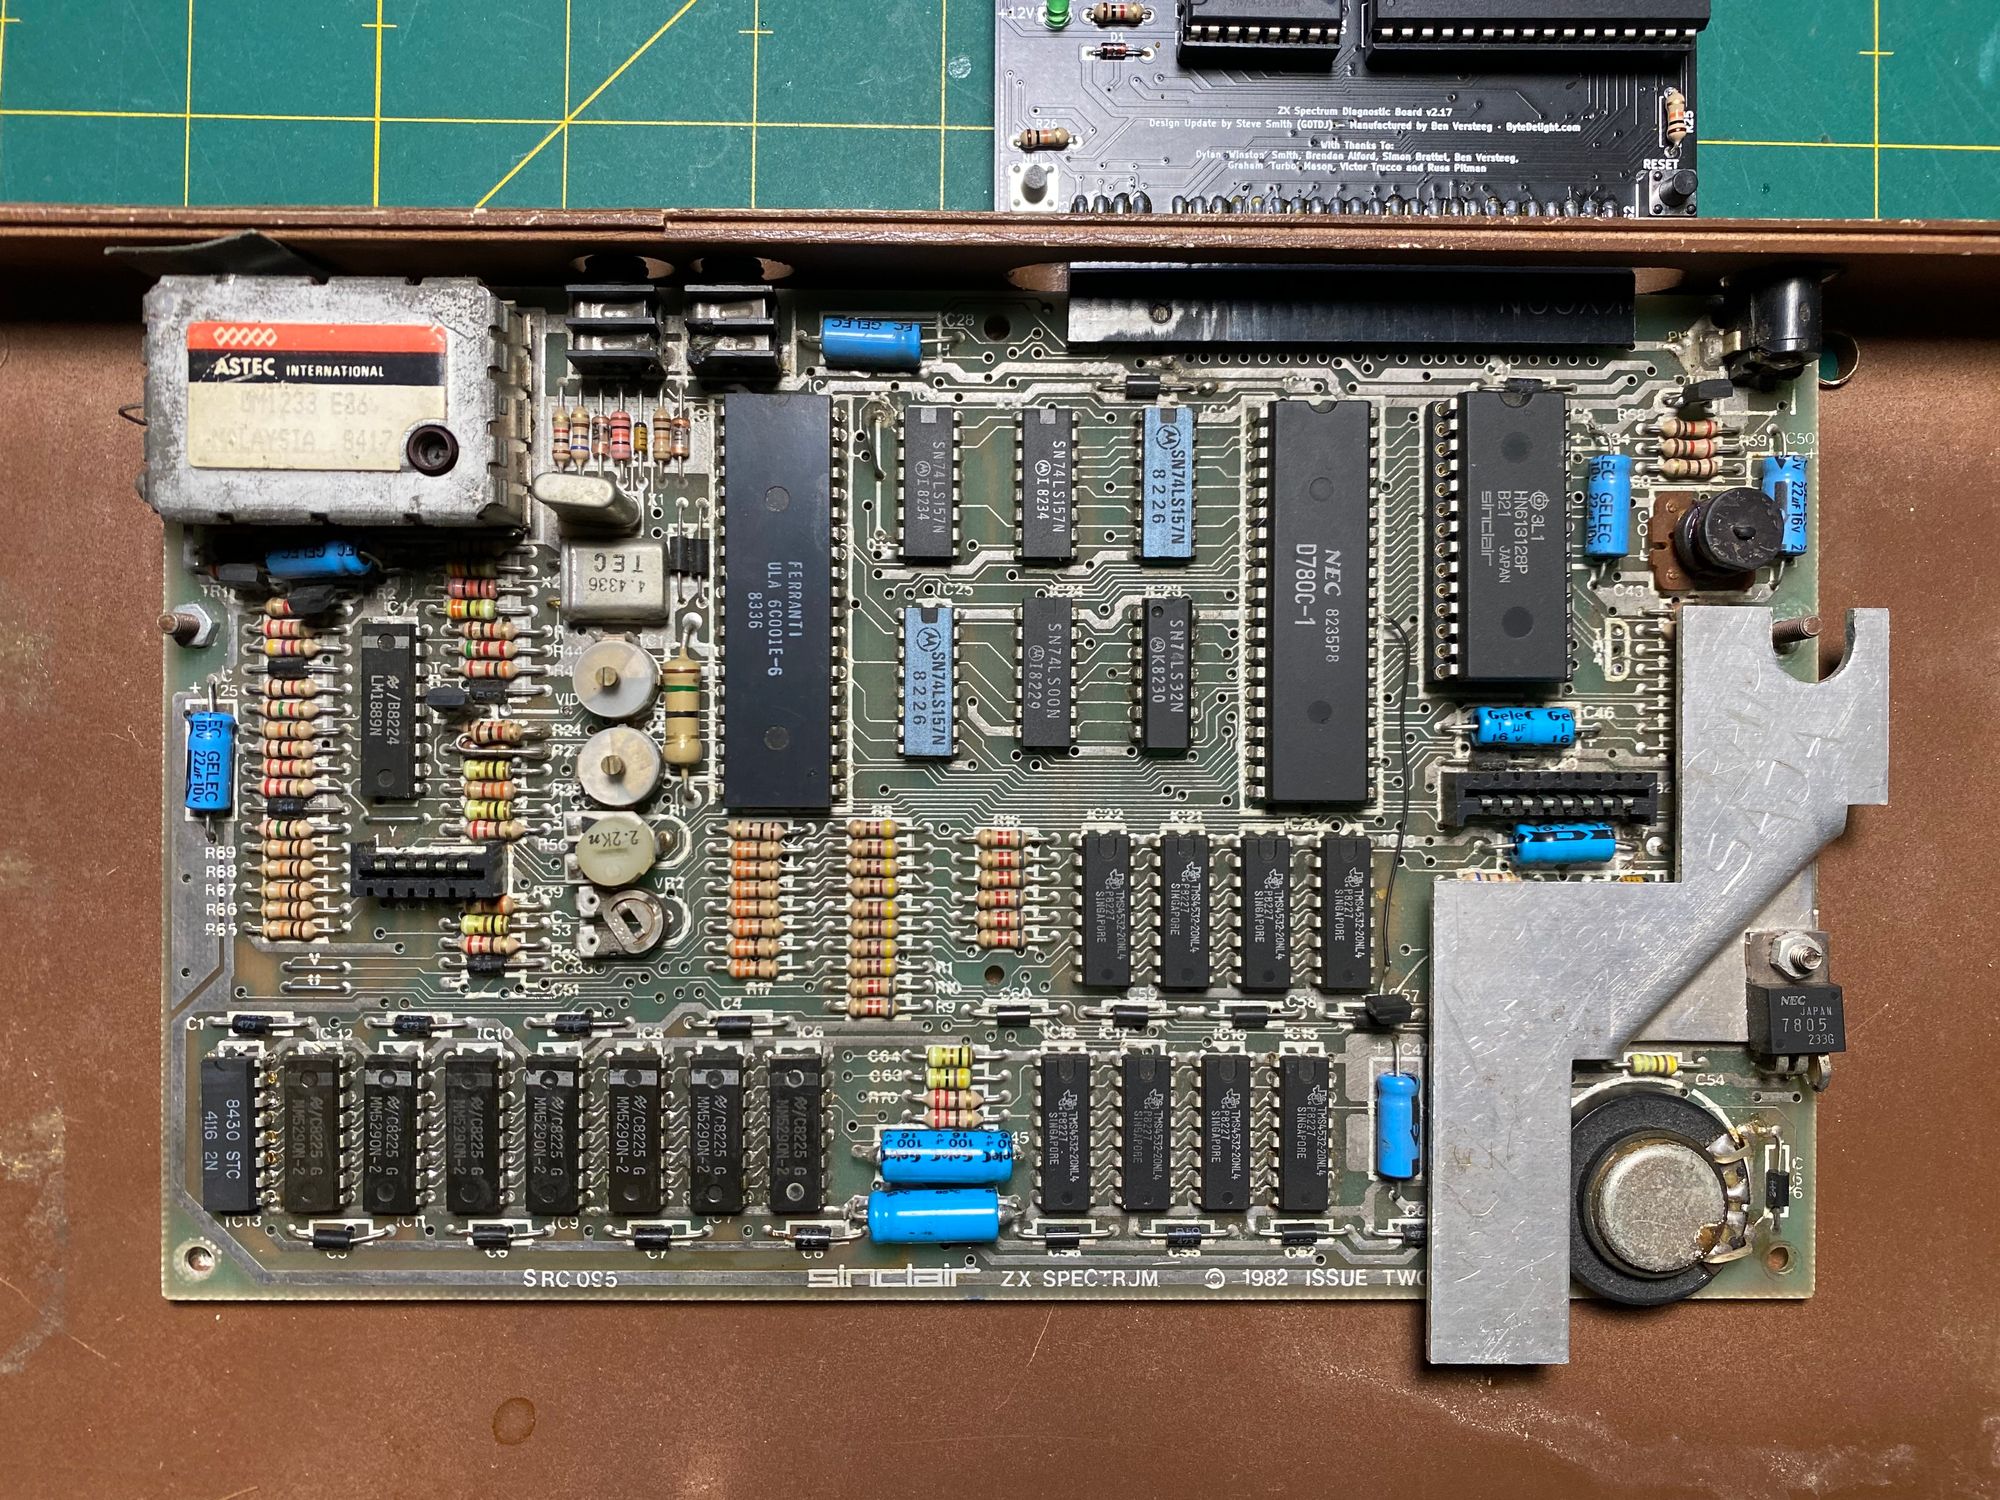
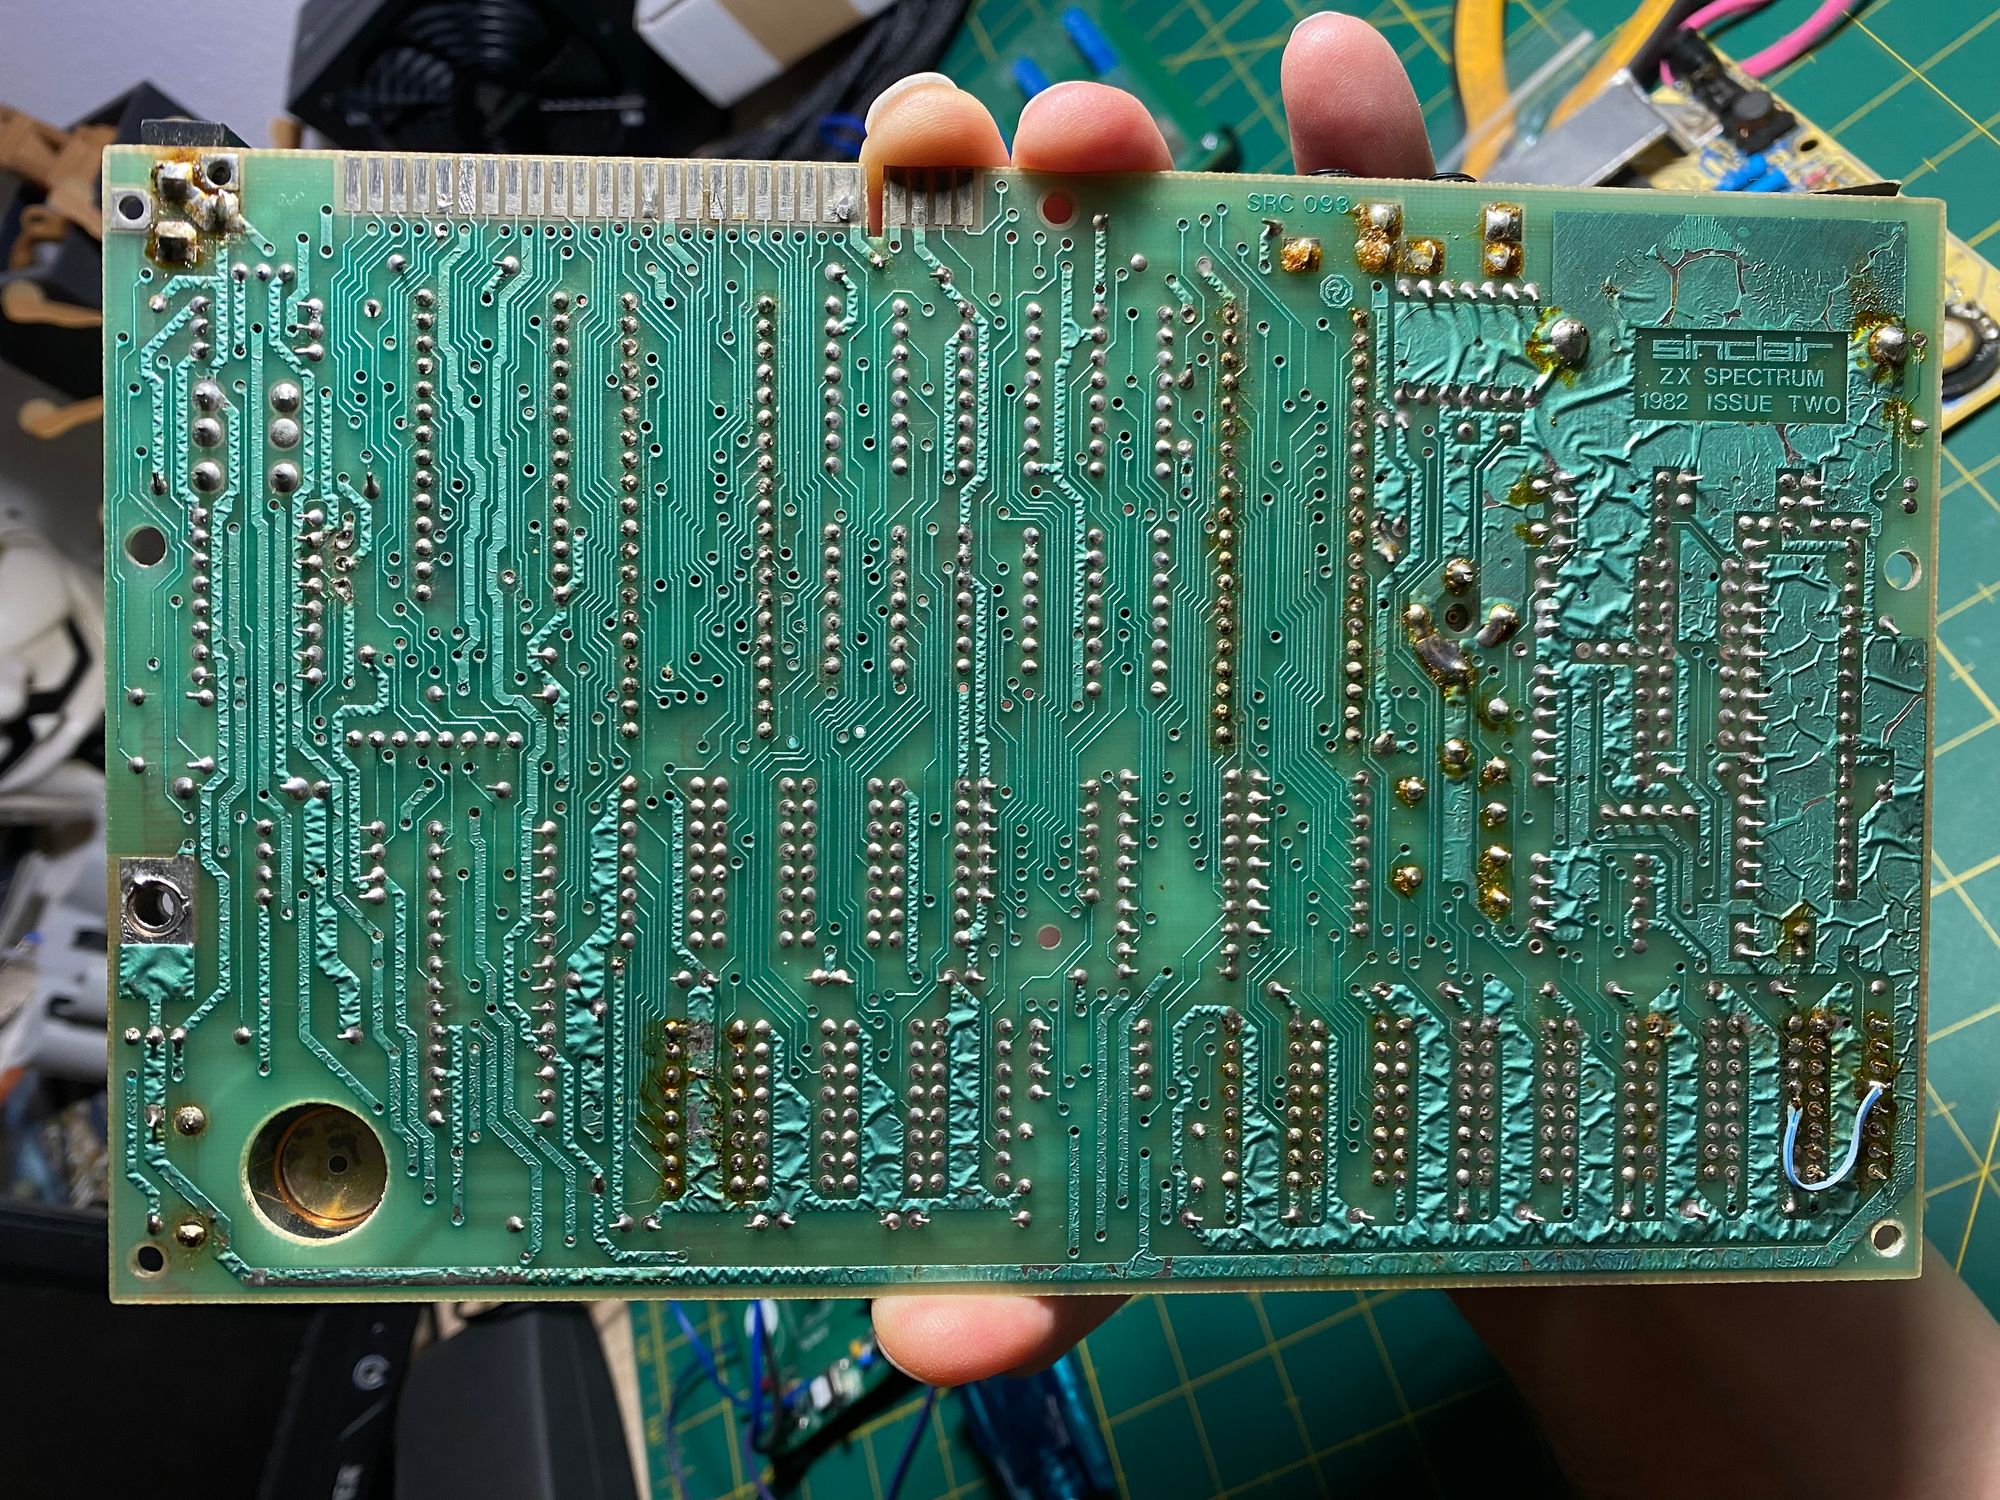
It was obvious that this Spectrum had been worked on before—several times, by different people. The PCB had a ton of flux residue, and the soldering quality was all over the place. There were factory-original joints, some relatively clean repairs, and some truly messy ones.
The worst soldering jobs were on:
- DRAM chips
- One of the upper RAM chips
- The ULA
- The CPU
And TR4 was missing altogether.
Power Problems
To see what I was dealing with, I plugged in a diagnostics module. It immediately flagged missing 12V and -5V power rails. With TR4 missing, this wasn’t a shock. After soldering in a replacement TR4, the 12V rail came back, but the -5V rail was still reading -1.5V. There was a high-pitched whining sound coming from the board, most likely from the coil.
I checked the schematics and replaced two capacitors (C46 and C47), then tested the diodes D11 and D12. D11 turned out to be shorted. Replacing it fixed the -5V rail, and the whining stopped.
RAM Troubles
The diagnostics now reported issues with the lower DRAM. I started removing the lower RAM chips, and that’s where things got ugly. The traces under the chips were already damaged, and my desoldering work made it worse, especially on the last chip. I ended up having to rebuild the damaged traces with thin copper wire. Once that was done, I soldered IC sockets over the repaired area, which went fine, but the damage was done. My heart was broken.
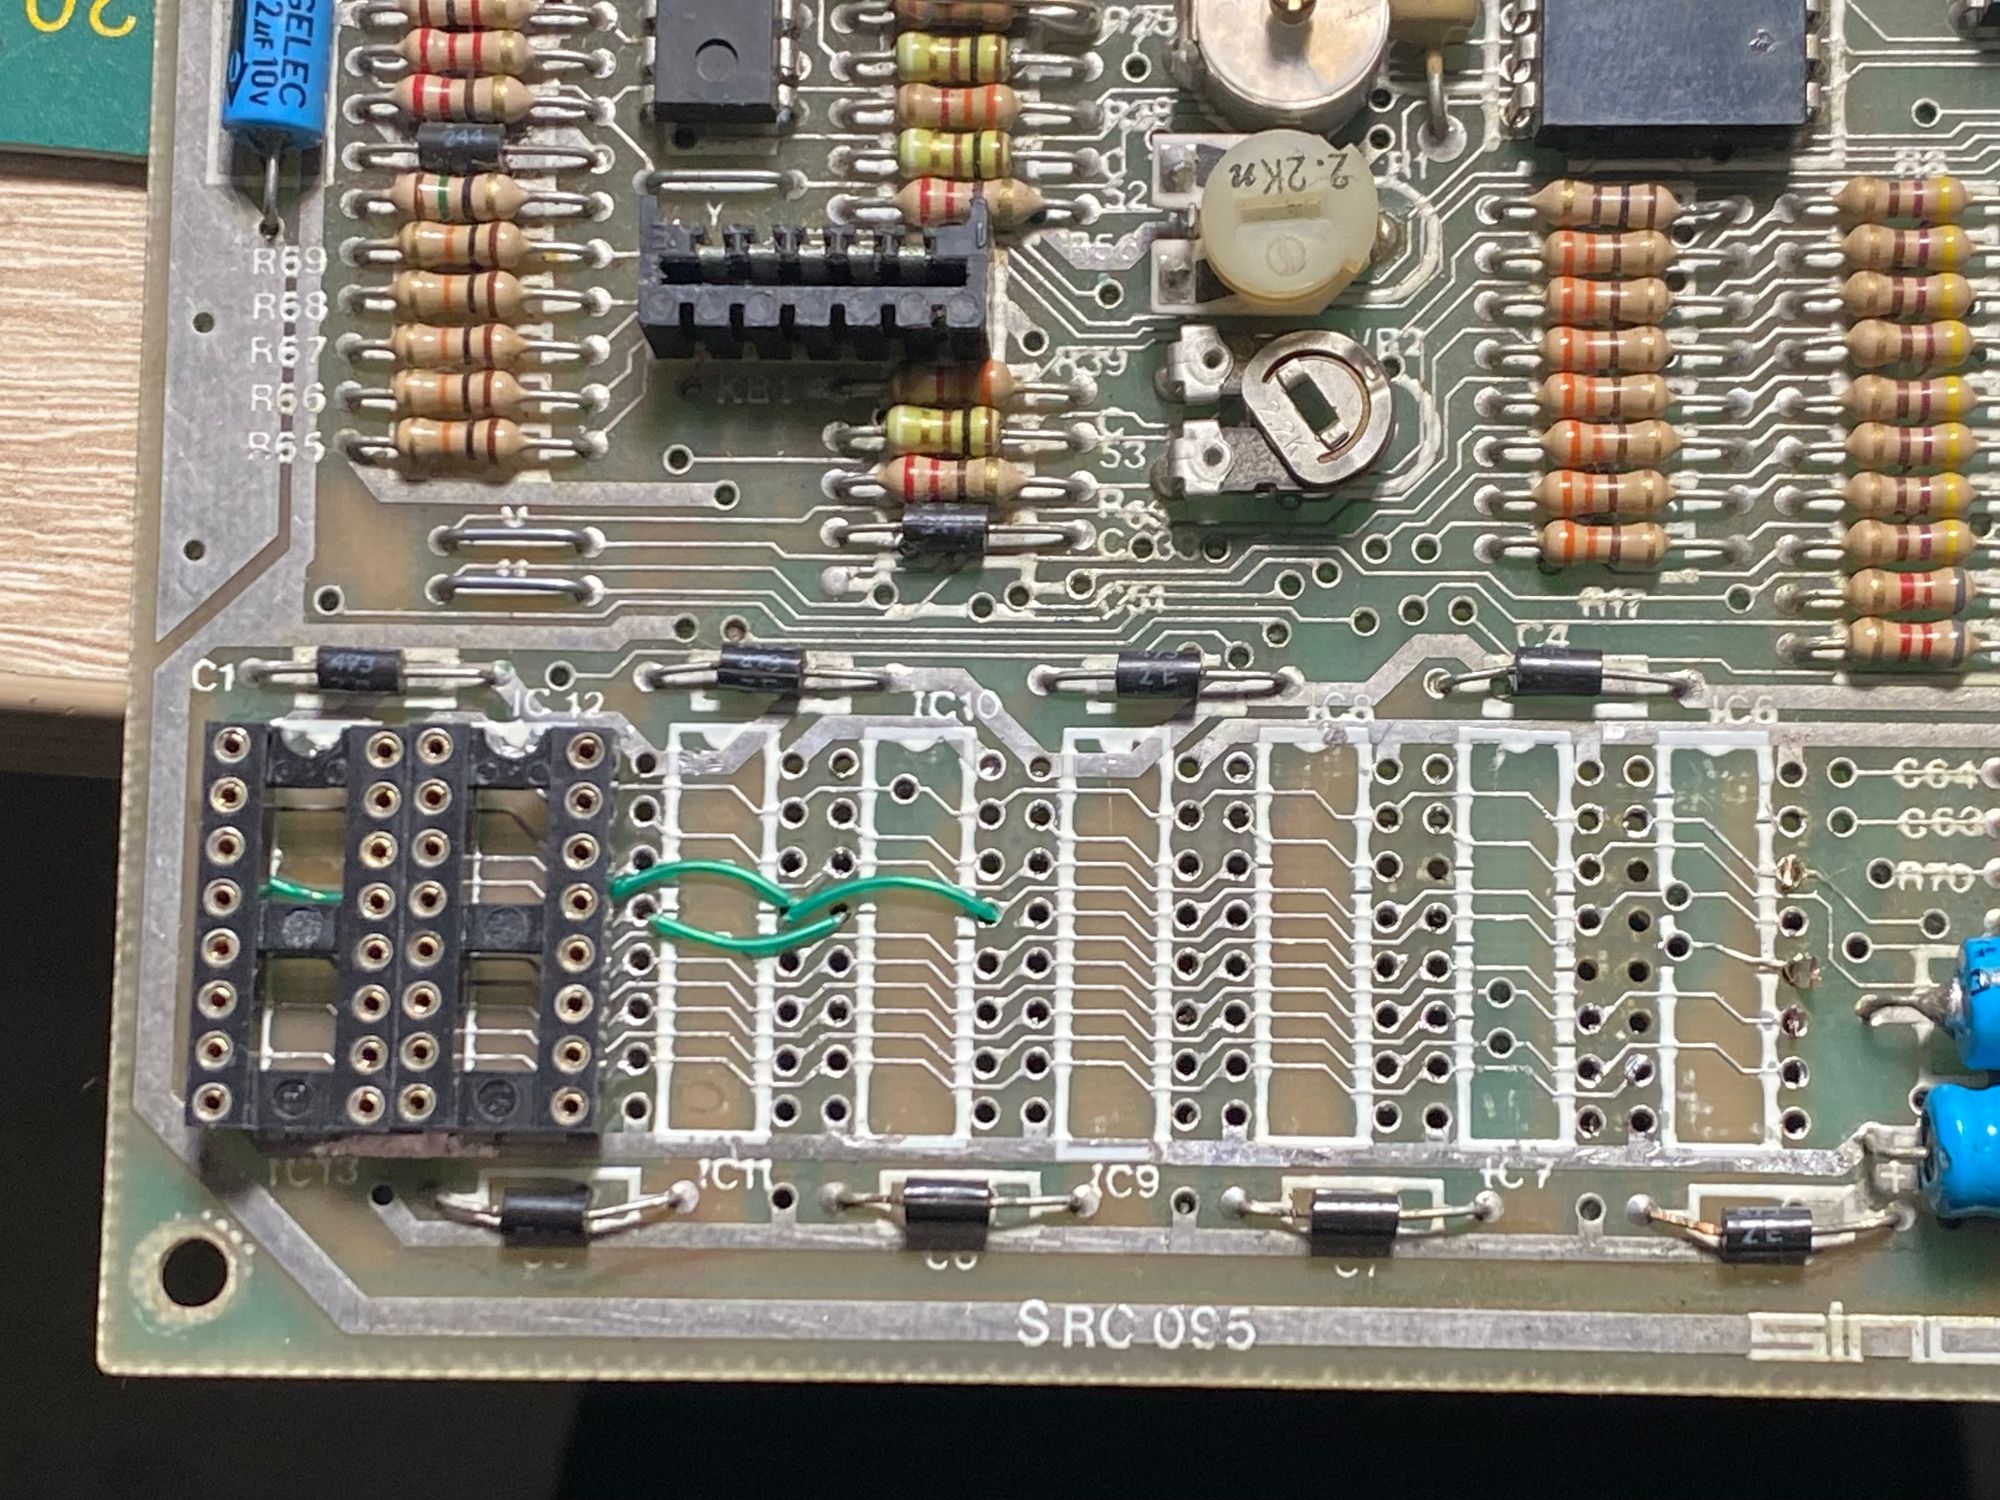
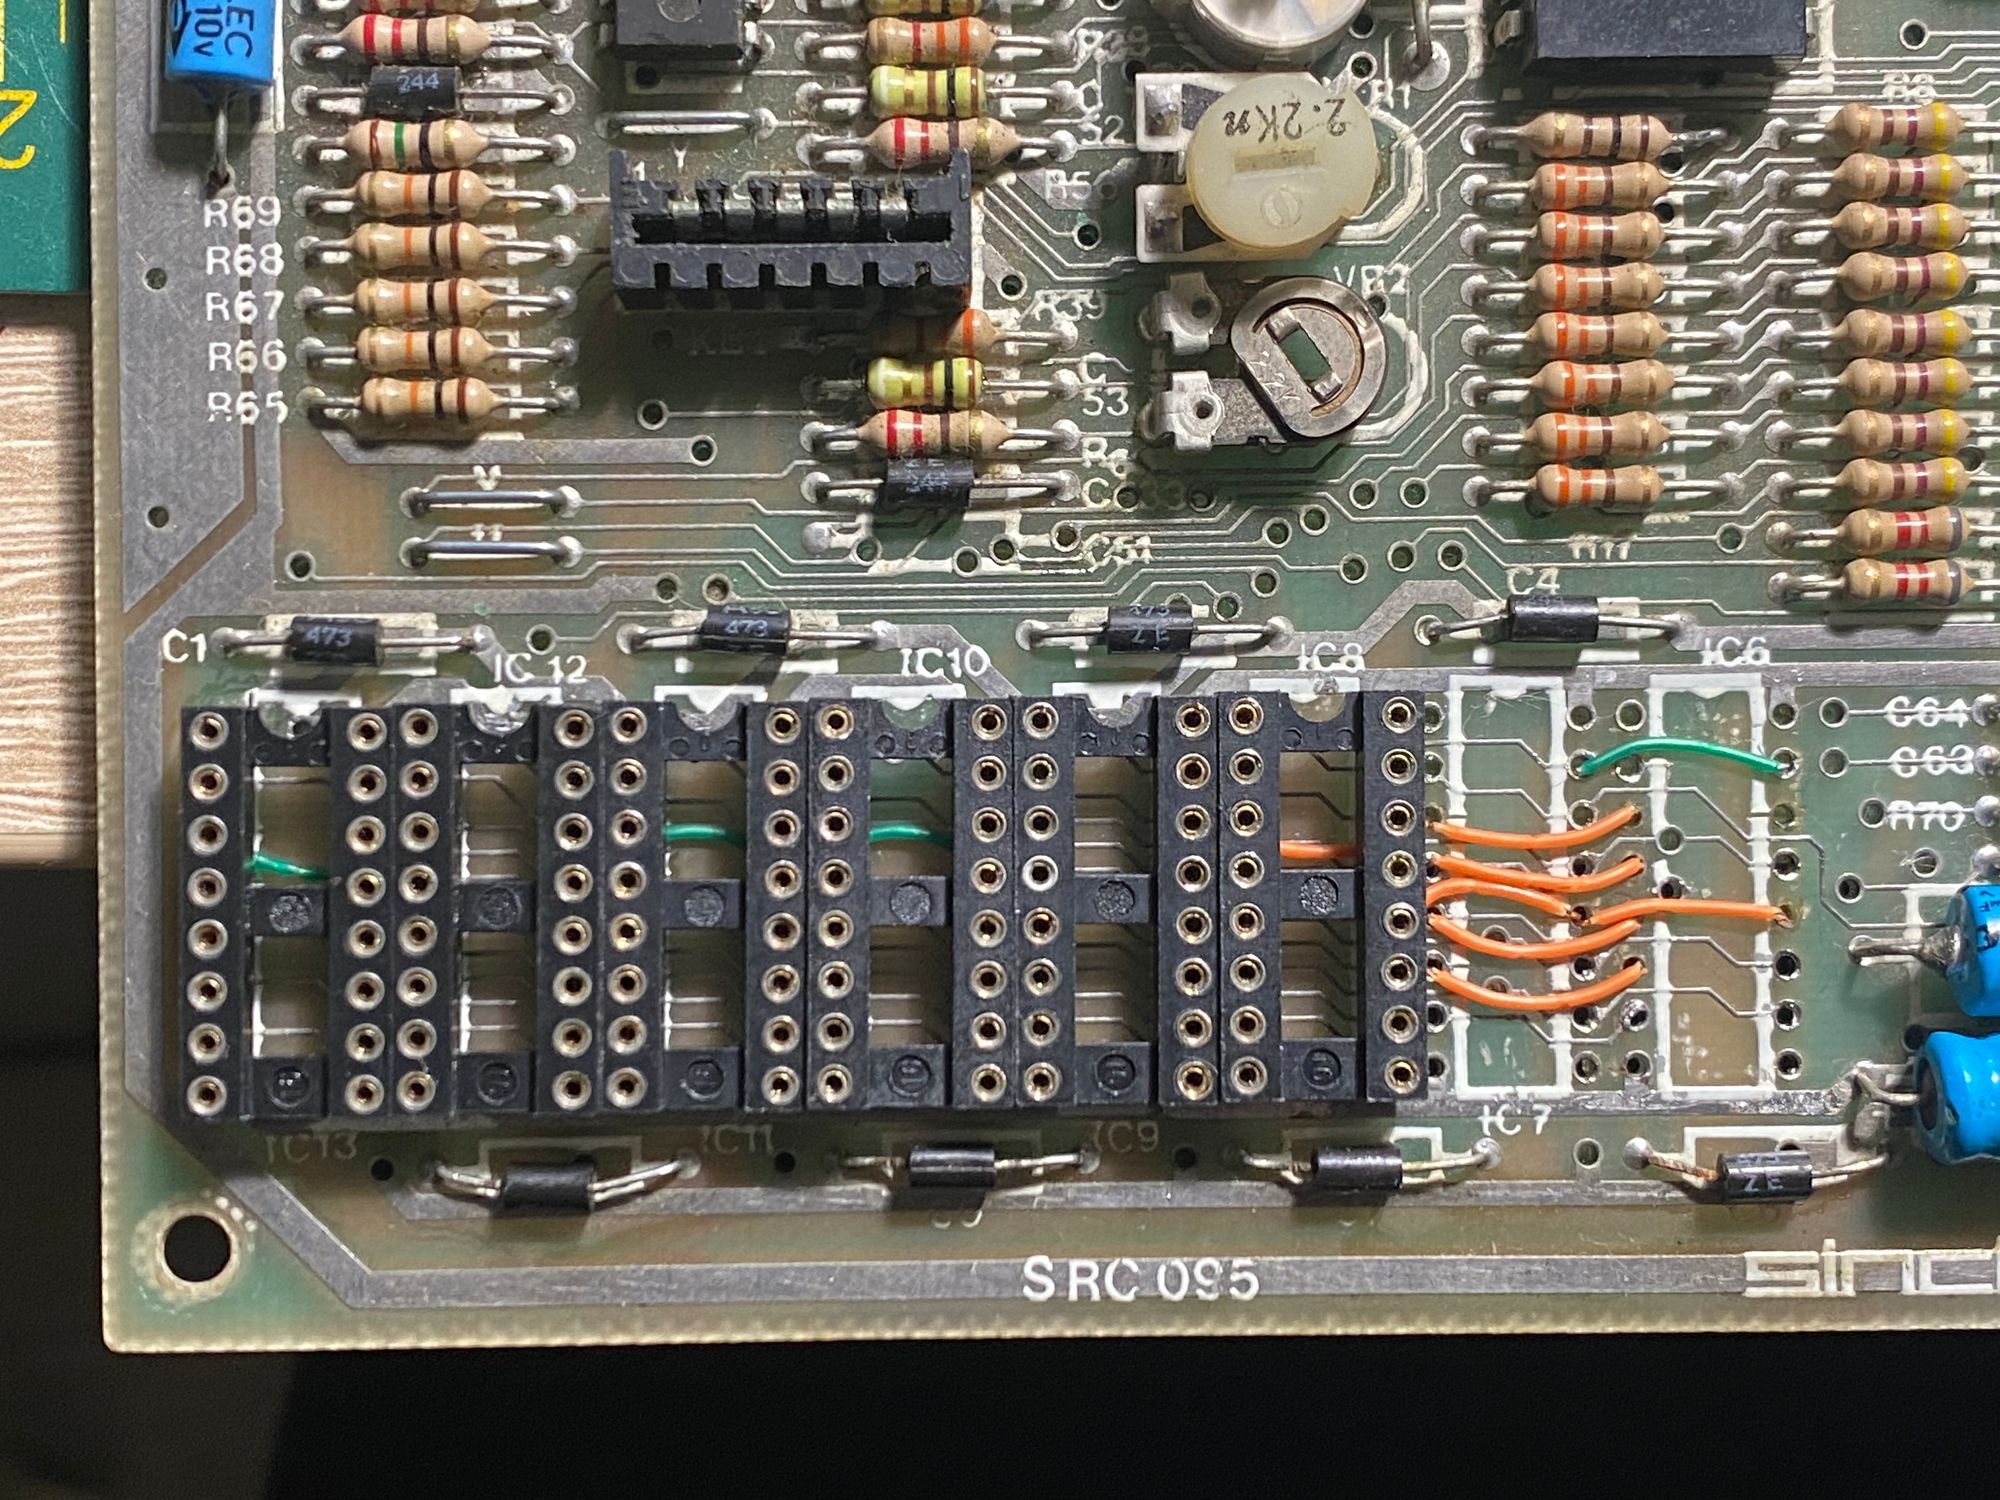
I inserted a DRAM module into the sockets and ran the diagnostics again. The lower RAM test passed, but the upper RAM test flagged errors. The screen was scrambled.
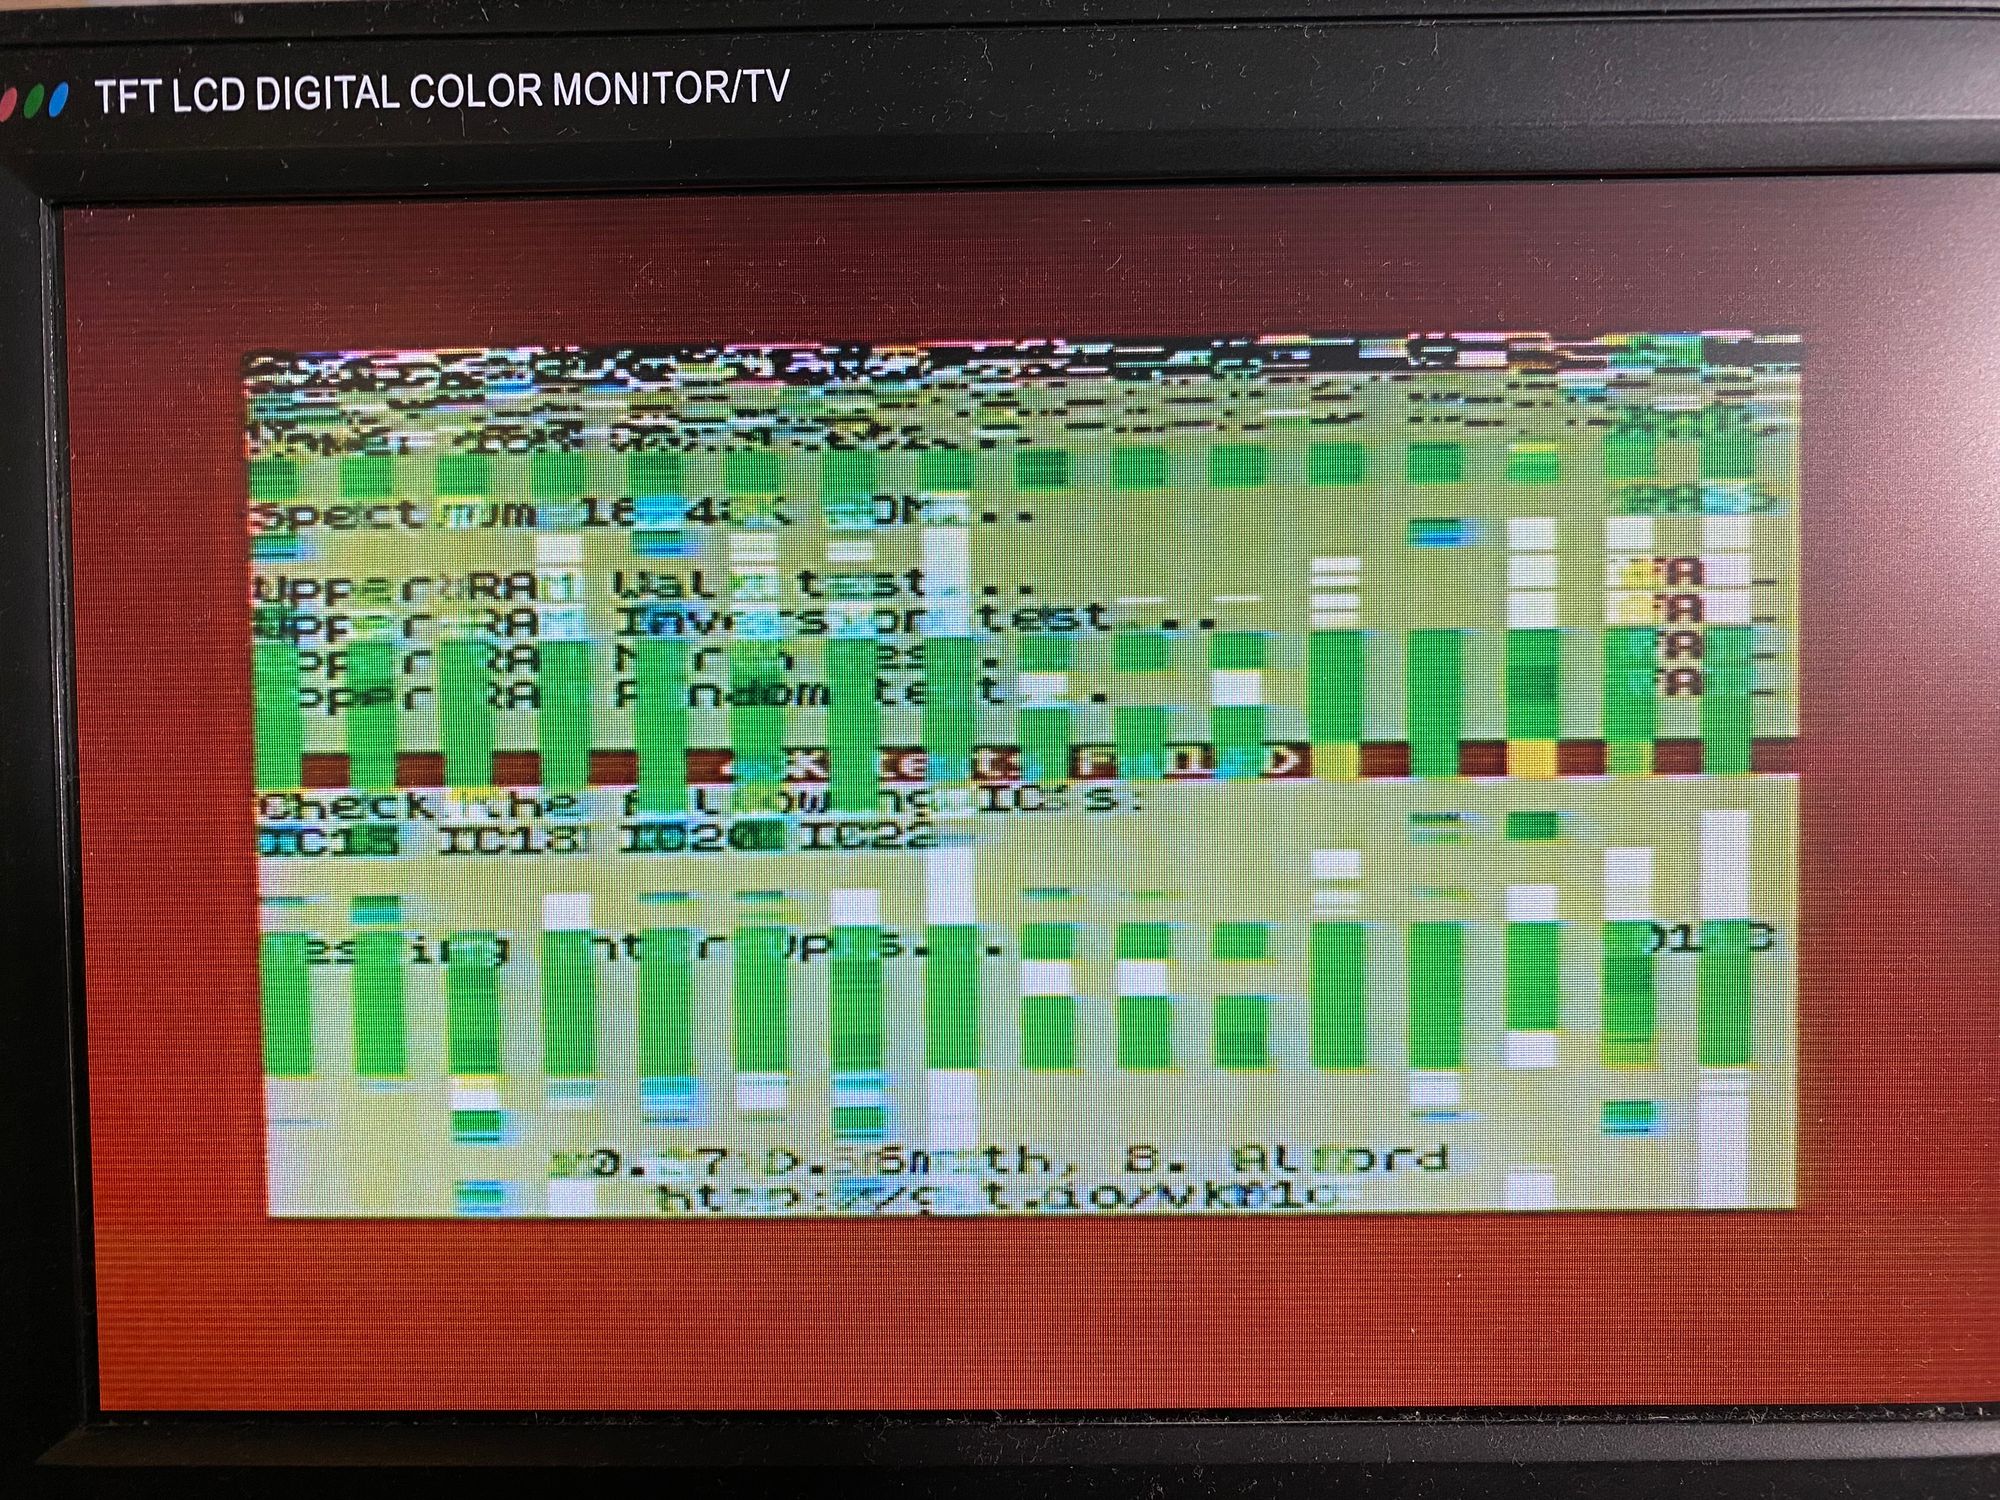
I clipped the legs off the upper RAM chips and removed them without causing any additional damage. At this point, the board was effectively running as a 16K Spectrum.
Scrambled Screen and ULA Issues
With the upper RAM out of the equation, I was now working with a 16K Spectrum. The diagnostics passed the lower RAM tests, but the display was a mess. This suggested the CPU could access the RAM without issues, but the ULA could not.
I also noticed something strange: if I swapped the DRAM module for individual 4116 chips, they were all flagged as broken. This didn’t provide any additional clues, but my money was still on the ULA. I didn’t pretend to fully understand how a broken ULA affects the board.
So, I desoldered the ULA and replaced it with a socket (thankfully without causing any damage this time). After swapping in a known-good ULA, the scrambled screen problem disappeared, and the Spectrum was finally working properly.
What Was Fixed
Here’s the rundown of everything that needed repair on this ZX Spectrum Issue 2:
- TR4: Missing, replaced.
- D11: Shorted, replaced.
- Lower RAM: Rebuilt damaged traces, added IC sockets, replaced chips.
- ULA: Replaced.
- Upper RAM: Removed for now; further work needed.
- My heart: Broken. Unable to fix.
I haven’t restored the upper RAM yet, but at this point, I’m confident it’ll be straightforward. I tested the DRAM chips I removed earlier—half of them were dead. While that’s some consolation, I regret not clipping their legs in the first place.
Takeaways
- Diagnose First: A diagnostics module makes troubleshooting much easier.
- Be Careful with RAM Chips: Clipping the legs before desoldering can save you a lot of headaches.
- Watch Out for the ULA: It can cause some weird issues that aren’t immediately obvious.
- Fixing Old Tech Isn’t Always Pretty: Sometimes it’s a battle, but it’s worth it.
This repair wasn’t perfect, and it wasn’t pretty, but the Spectrum works again. If you’re restoring one of these old machines, just take it slow, learn from your mistakes, and don’t beat yourself up too much if things don’t go perfectly.
