Restoring an Iskradata Terminal Keyboard

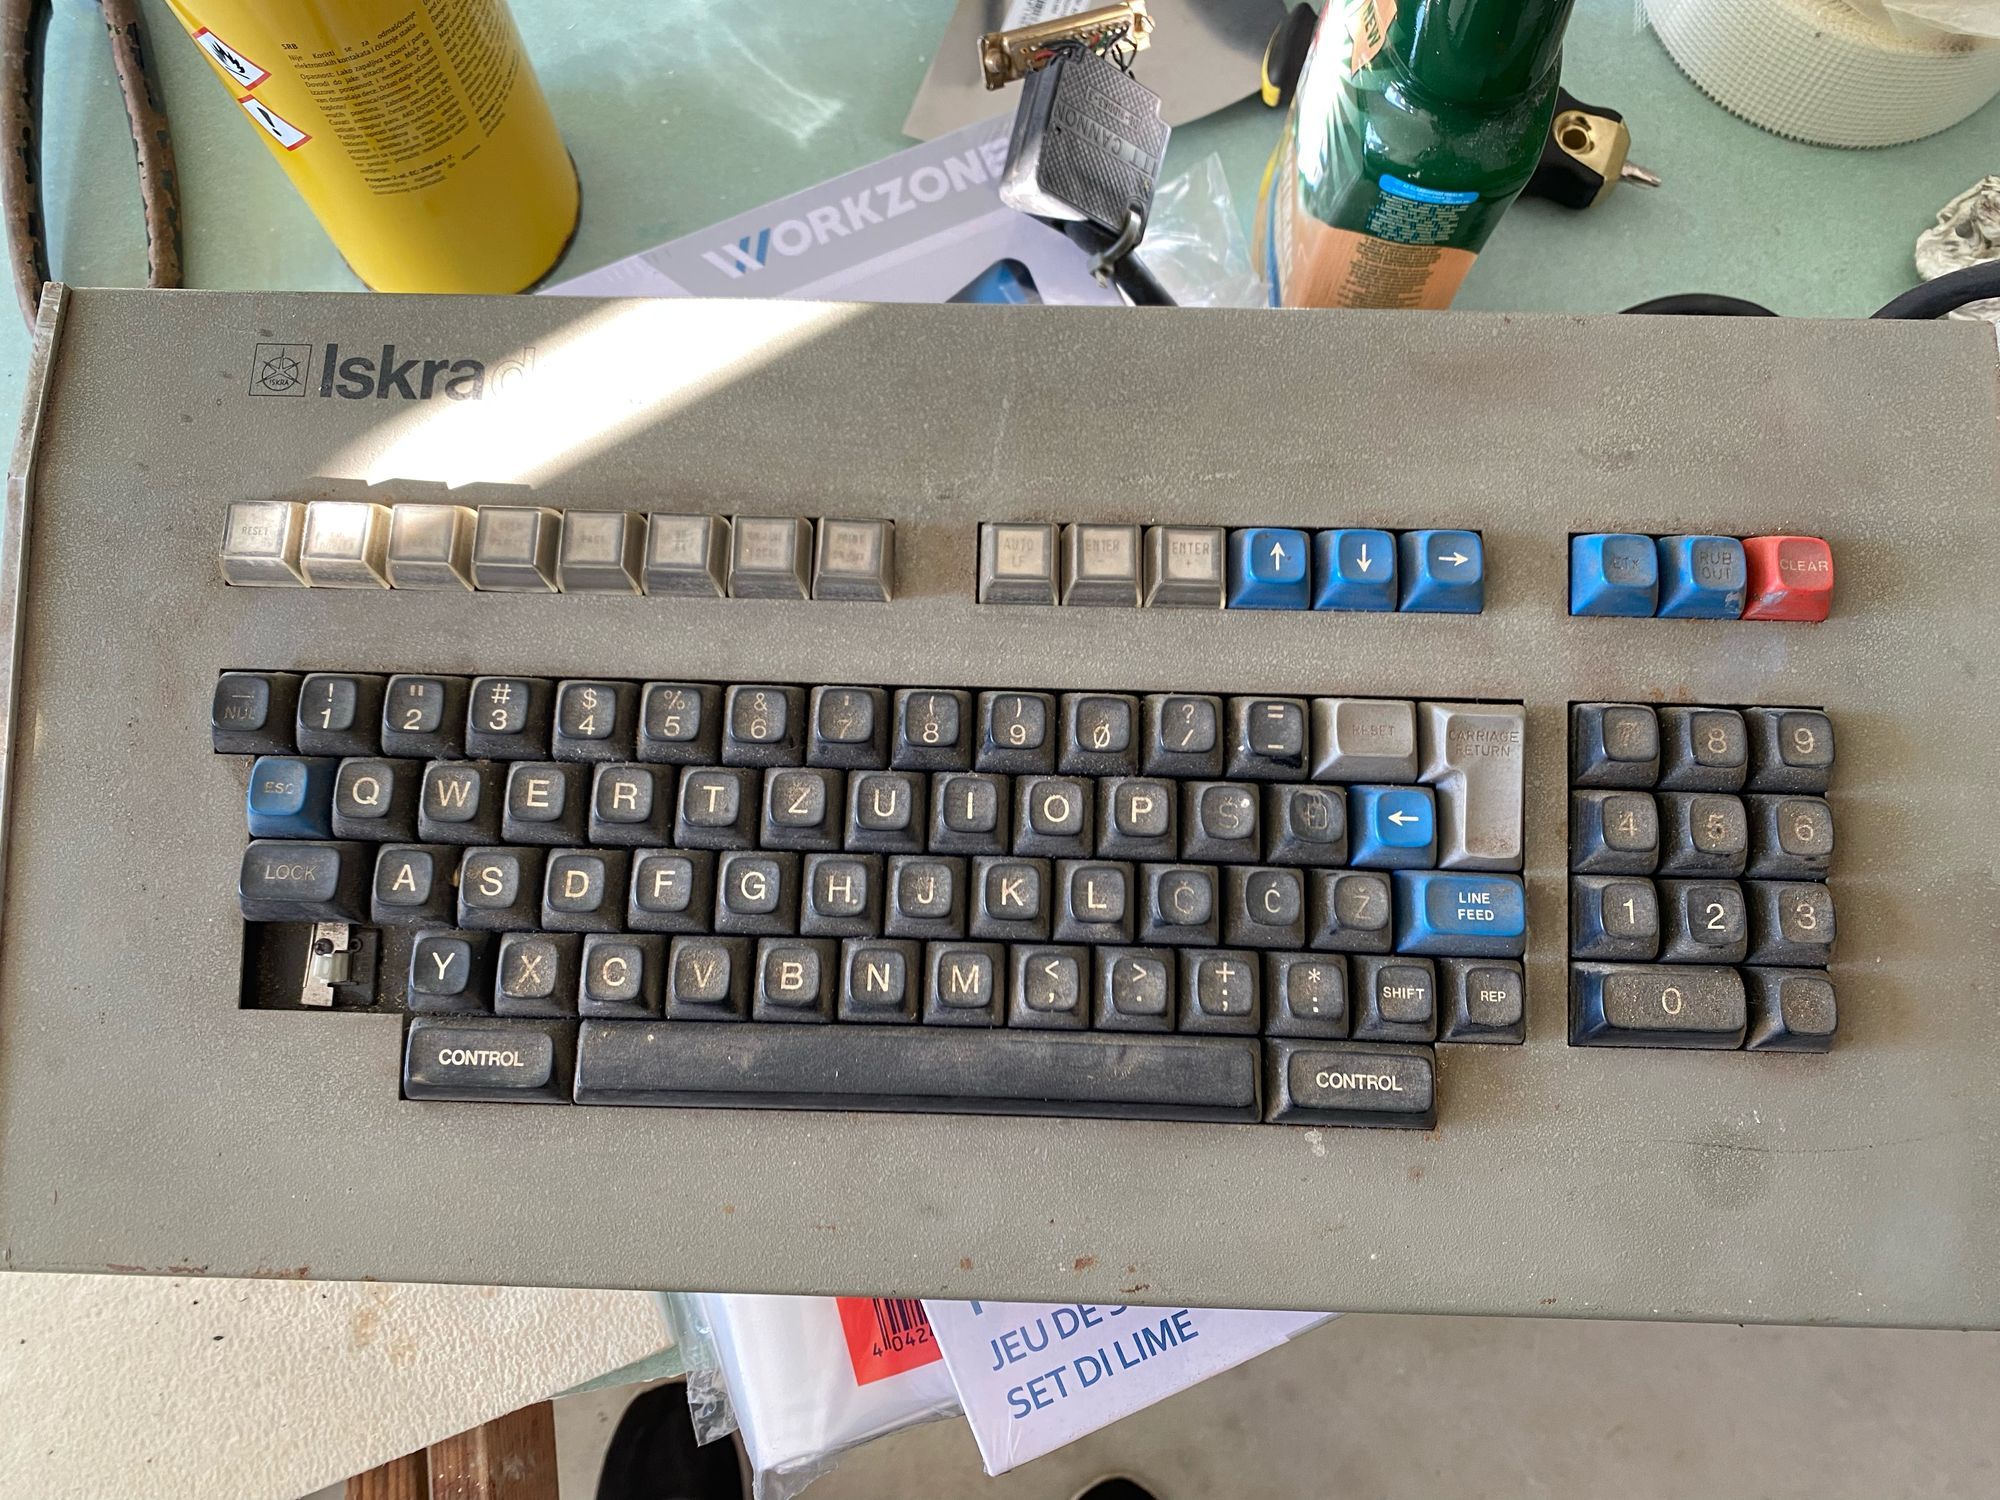
This blog post is a journey into the restoration of an Iskradata terminal keyboard. The journey starts with our acquisition of the keyboard from a seller in Novo Mesto, who got it from a guy who bought the entire bankruptcy estate of a Slovene company. The keyboard was in a state of disrepair, with a missing key, a broken shift-lock mechanism, dirt and slight rust covering its surface. But with a little bit of effort and determination, we brought the keyboard back to its former glory. Join us as we take you through the steps of restoring this beautiful piece of technology.
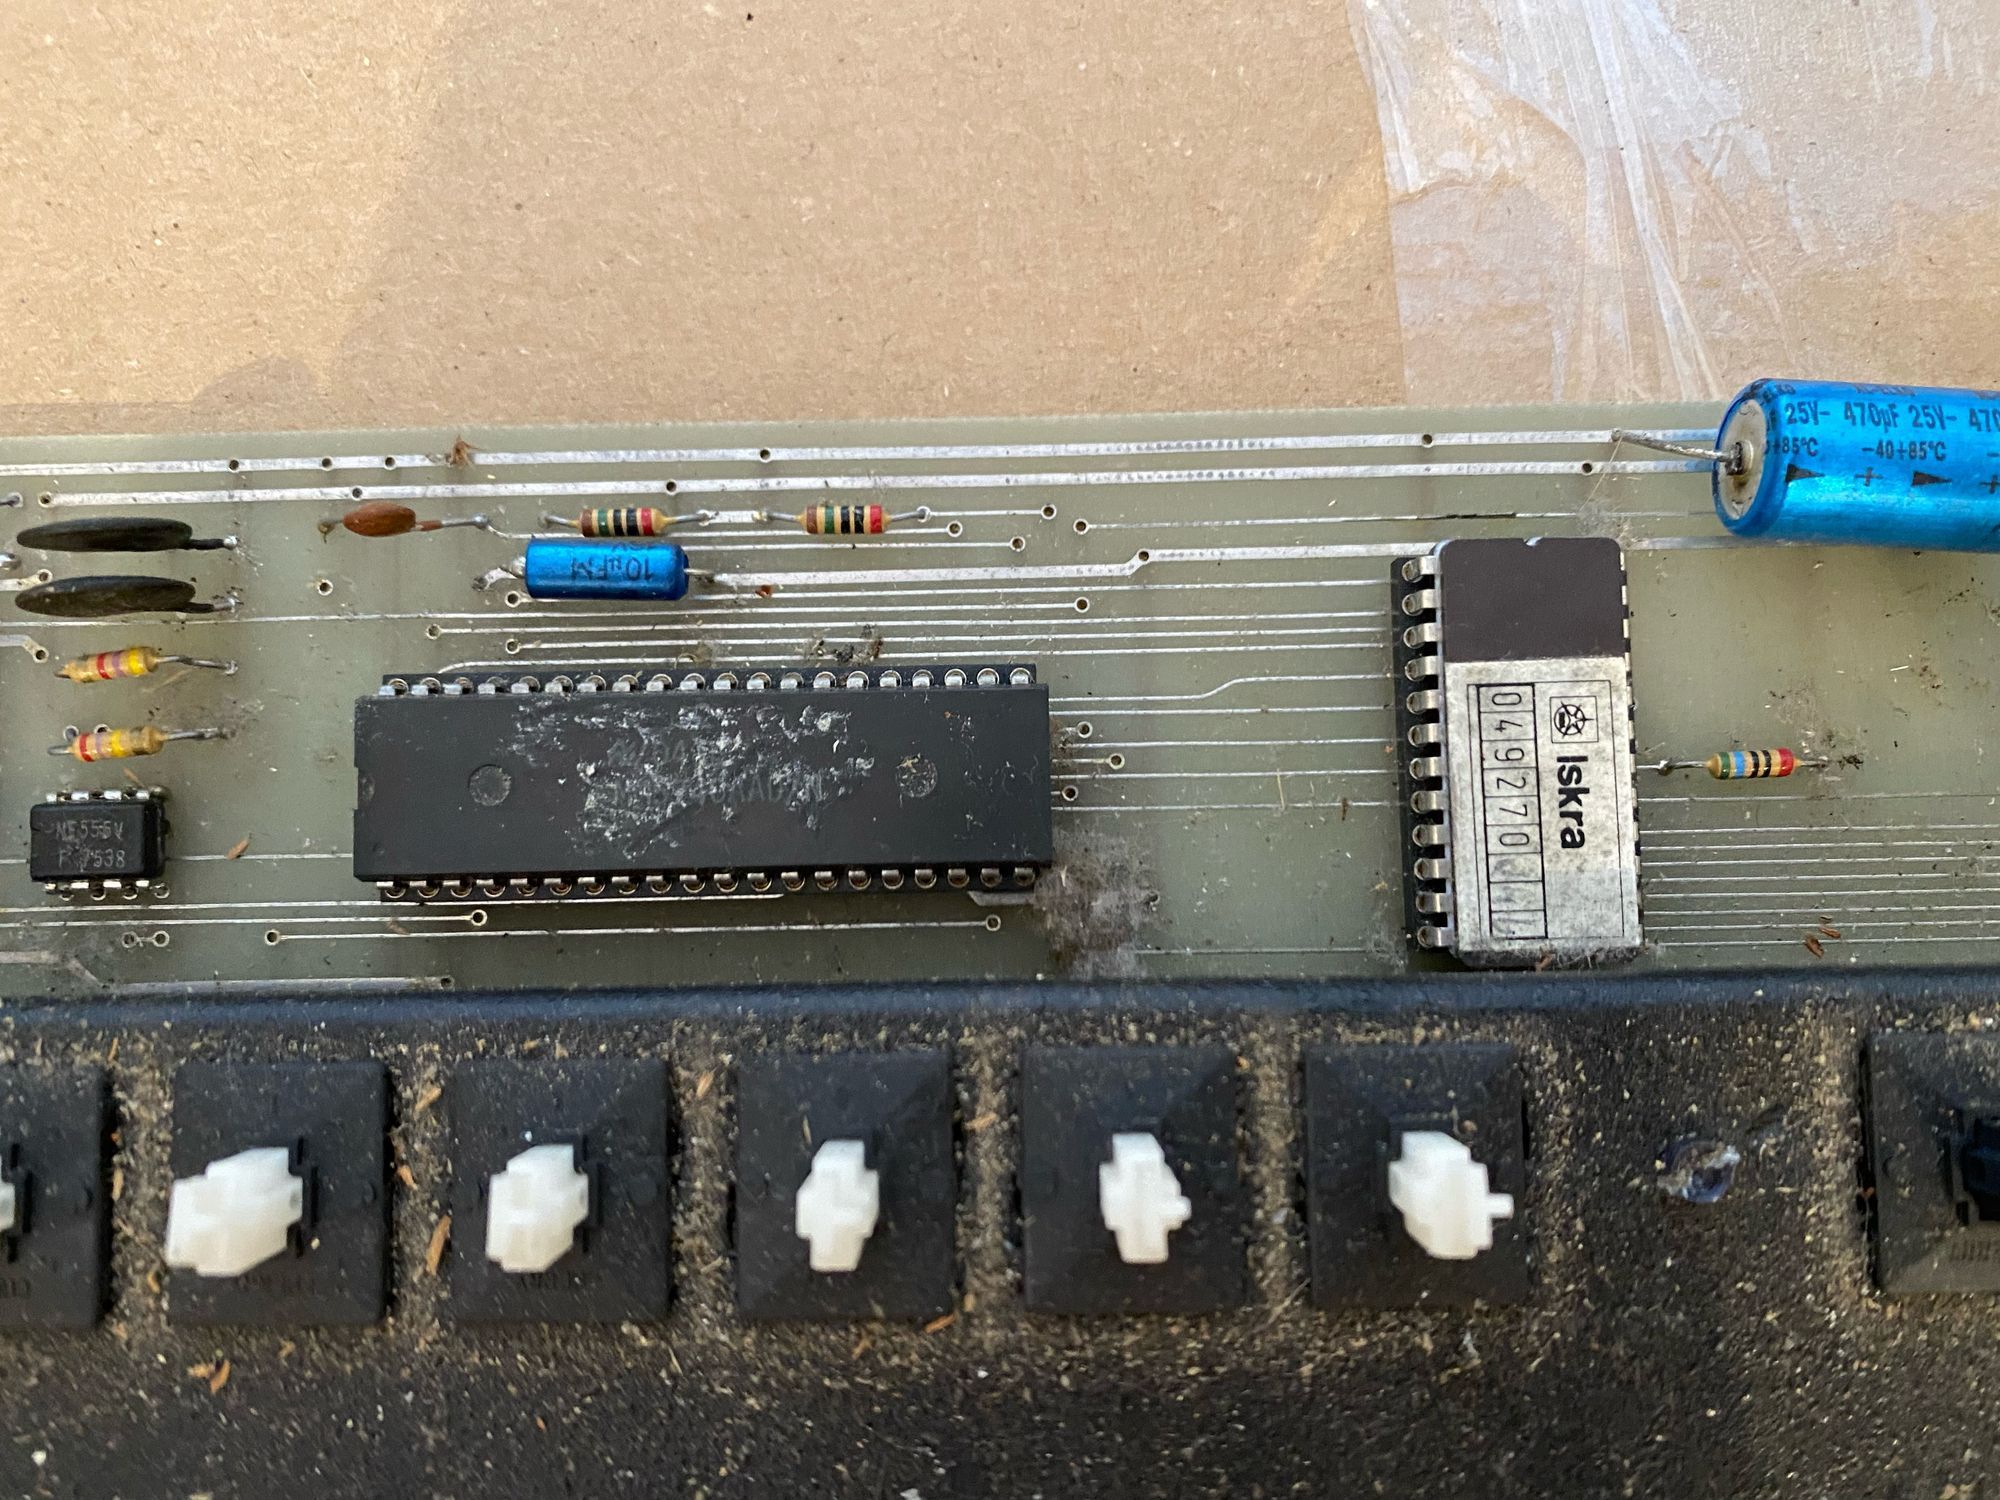
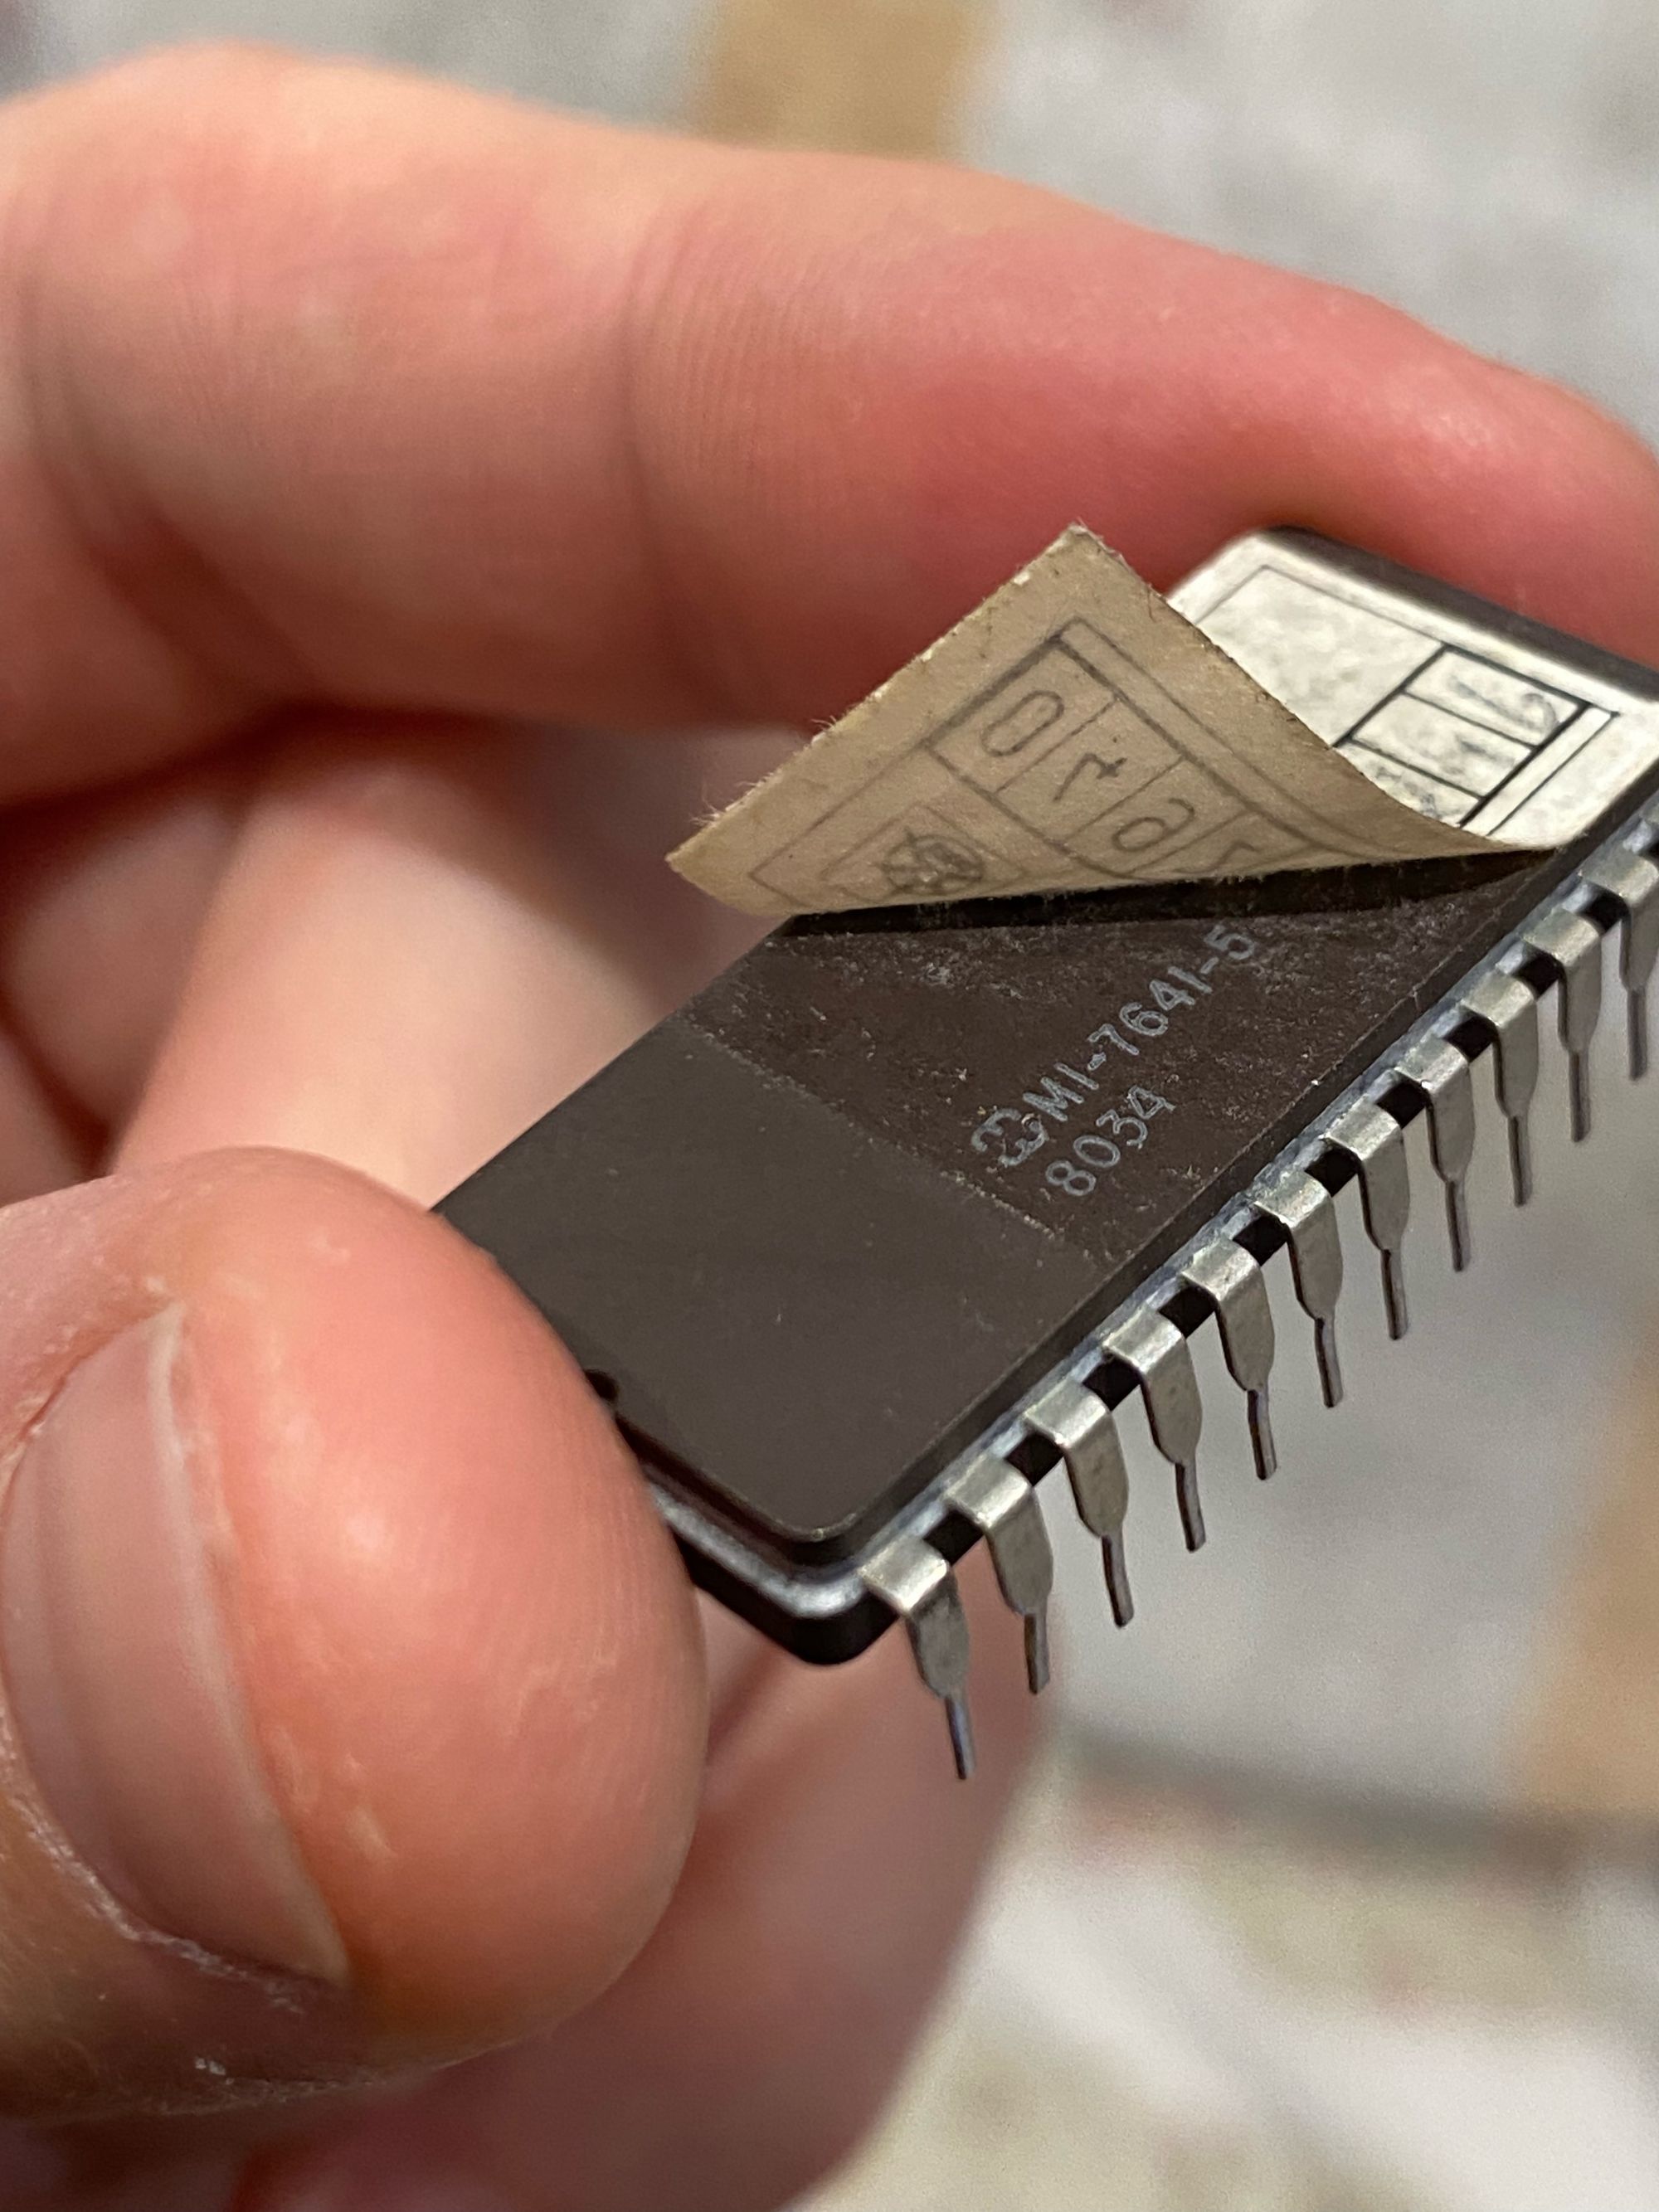
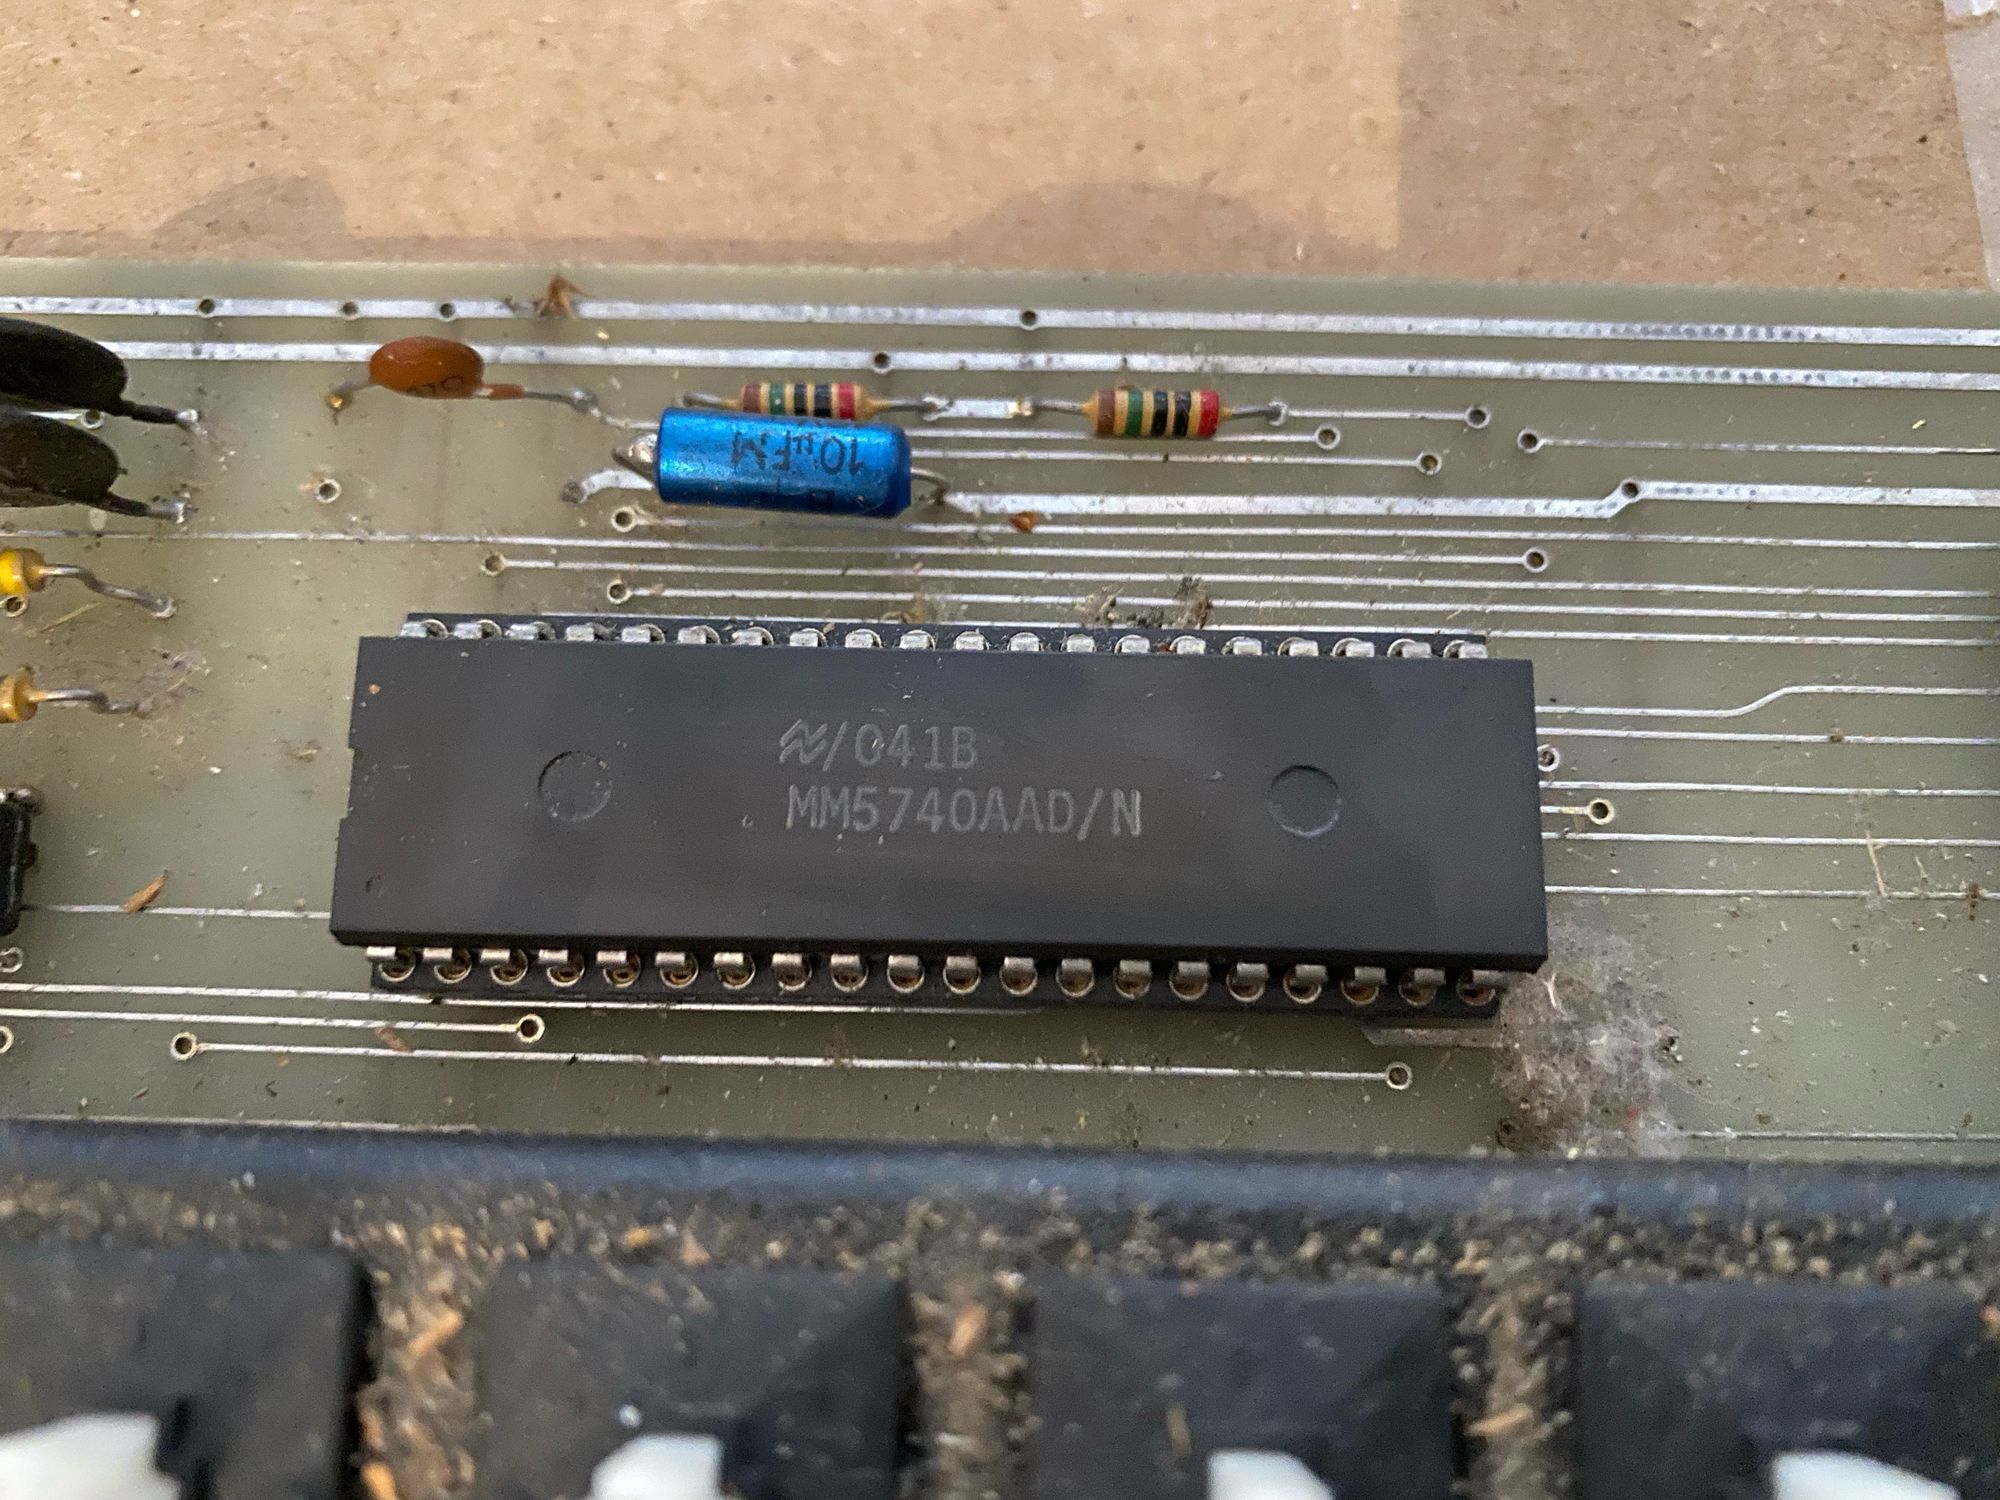
Disassembling and Cleaning
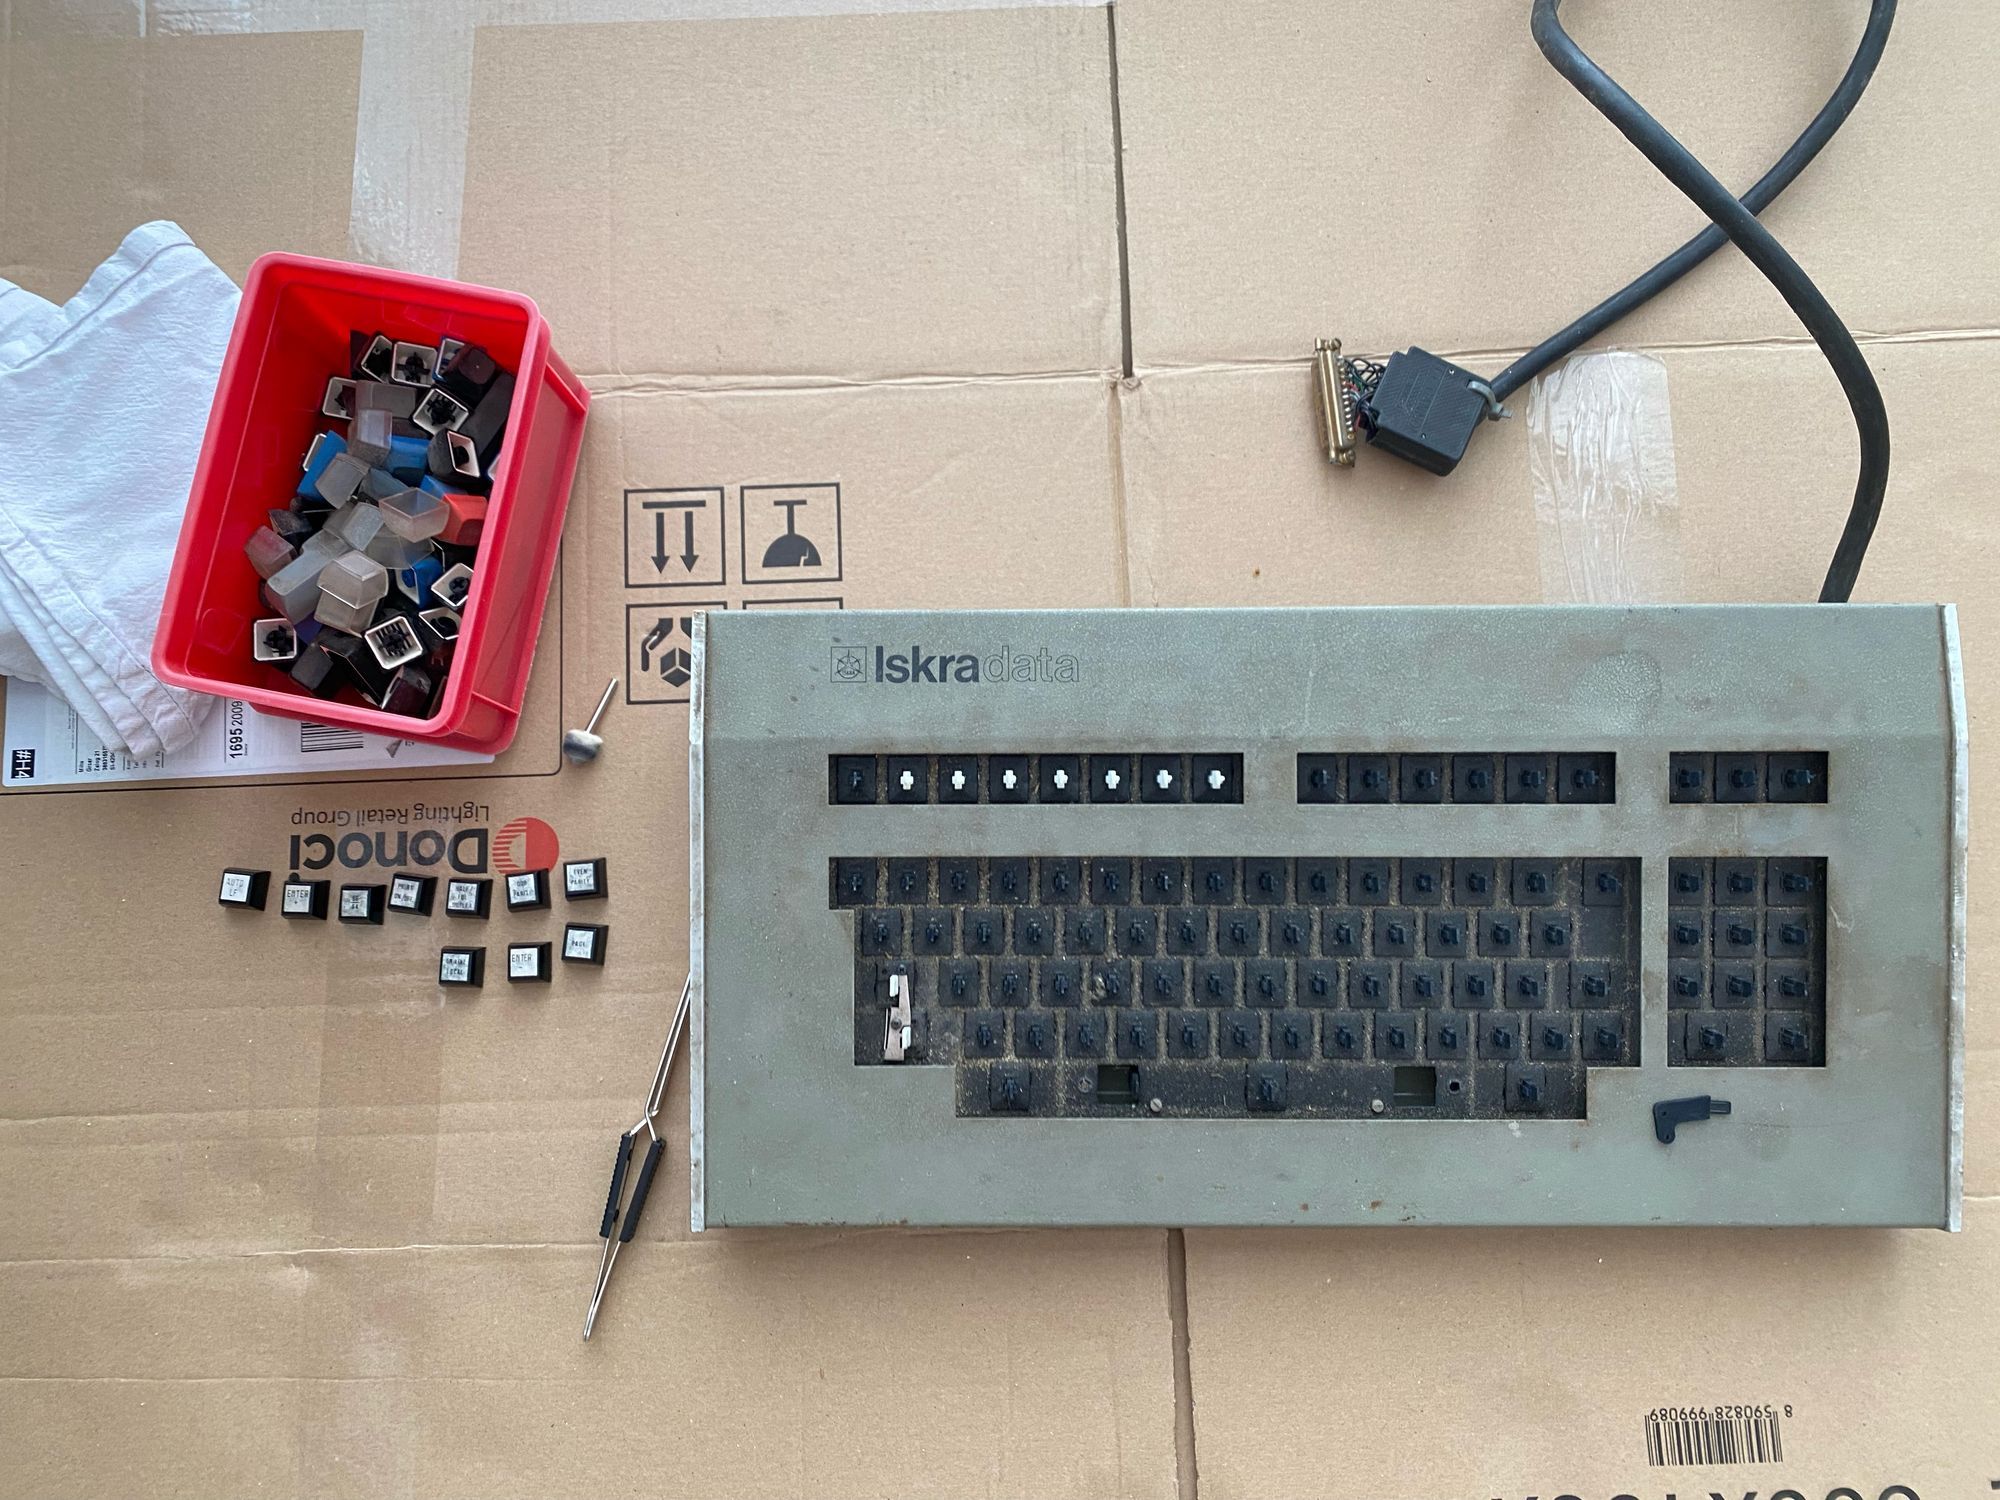
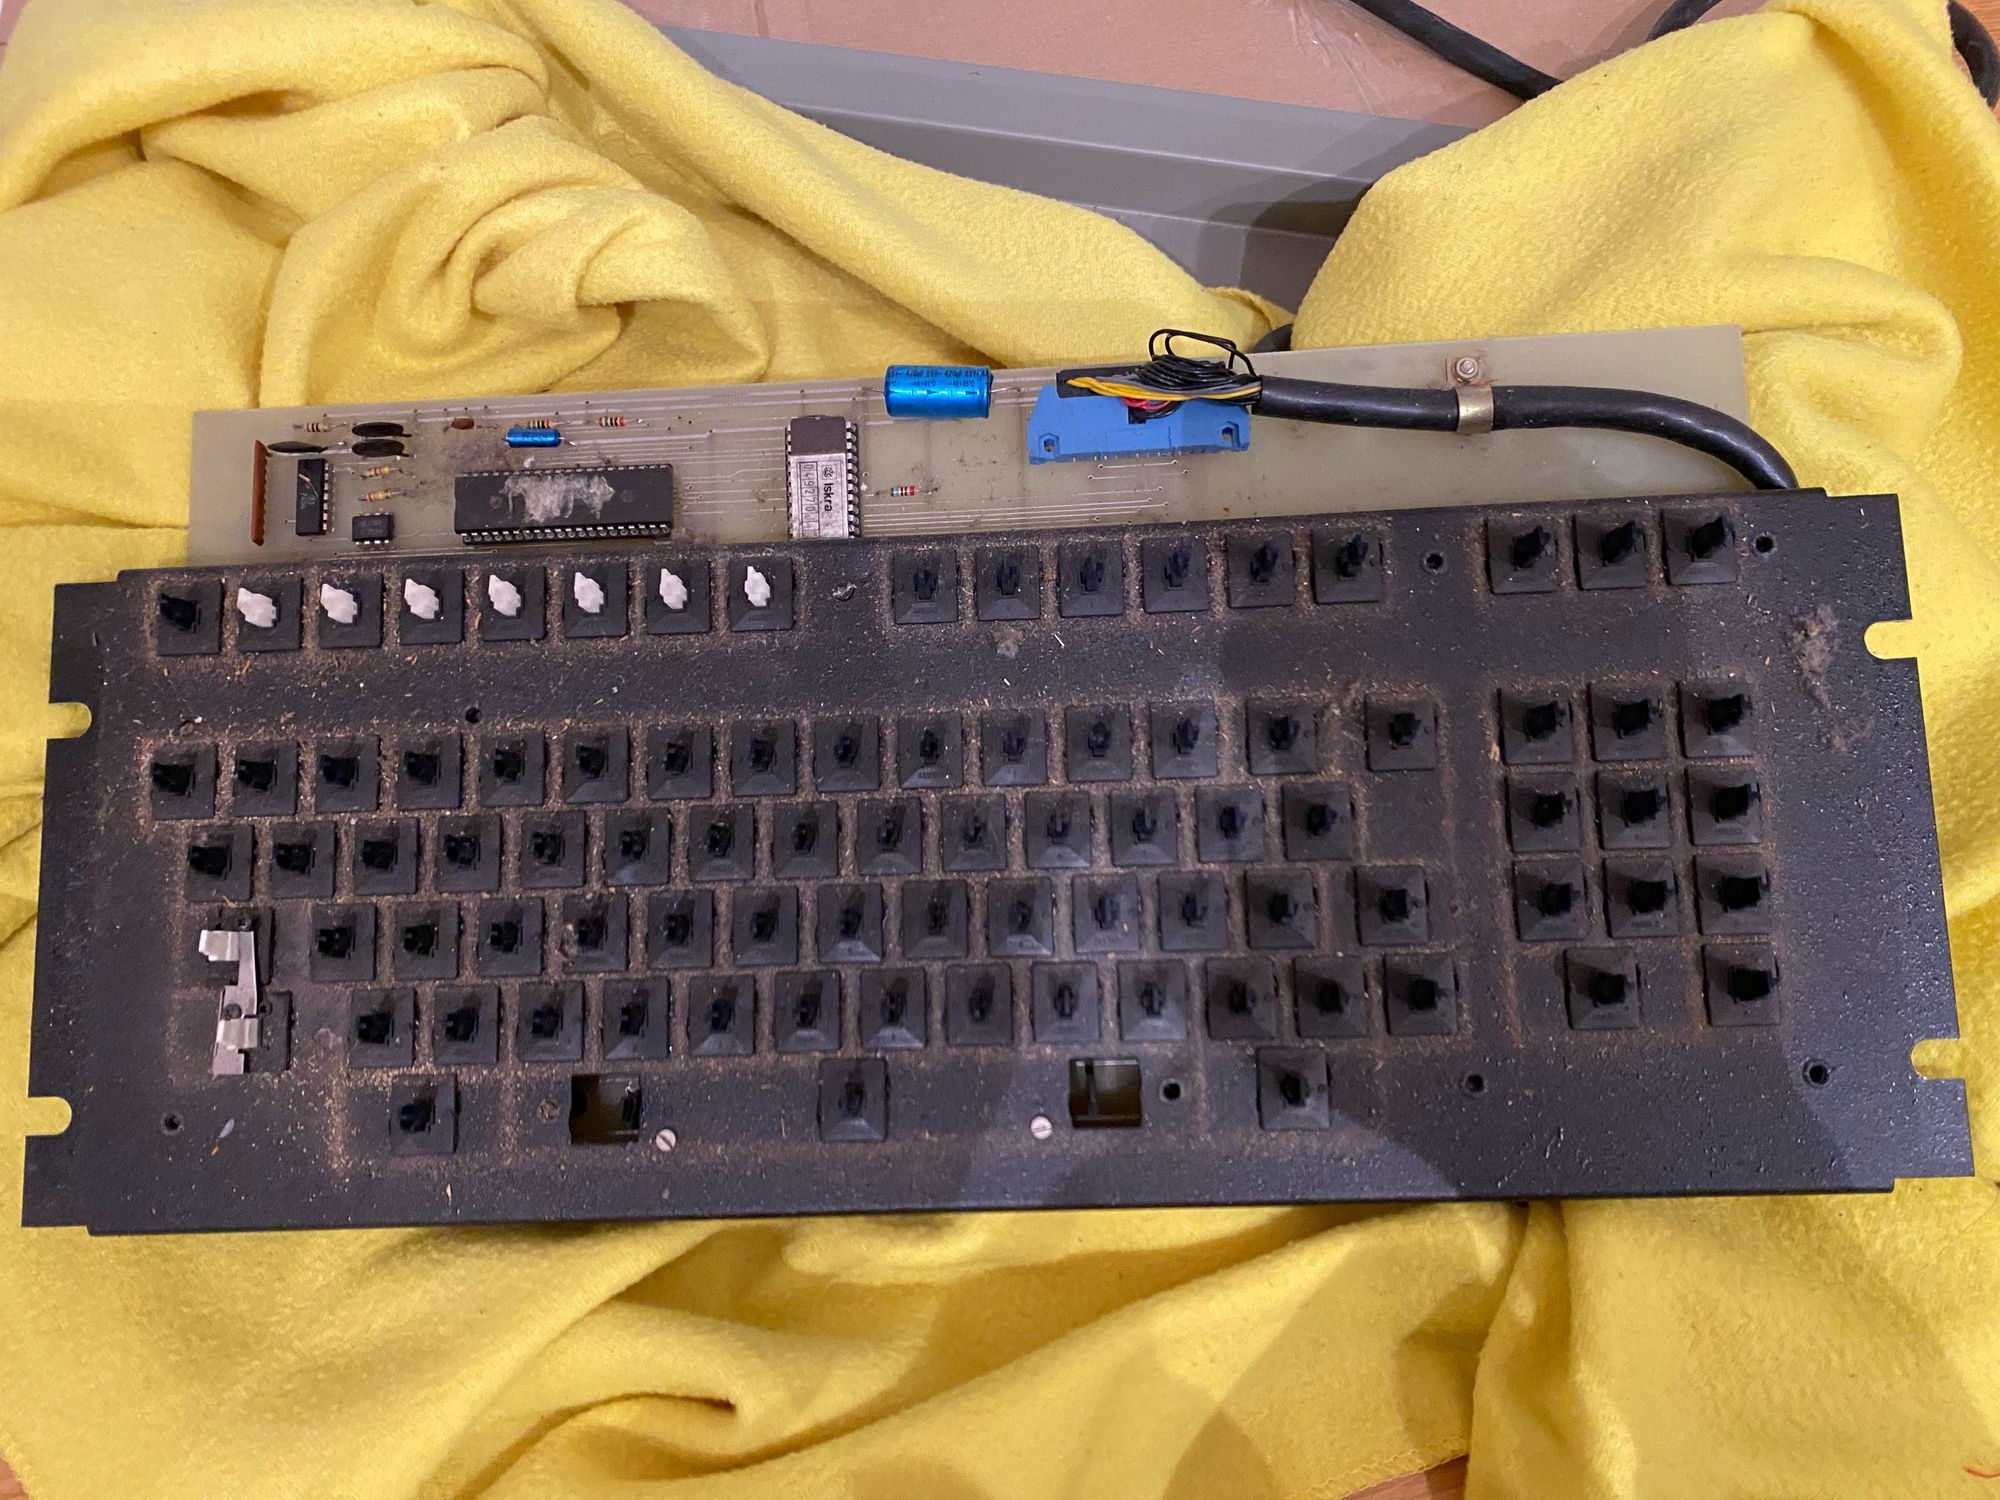
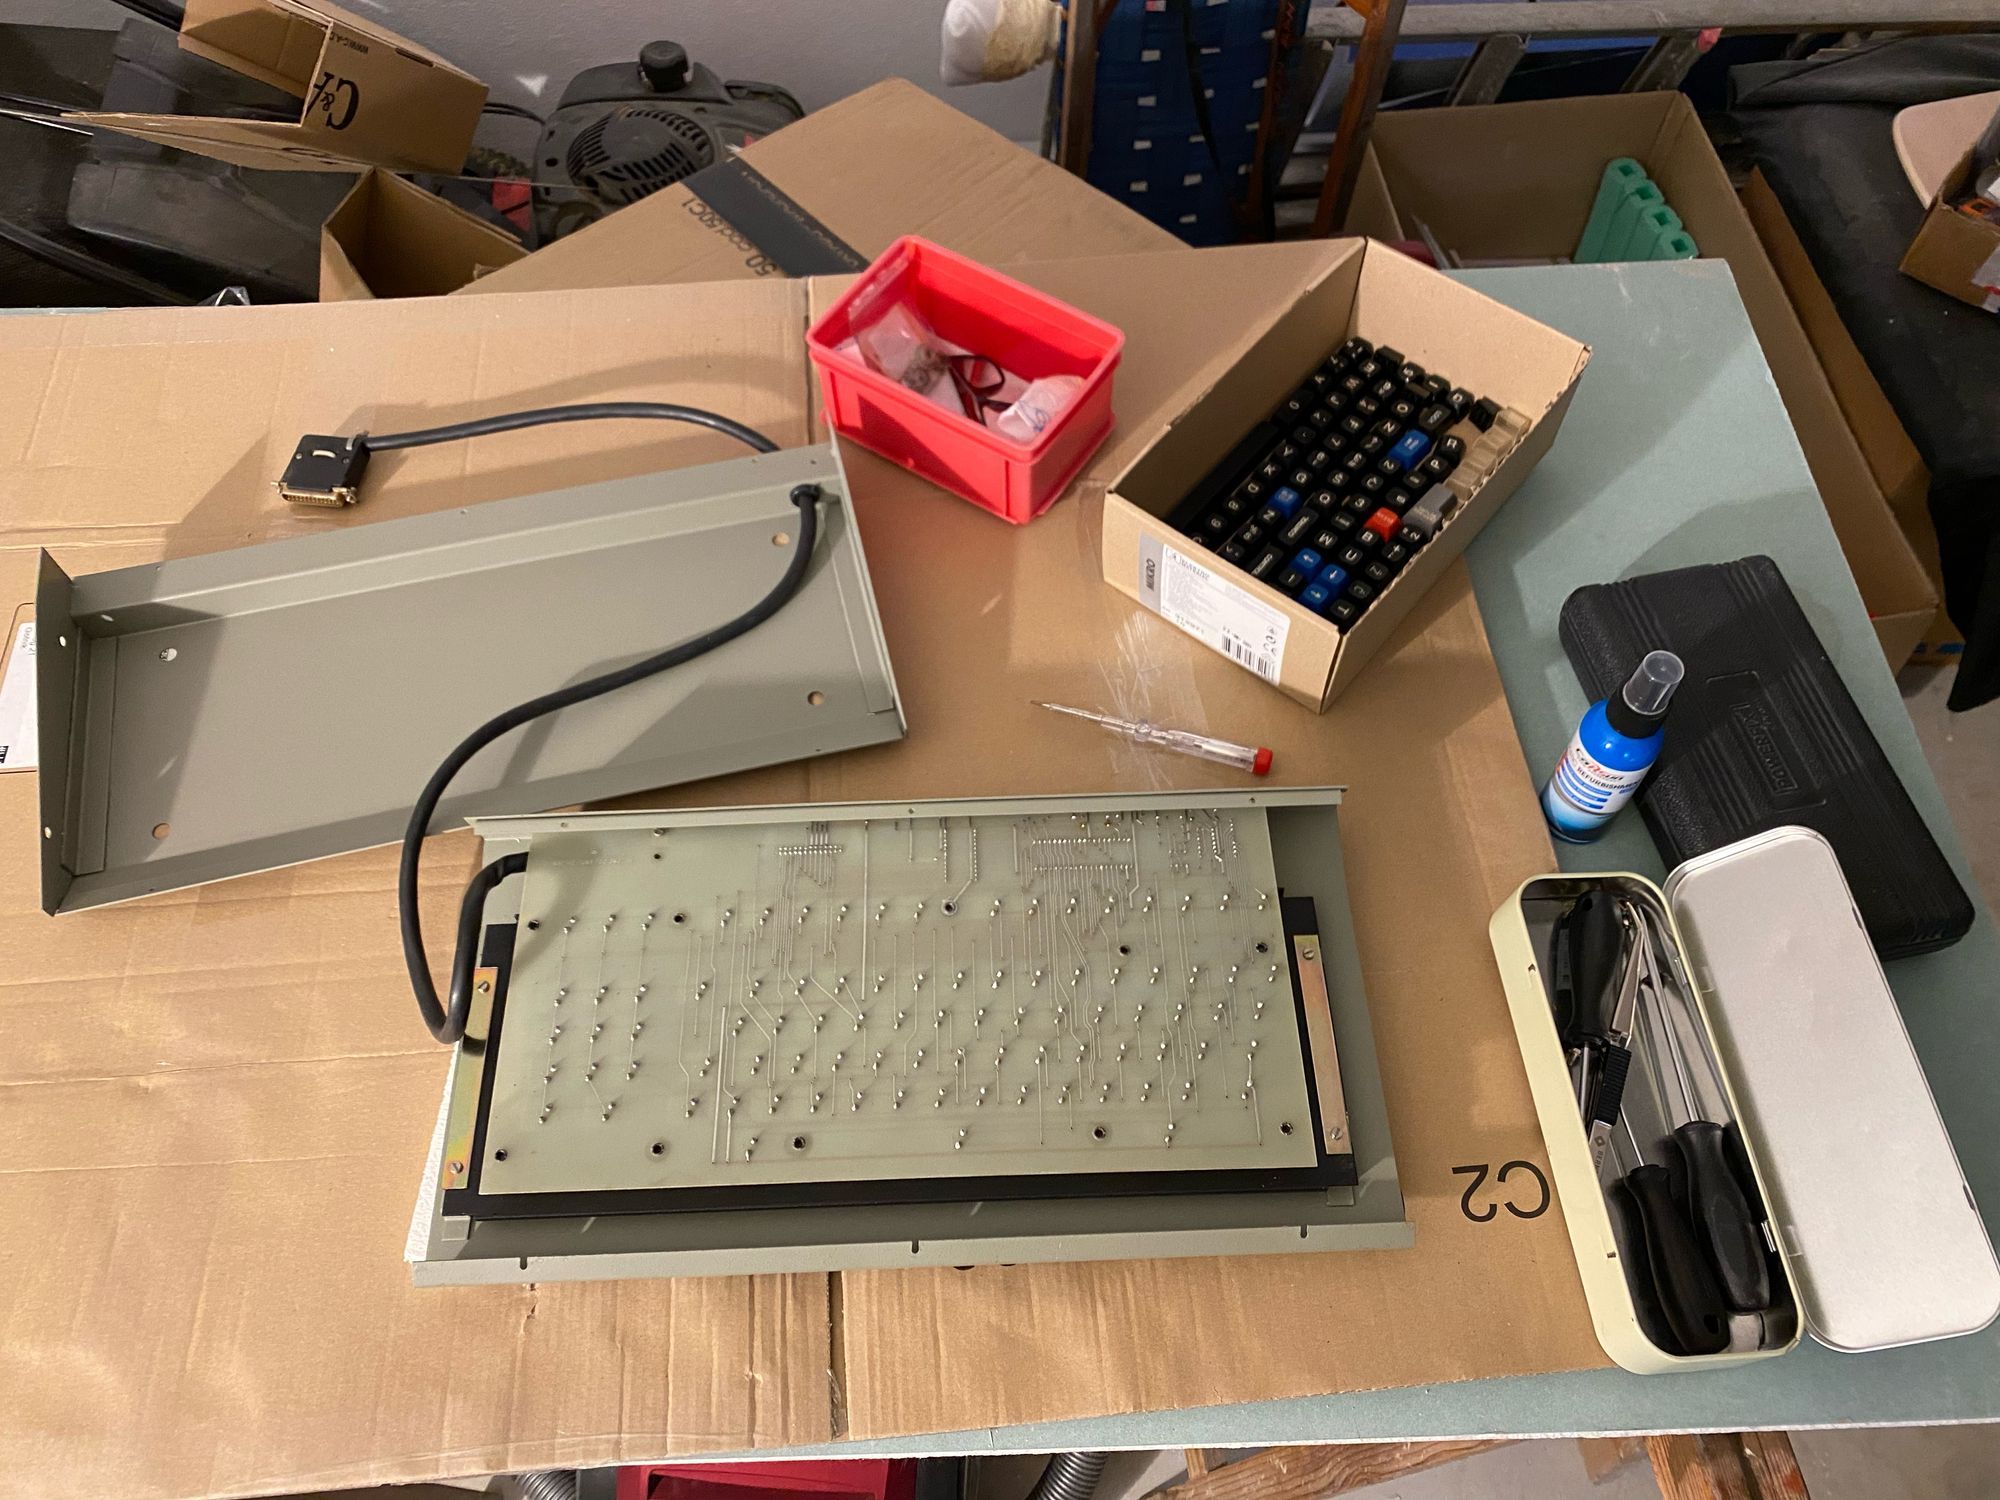
The first step in the restoration process was to disassemble the keyboard and clean all the parts. We removed each keycap and cleaned it with dish soap and water. We did the same with the case, removing any dirt and grime that had accumulated over the years. We cleaned the board and the switches with a soft brush.

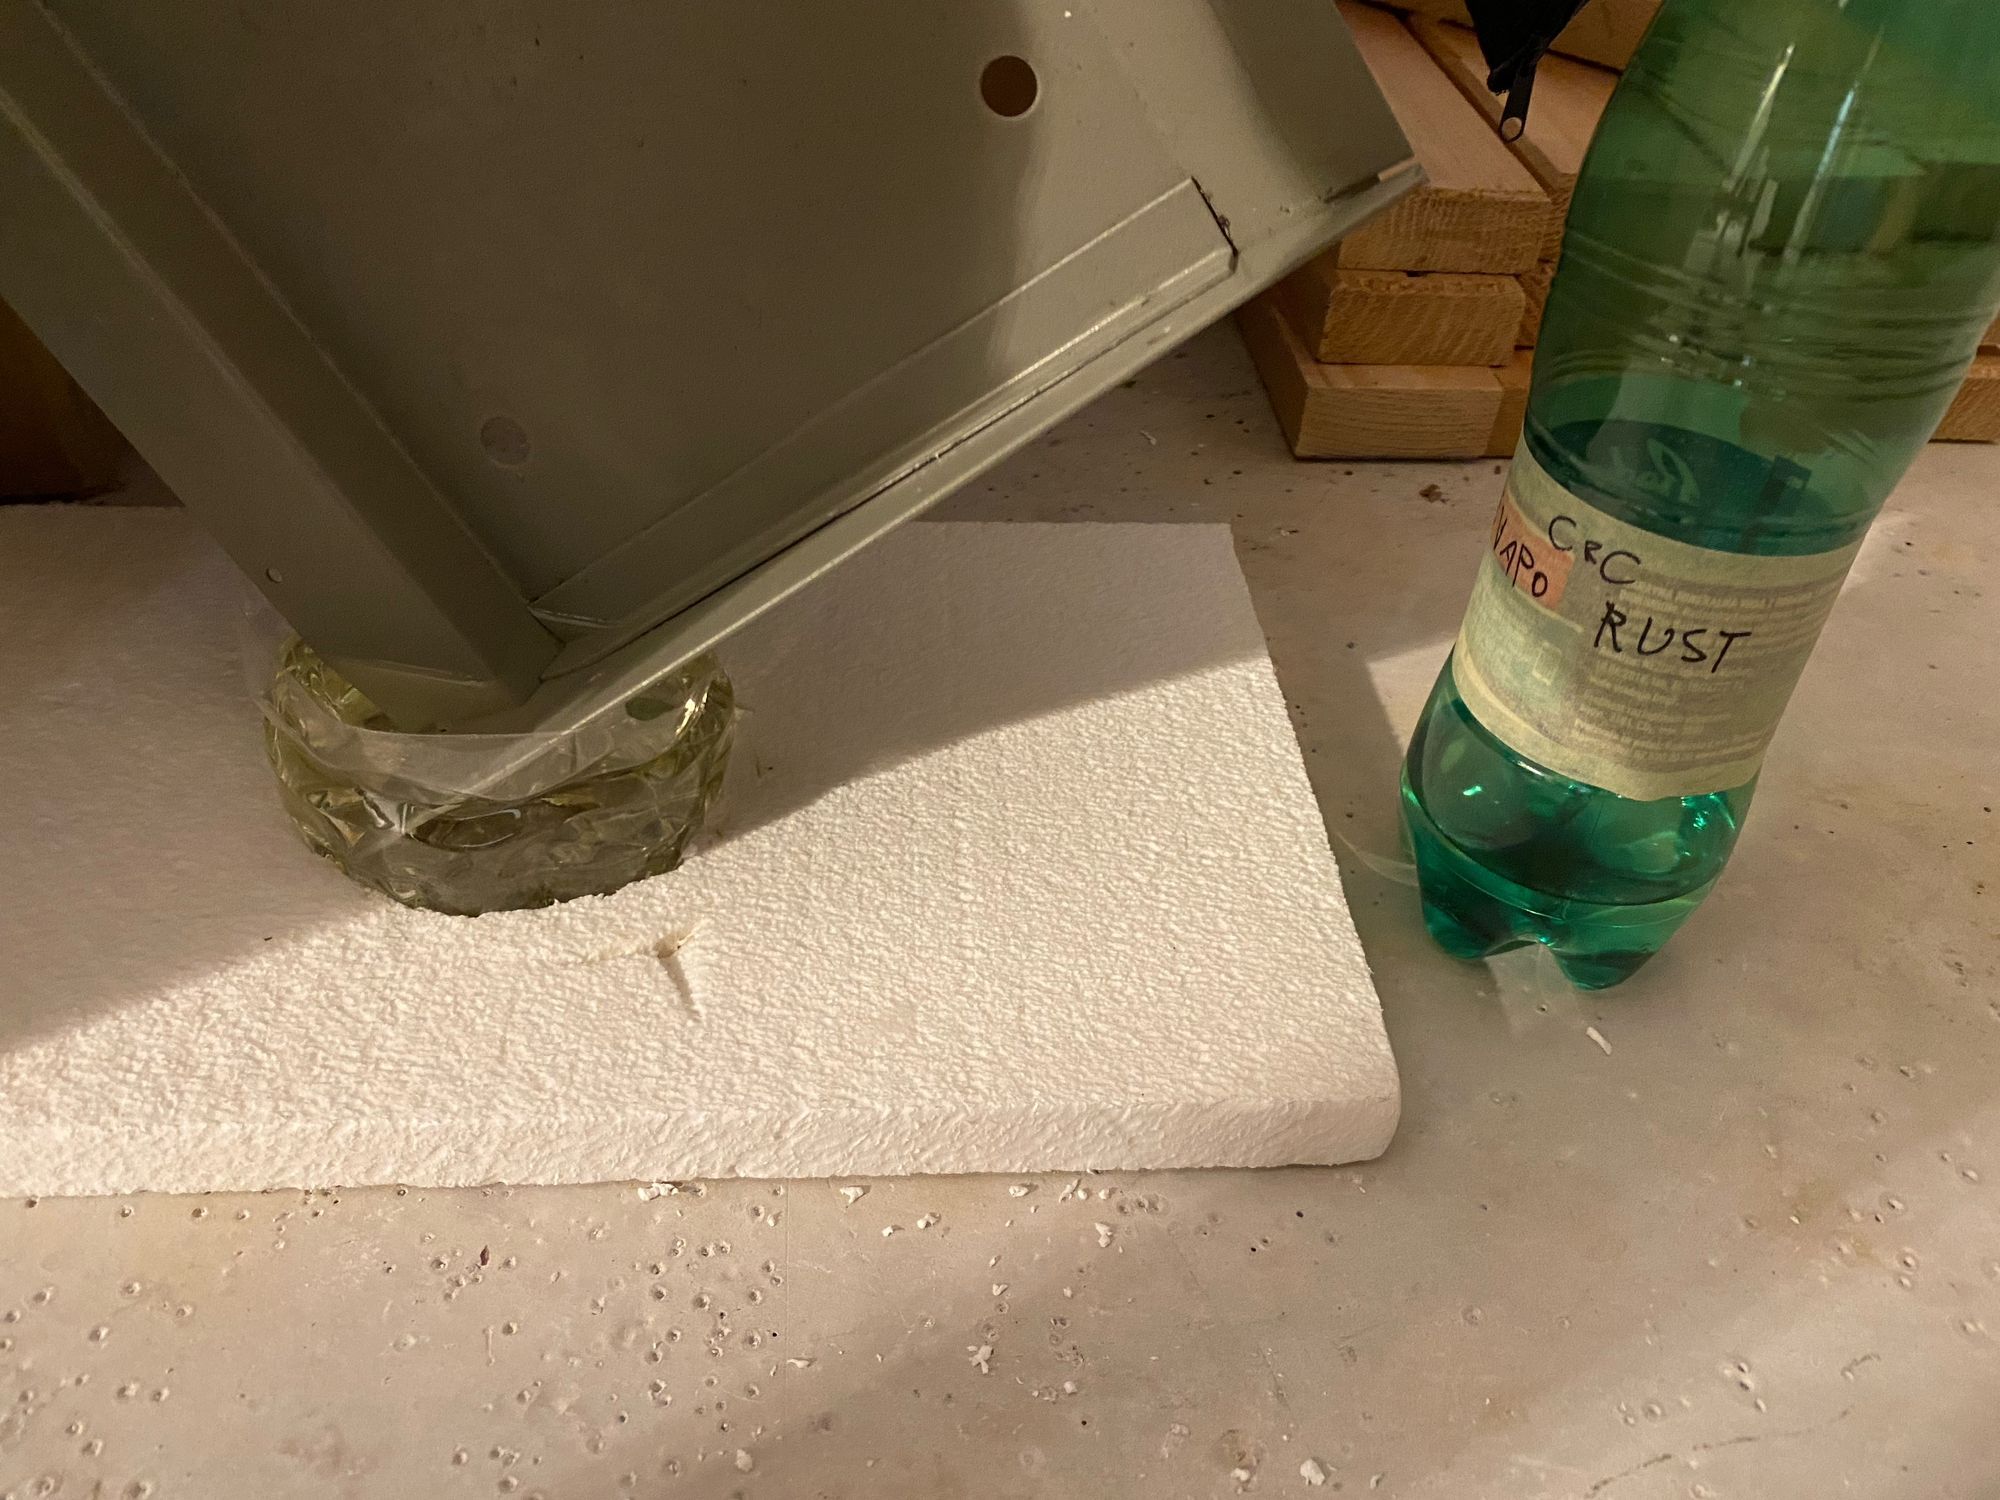
Removing Rust
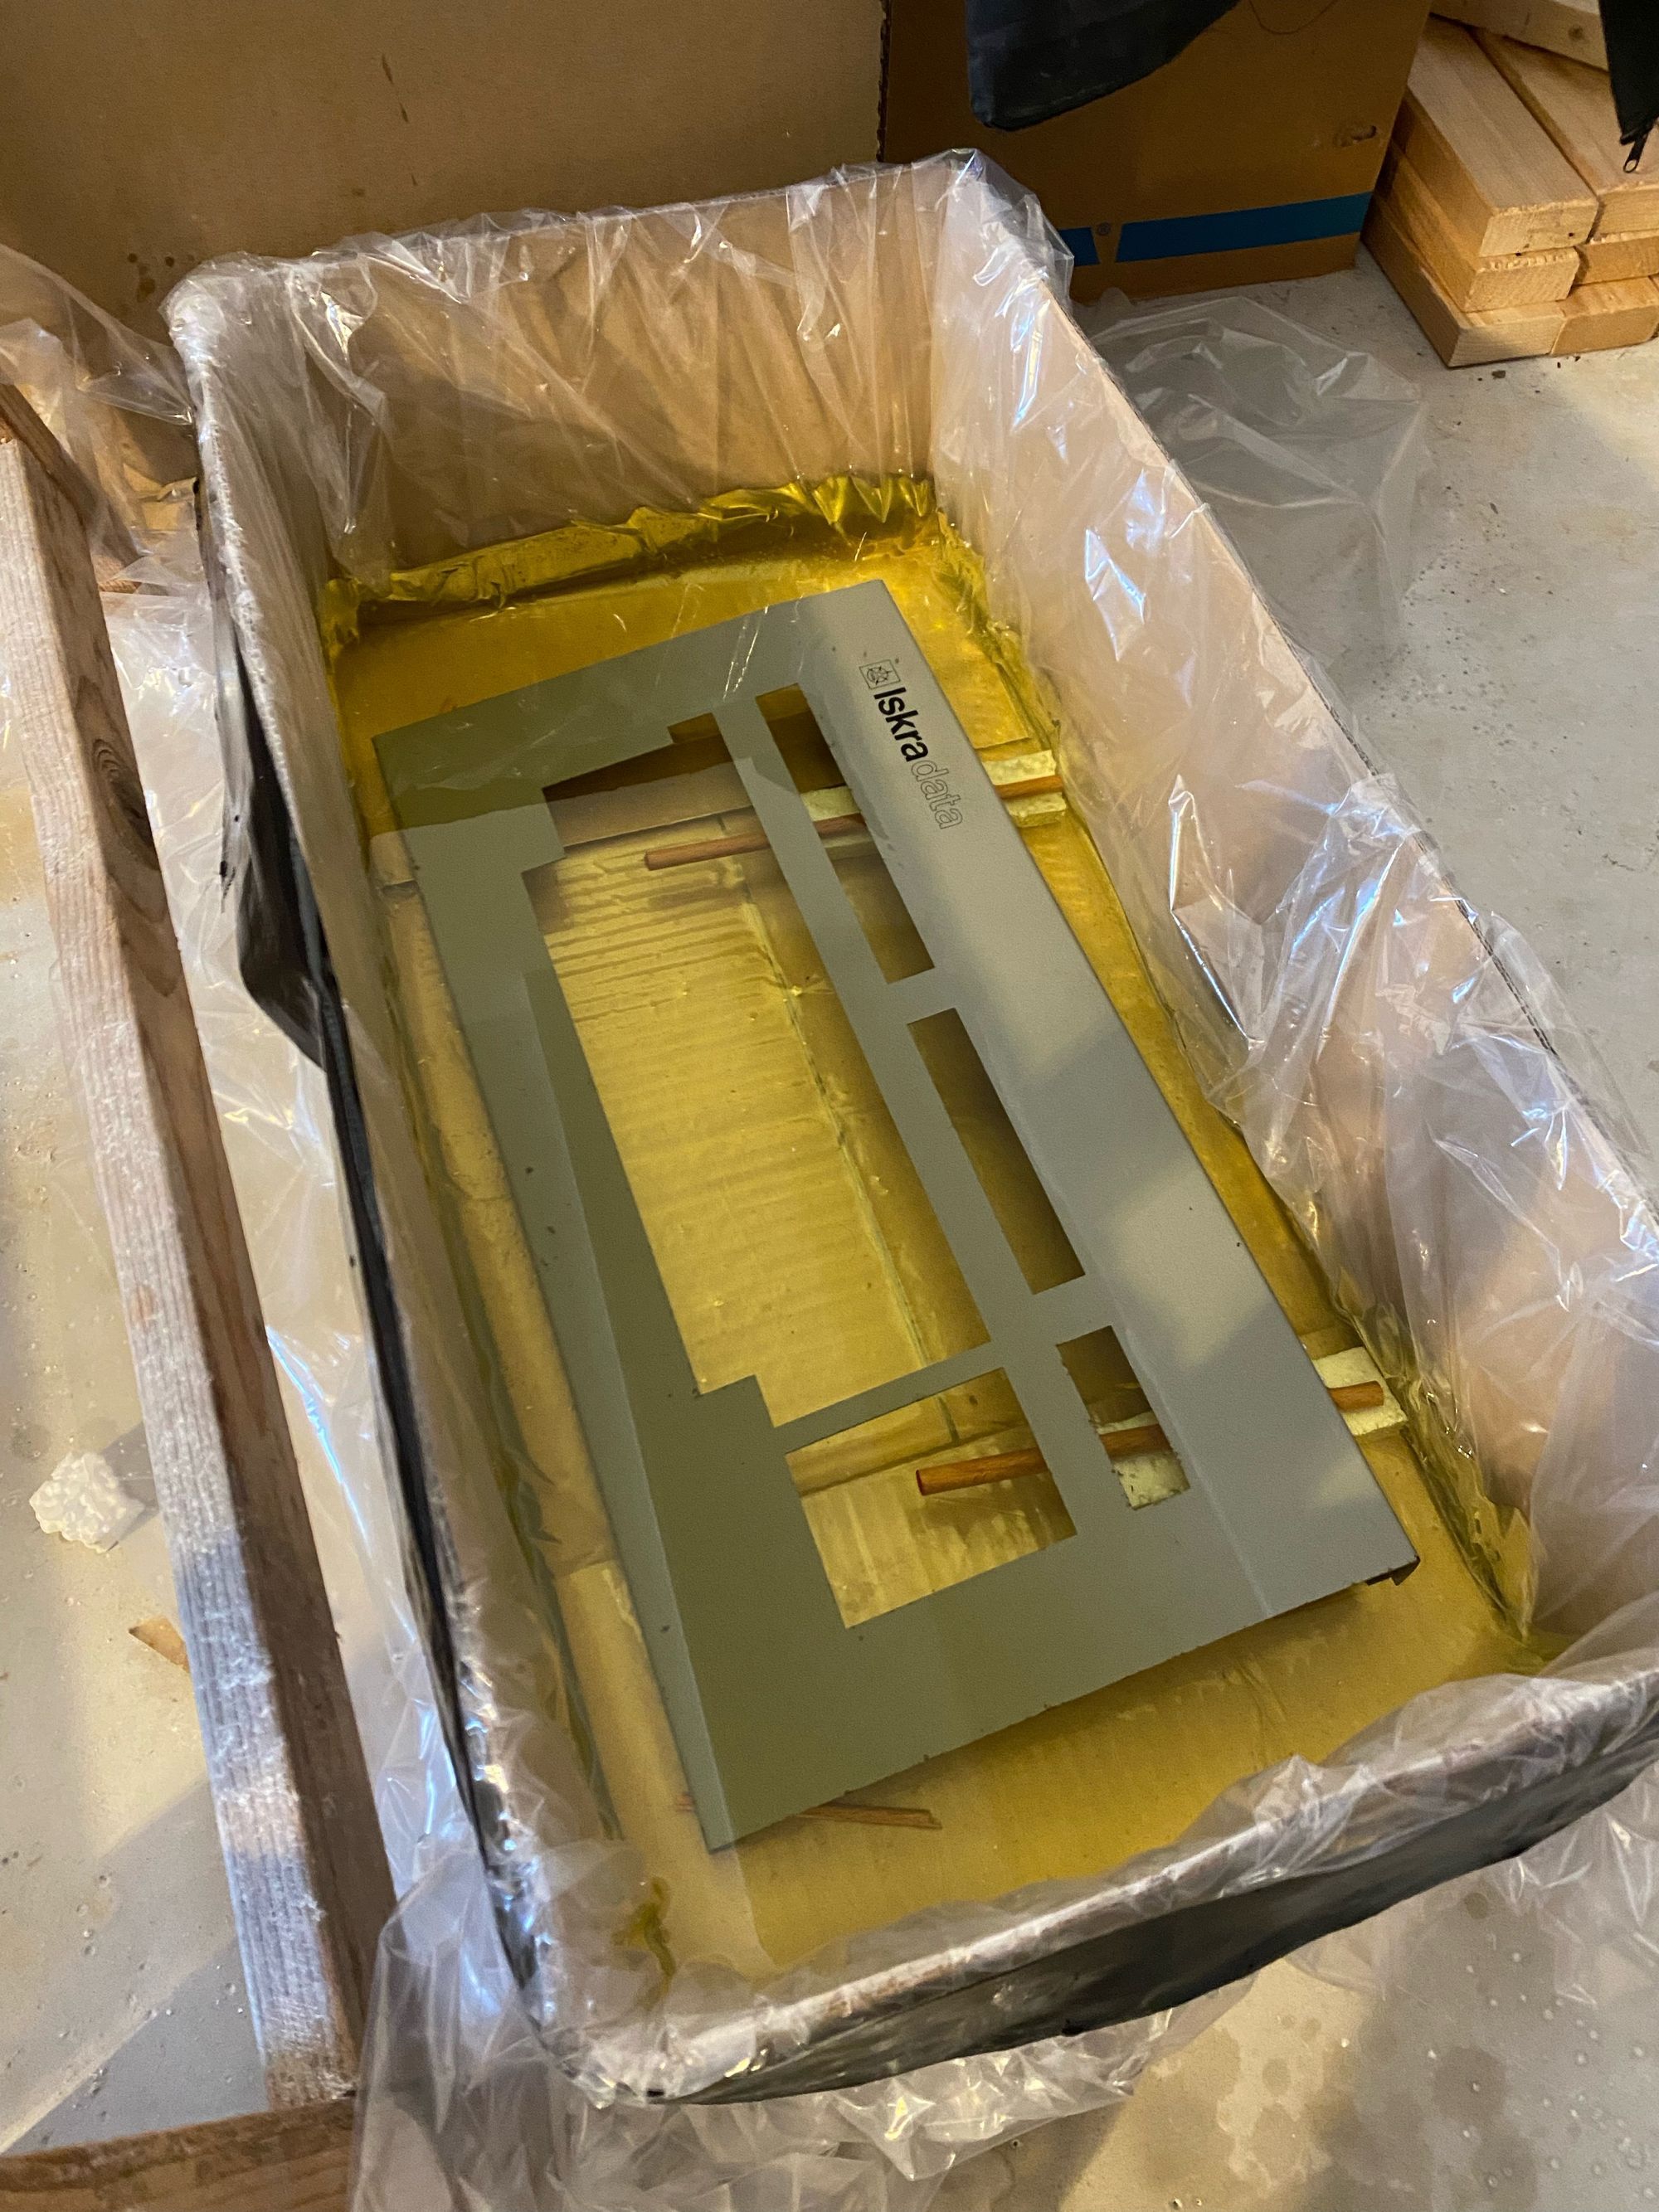
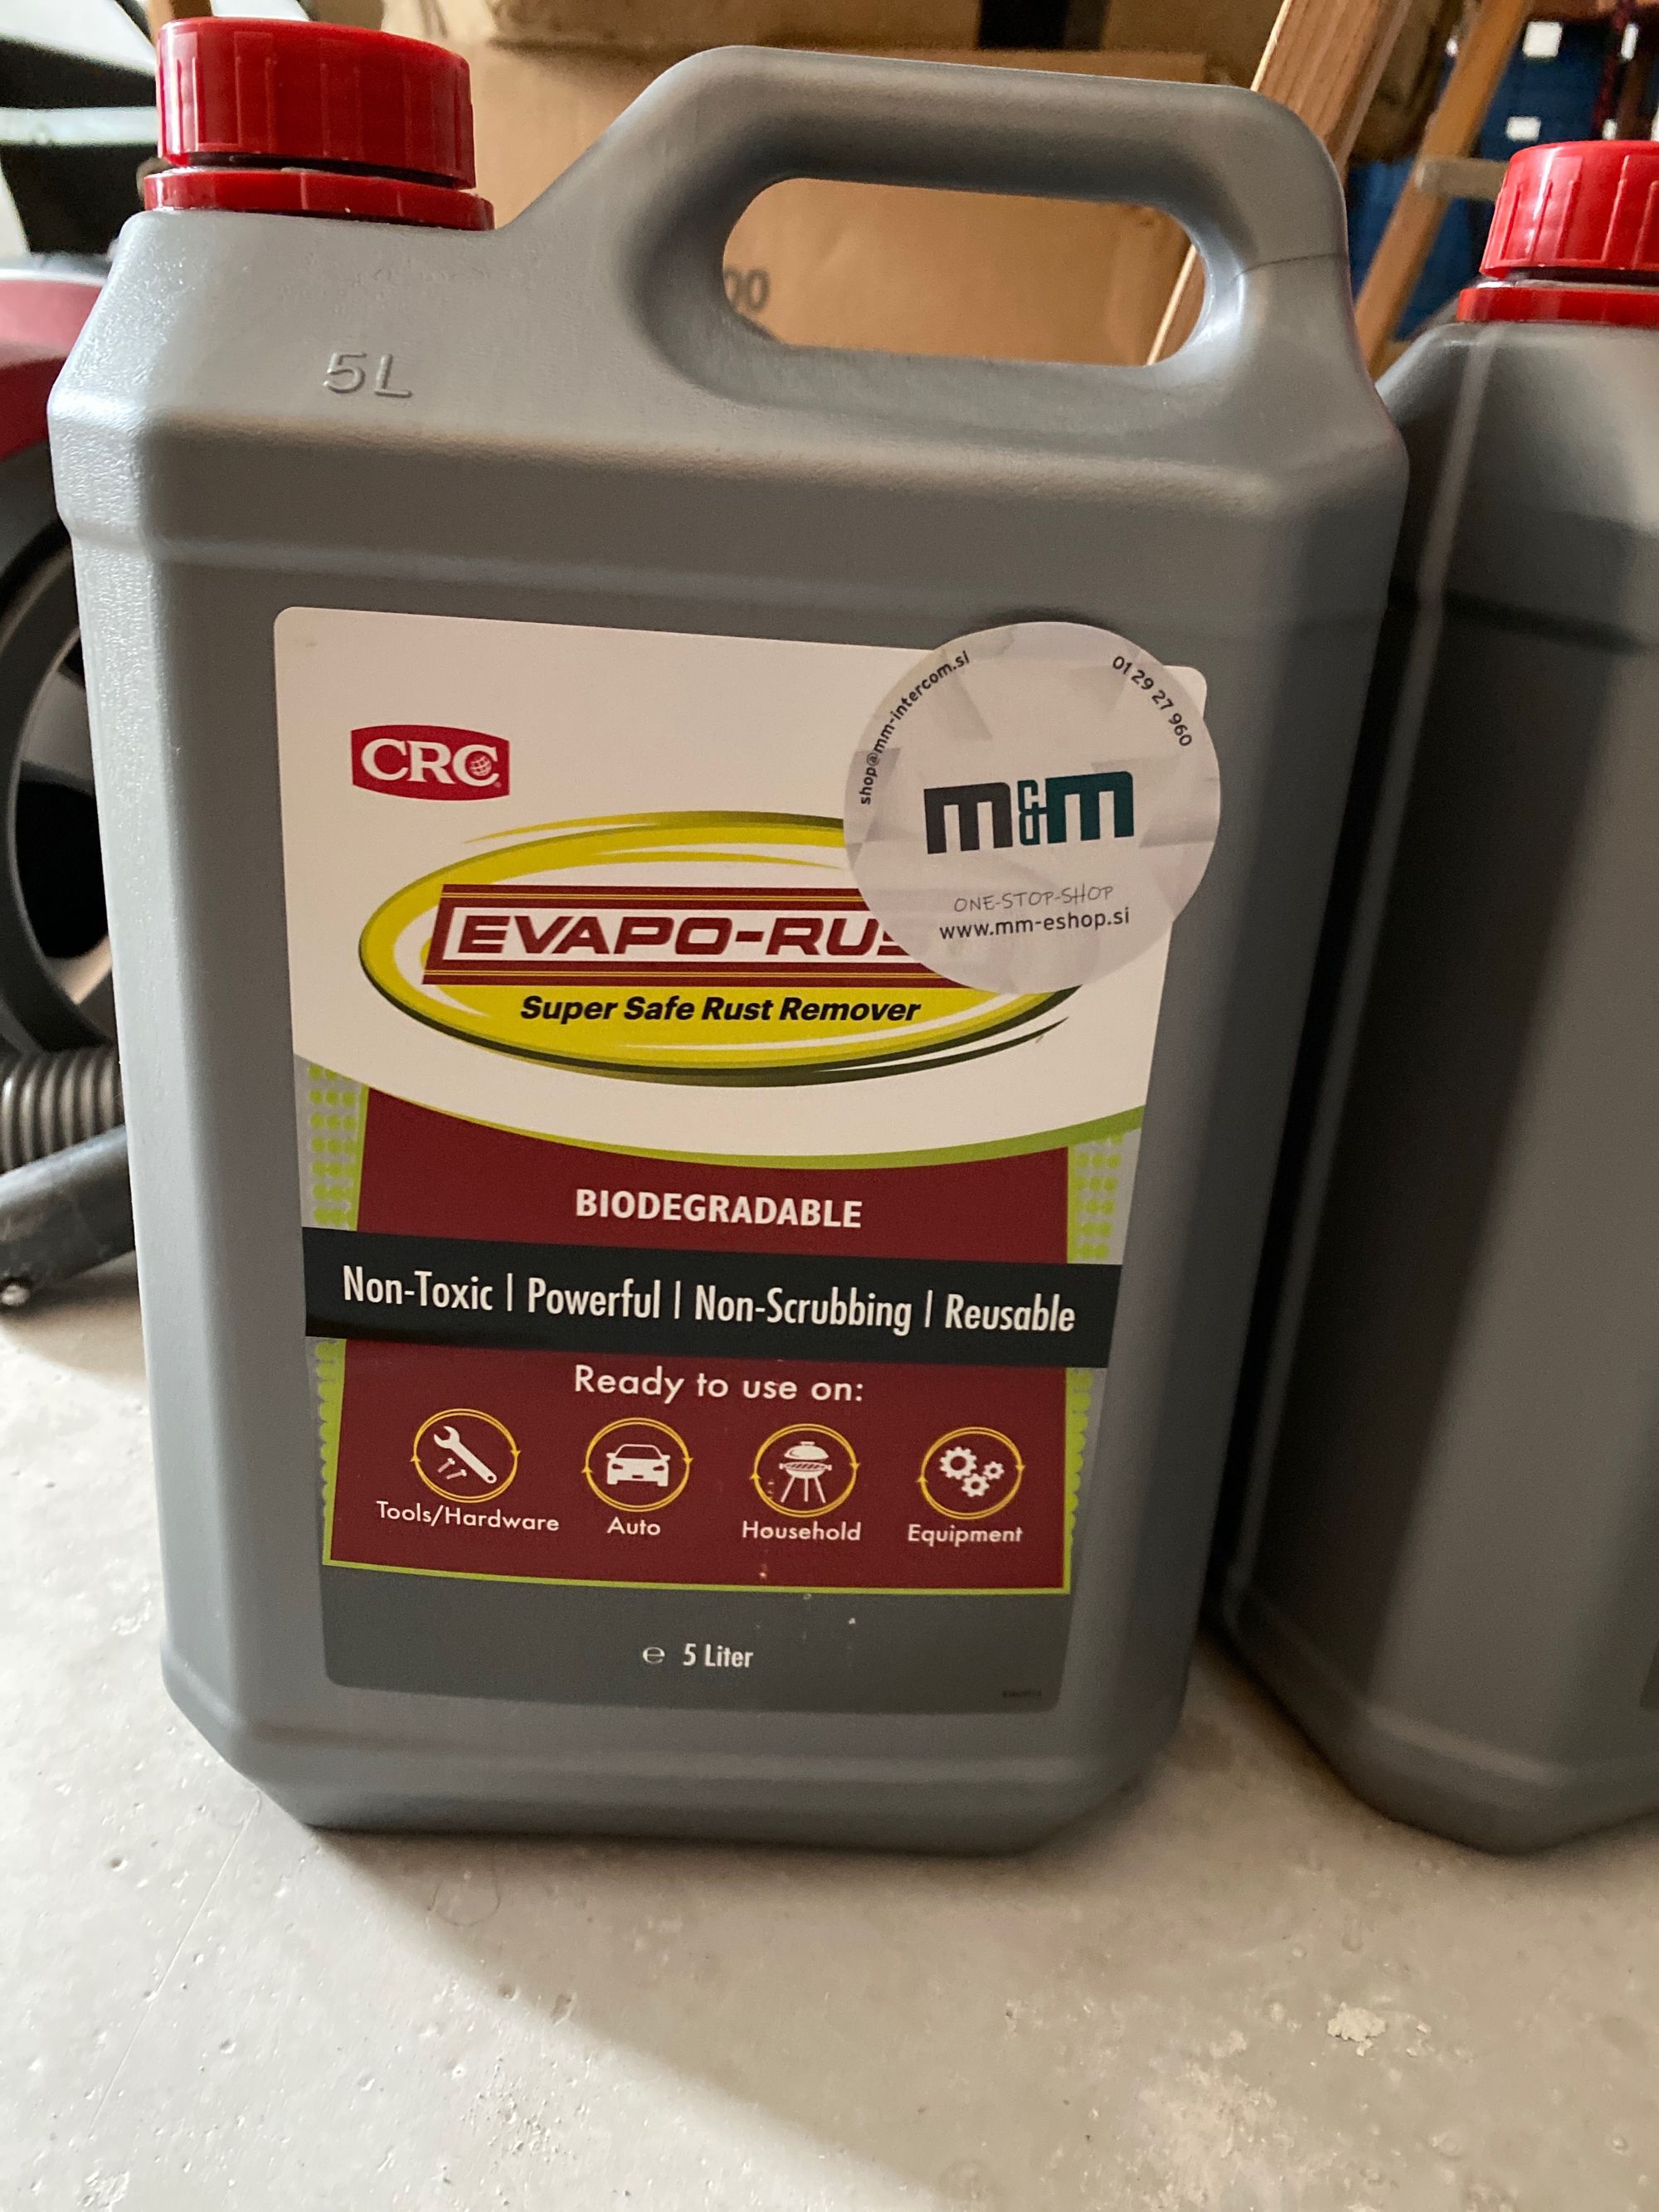
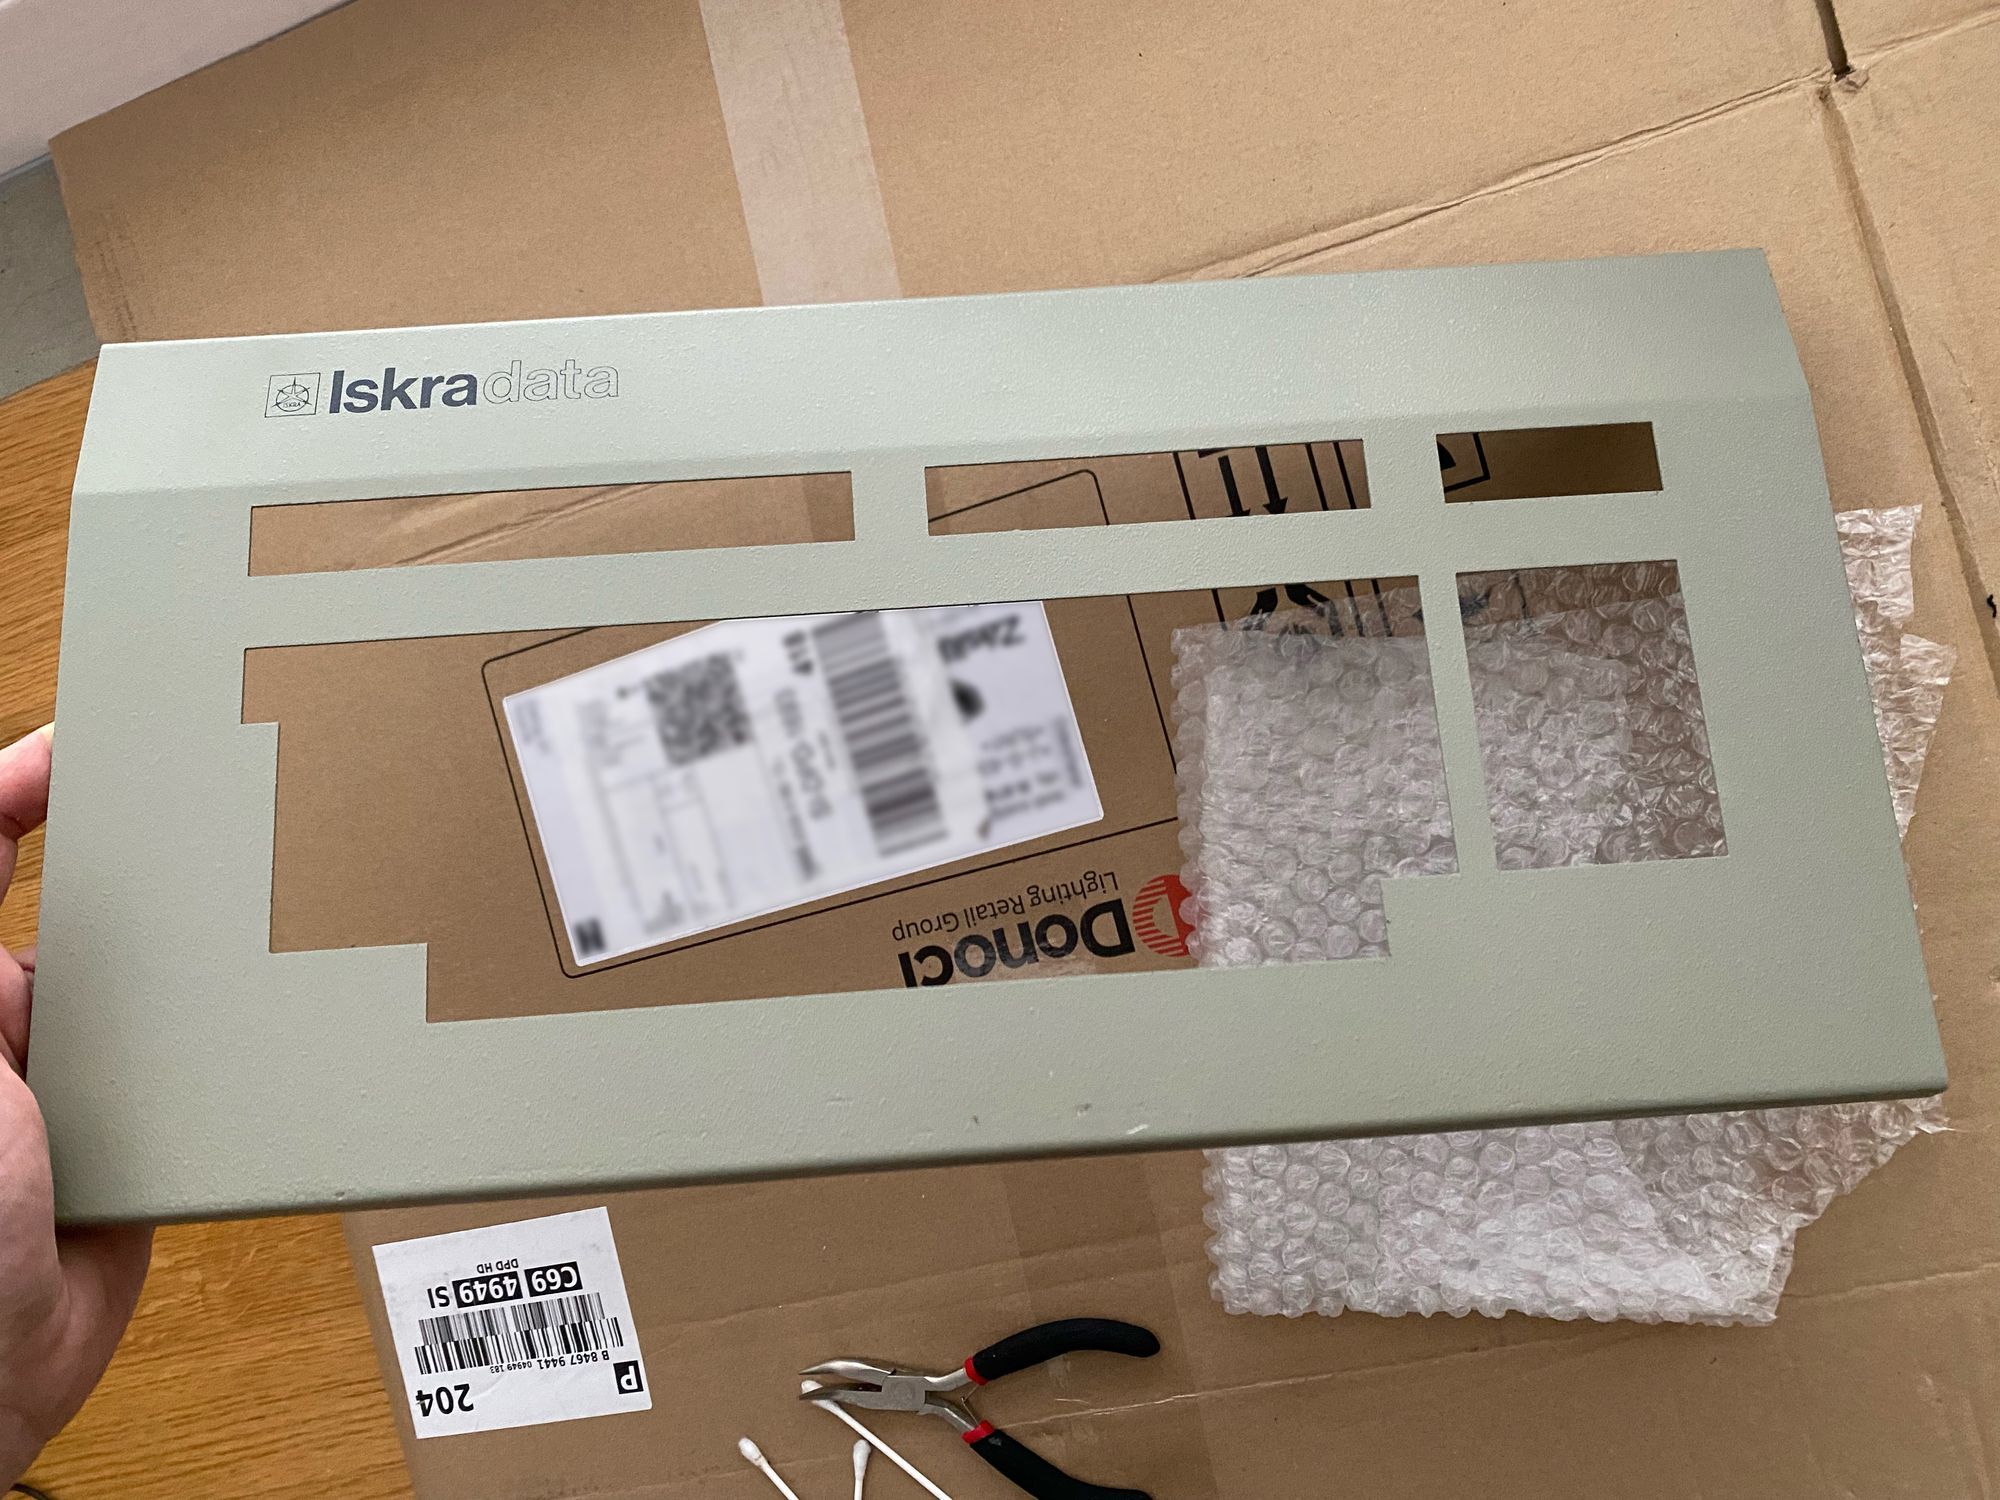
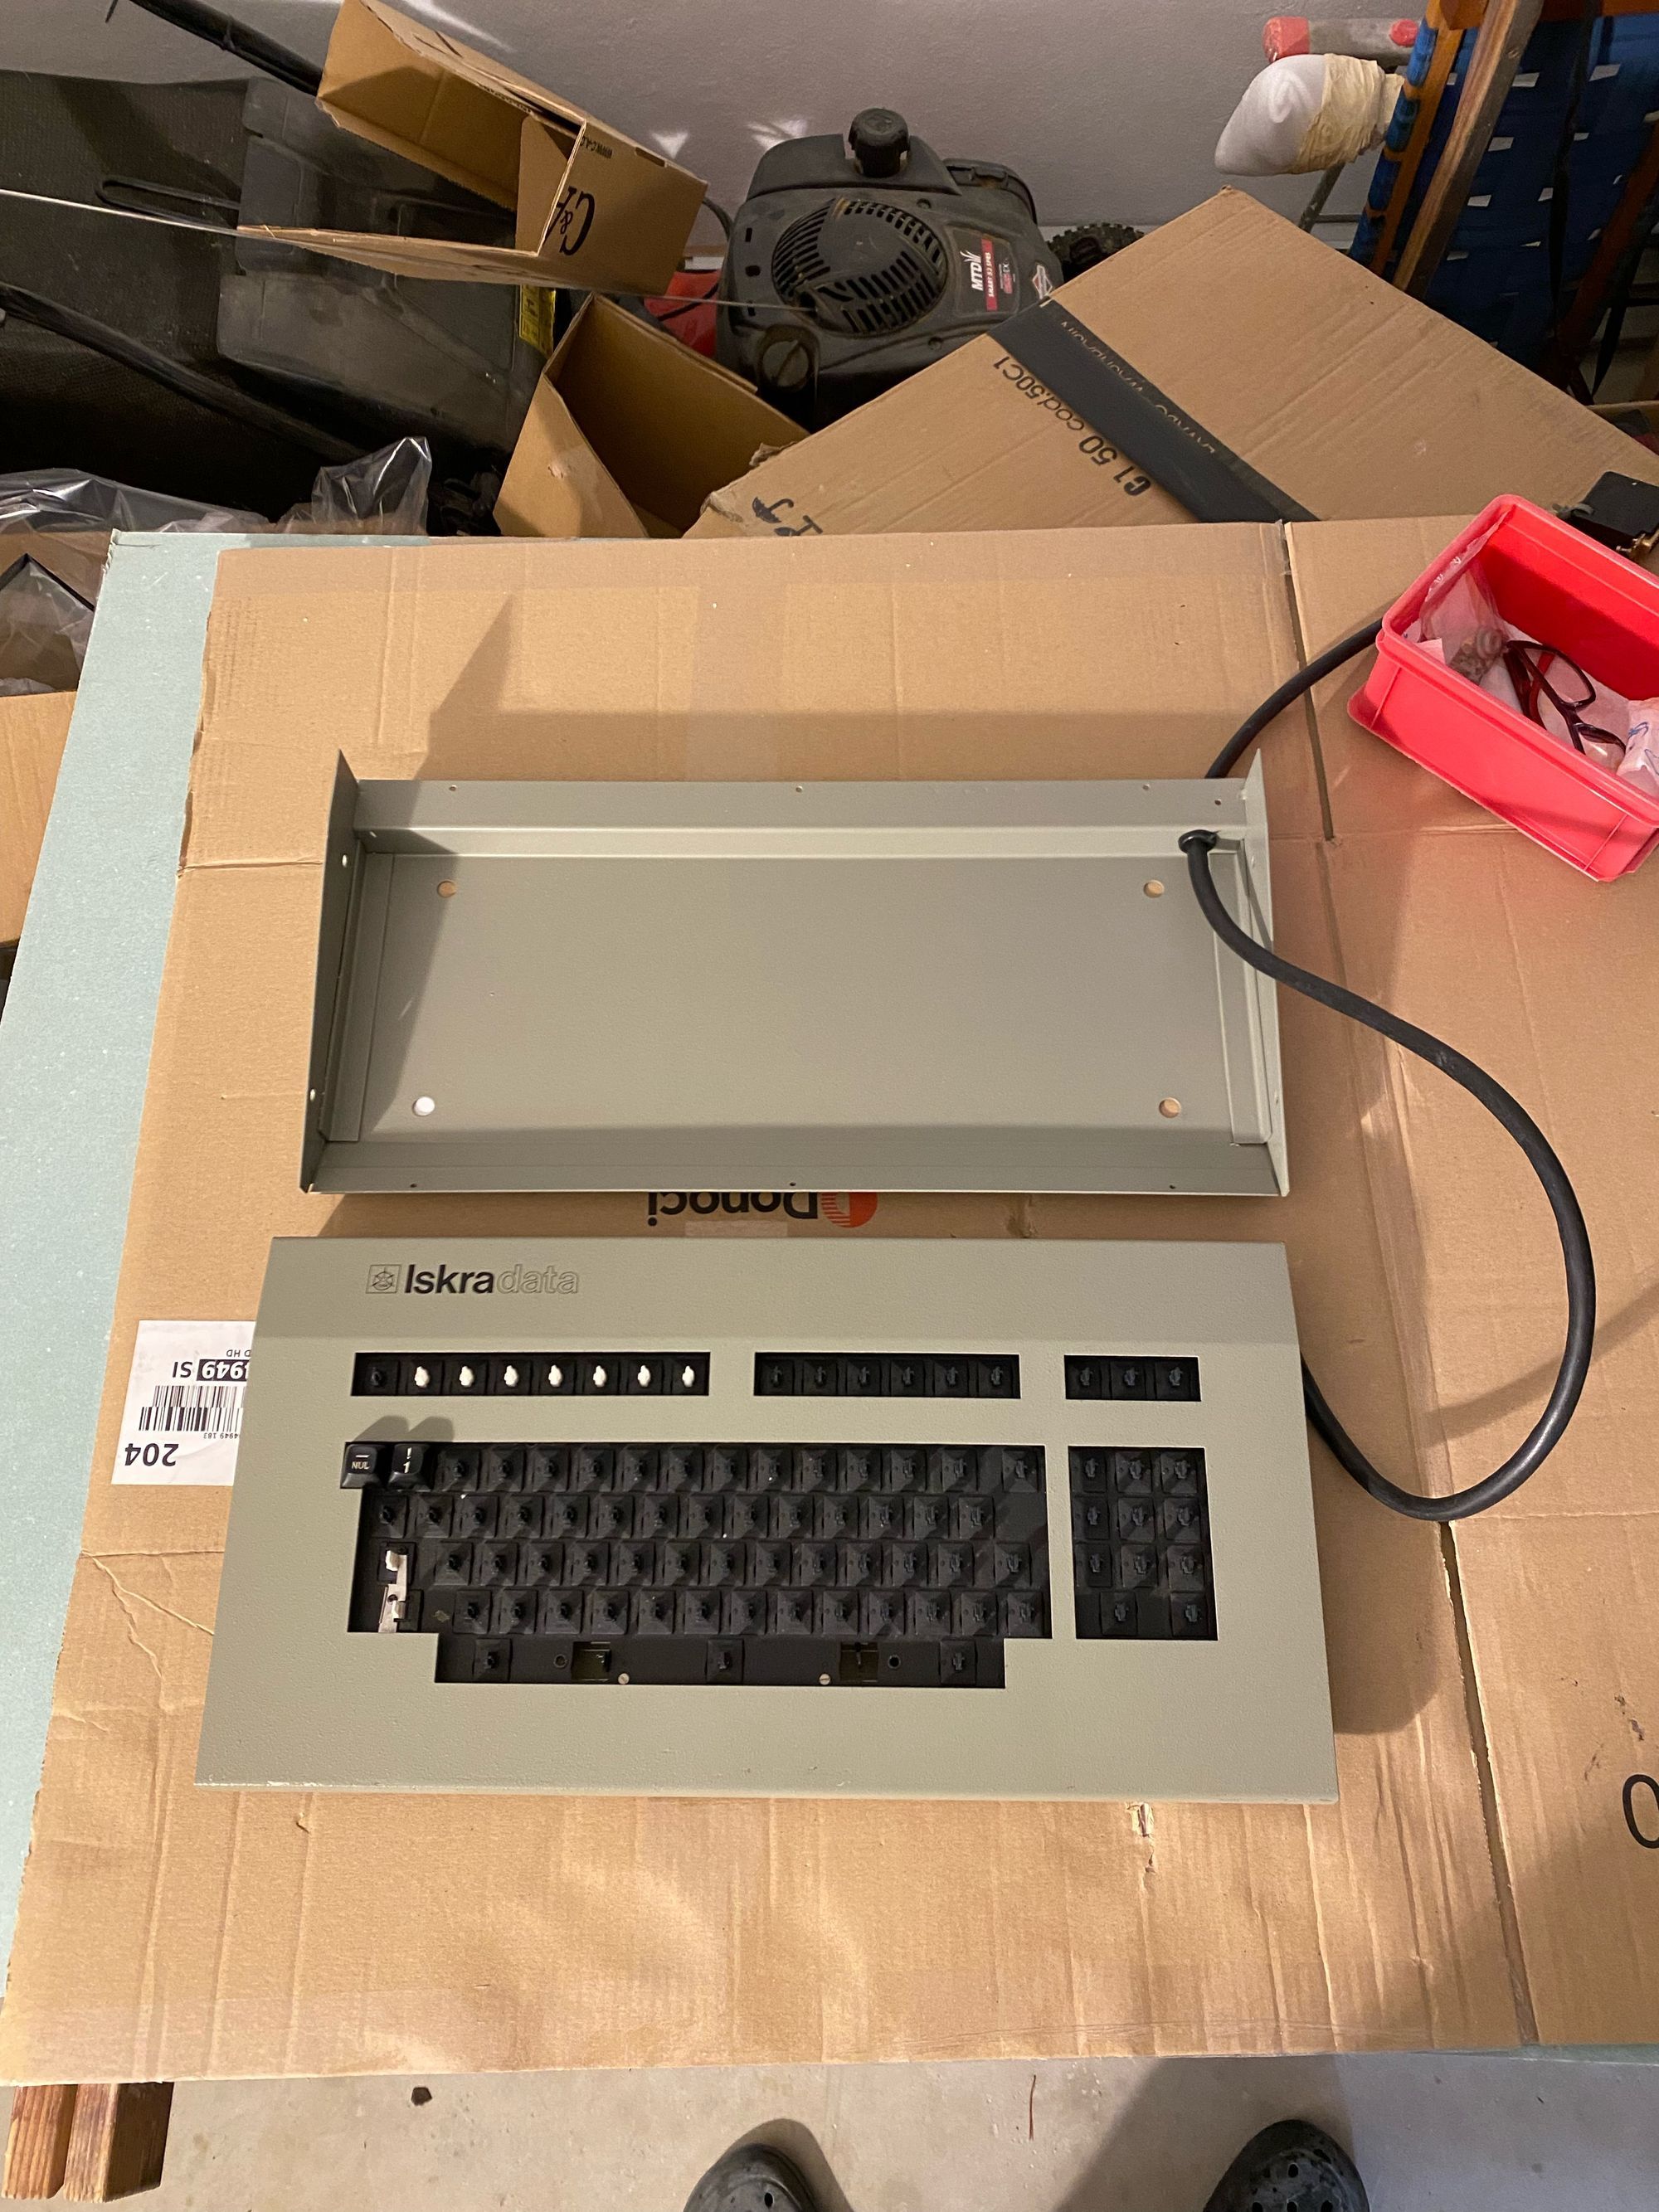
Next, we soaked the upper case in a rust removal solution for about 8 hours. The result was amazing, as the case came out looking as good as new. We took extra care not to soak the printed logo, just to be on the safe side.
Polishing the Sides
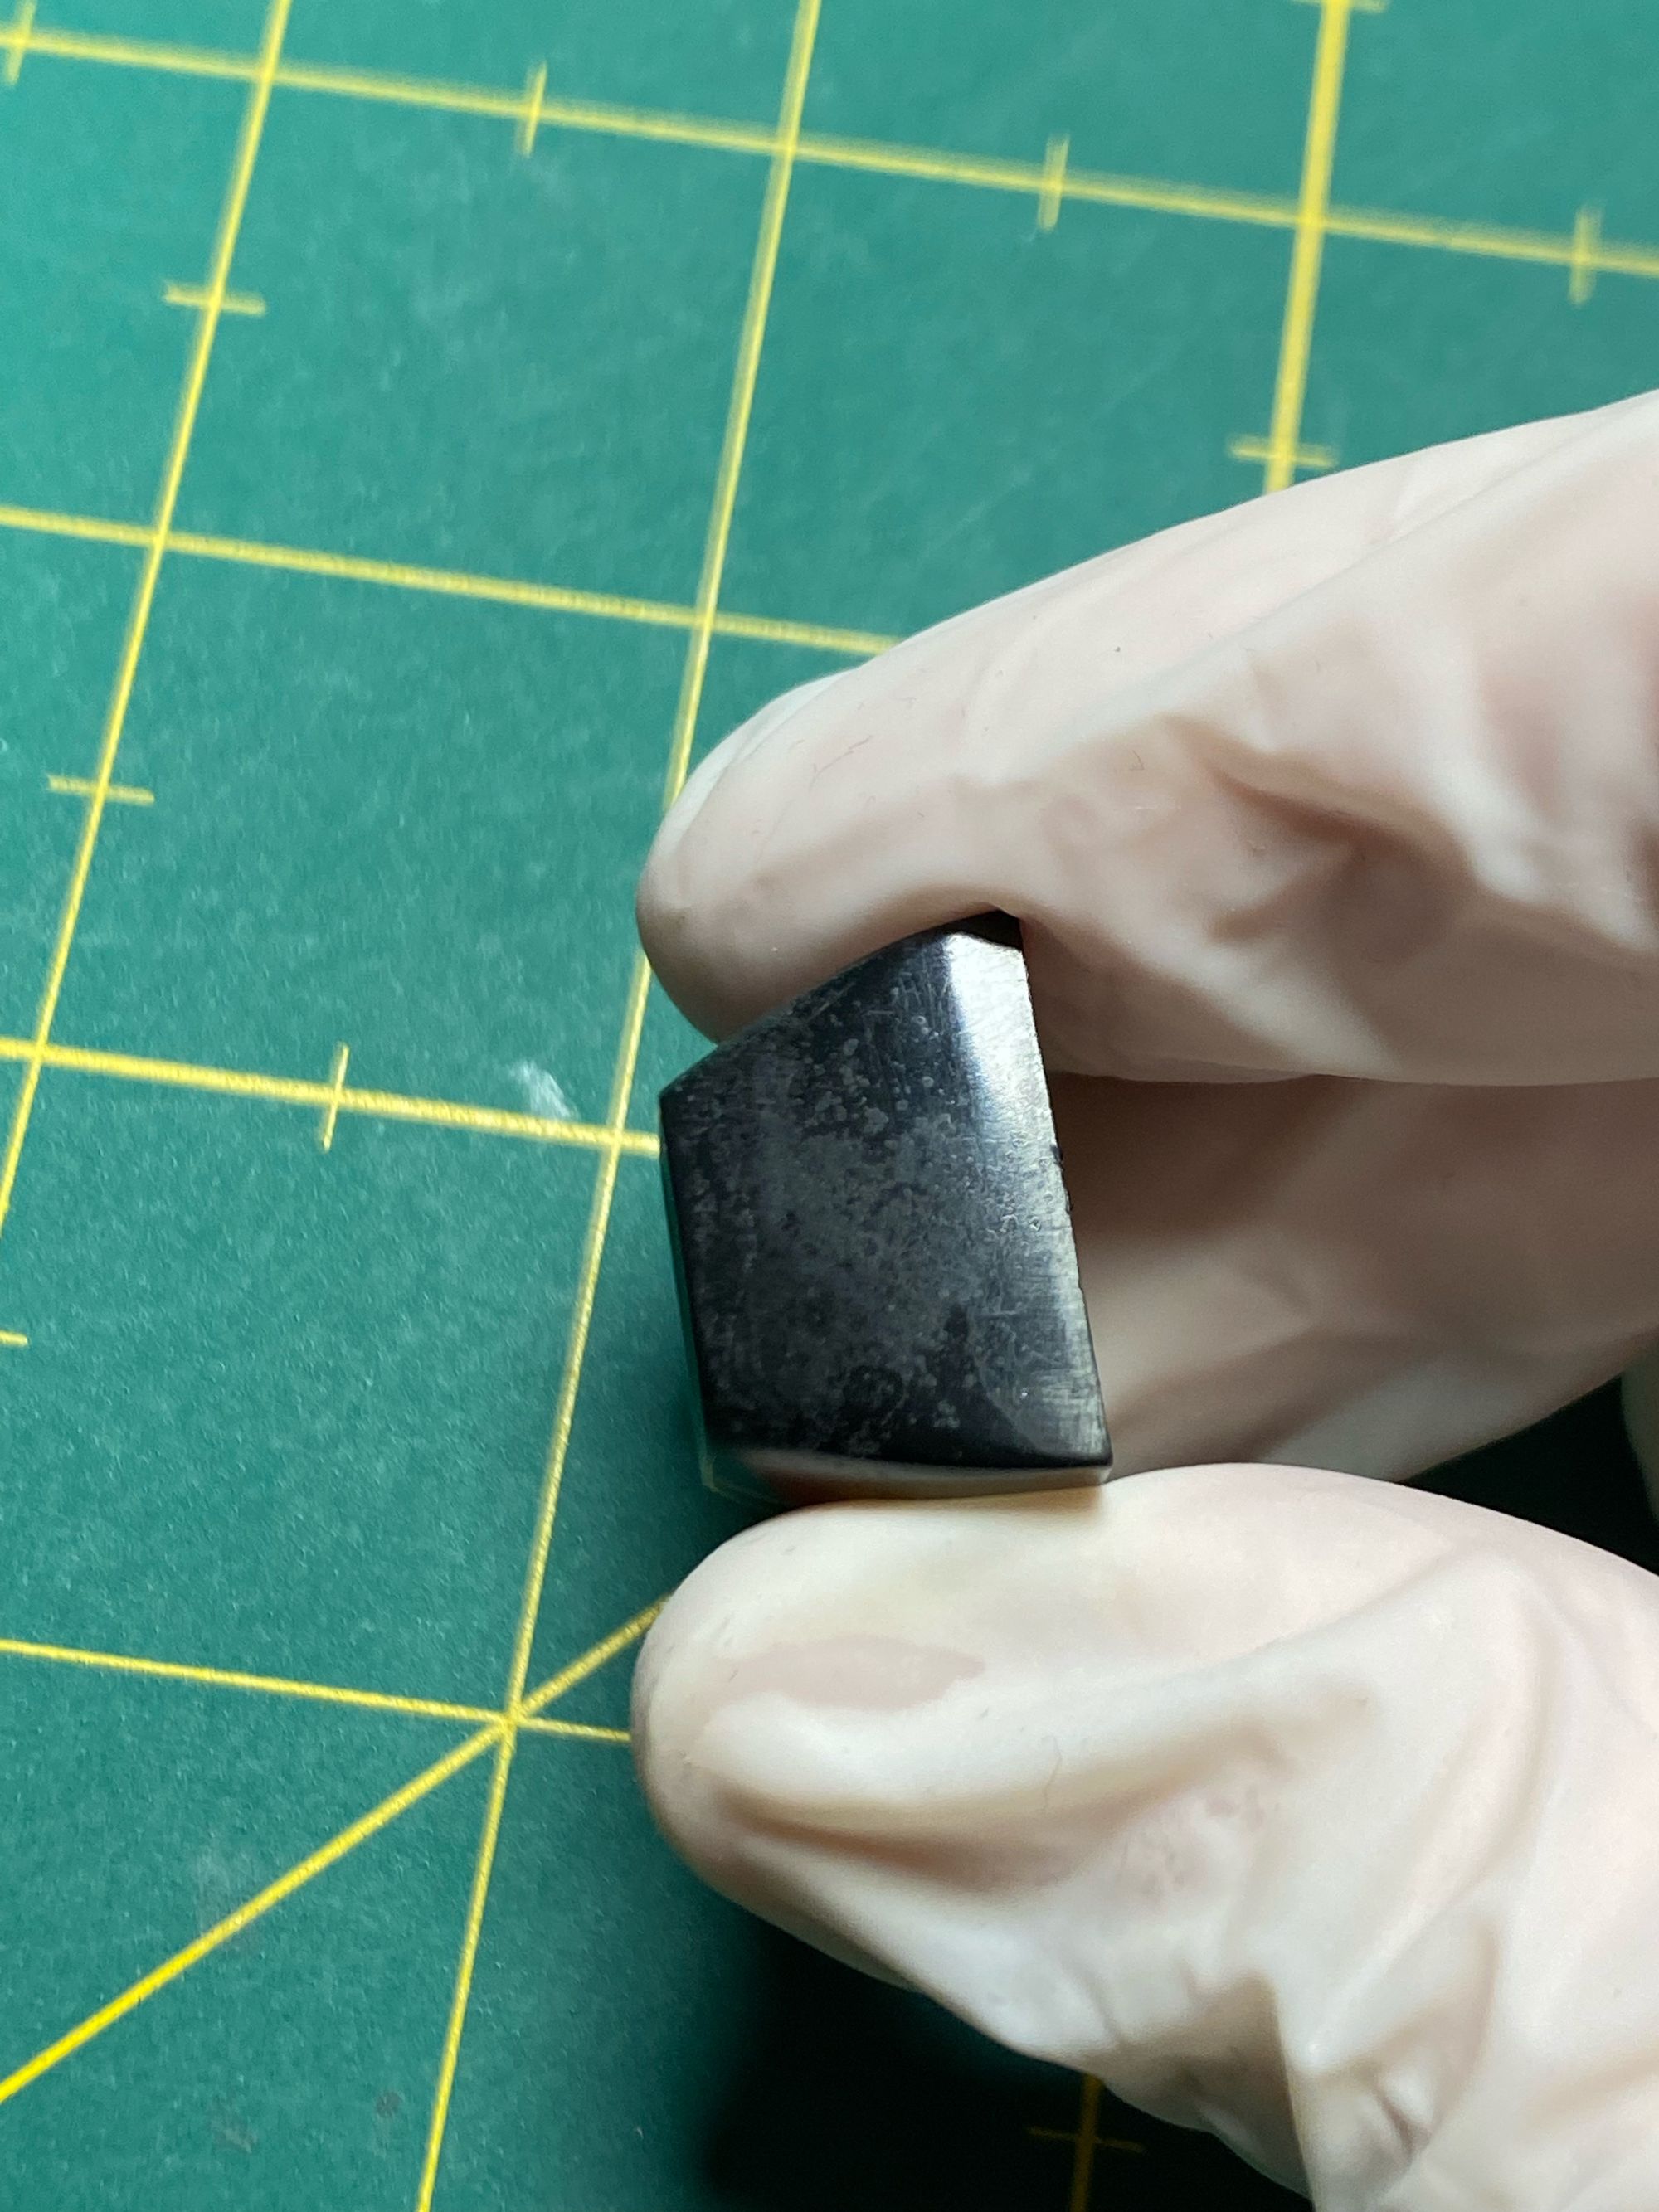
We polished the aluminum sides of my keyboard gently to preserve its brushed finish. We first cleaned the surface with a mixture of dish soap and water, then used a soft cloth and metal polish paste, rubbing gently along the brush lines. We wiped off any excess paste.

Fixing the Shift-Lock Mechanism
One of the challenges we faced was fixing the shift-lock mechanism. By pushing (bending) the spring inwards, we were able to make the lock mechanism work, and by adding a narrow plastic sticker to the key switch, we fixed the release key.
Fixing and Cleaning the Cable
The next step was to fix and clean the cable. We reassembled the connector and cleaned the cable with dish soap. We also applied some plastic restorer to make it look like new.

Cleaning the Keycaps
Lastly, we wiped only the sides of the keycaps with Isopropyl and treated the entire keycaps with a plastic restorer. This not only removed any remaining dirt and grime, but it also helped to restore the shine to the keycaps.
Putting It All Back Together
With all the components clean and in working order, it was time to put everything back together. The process was straightforward, and before we knew it, the keyboard was fully assembled.
Showing Off the End Results
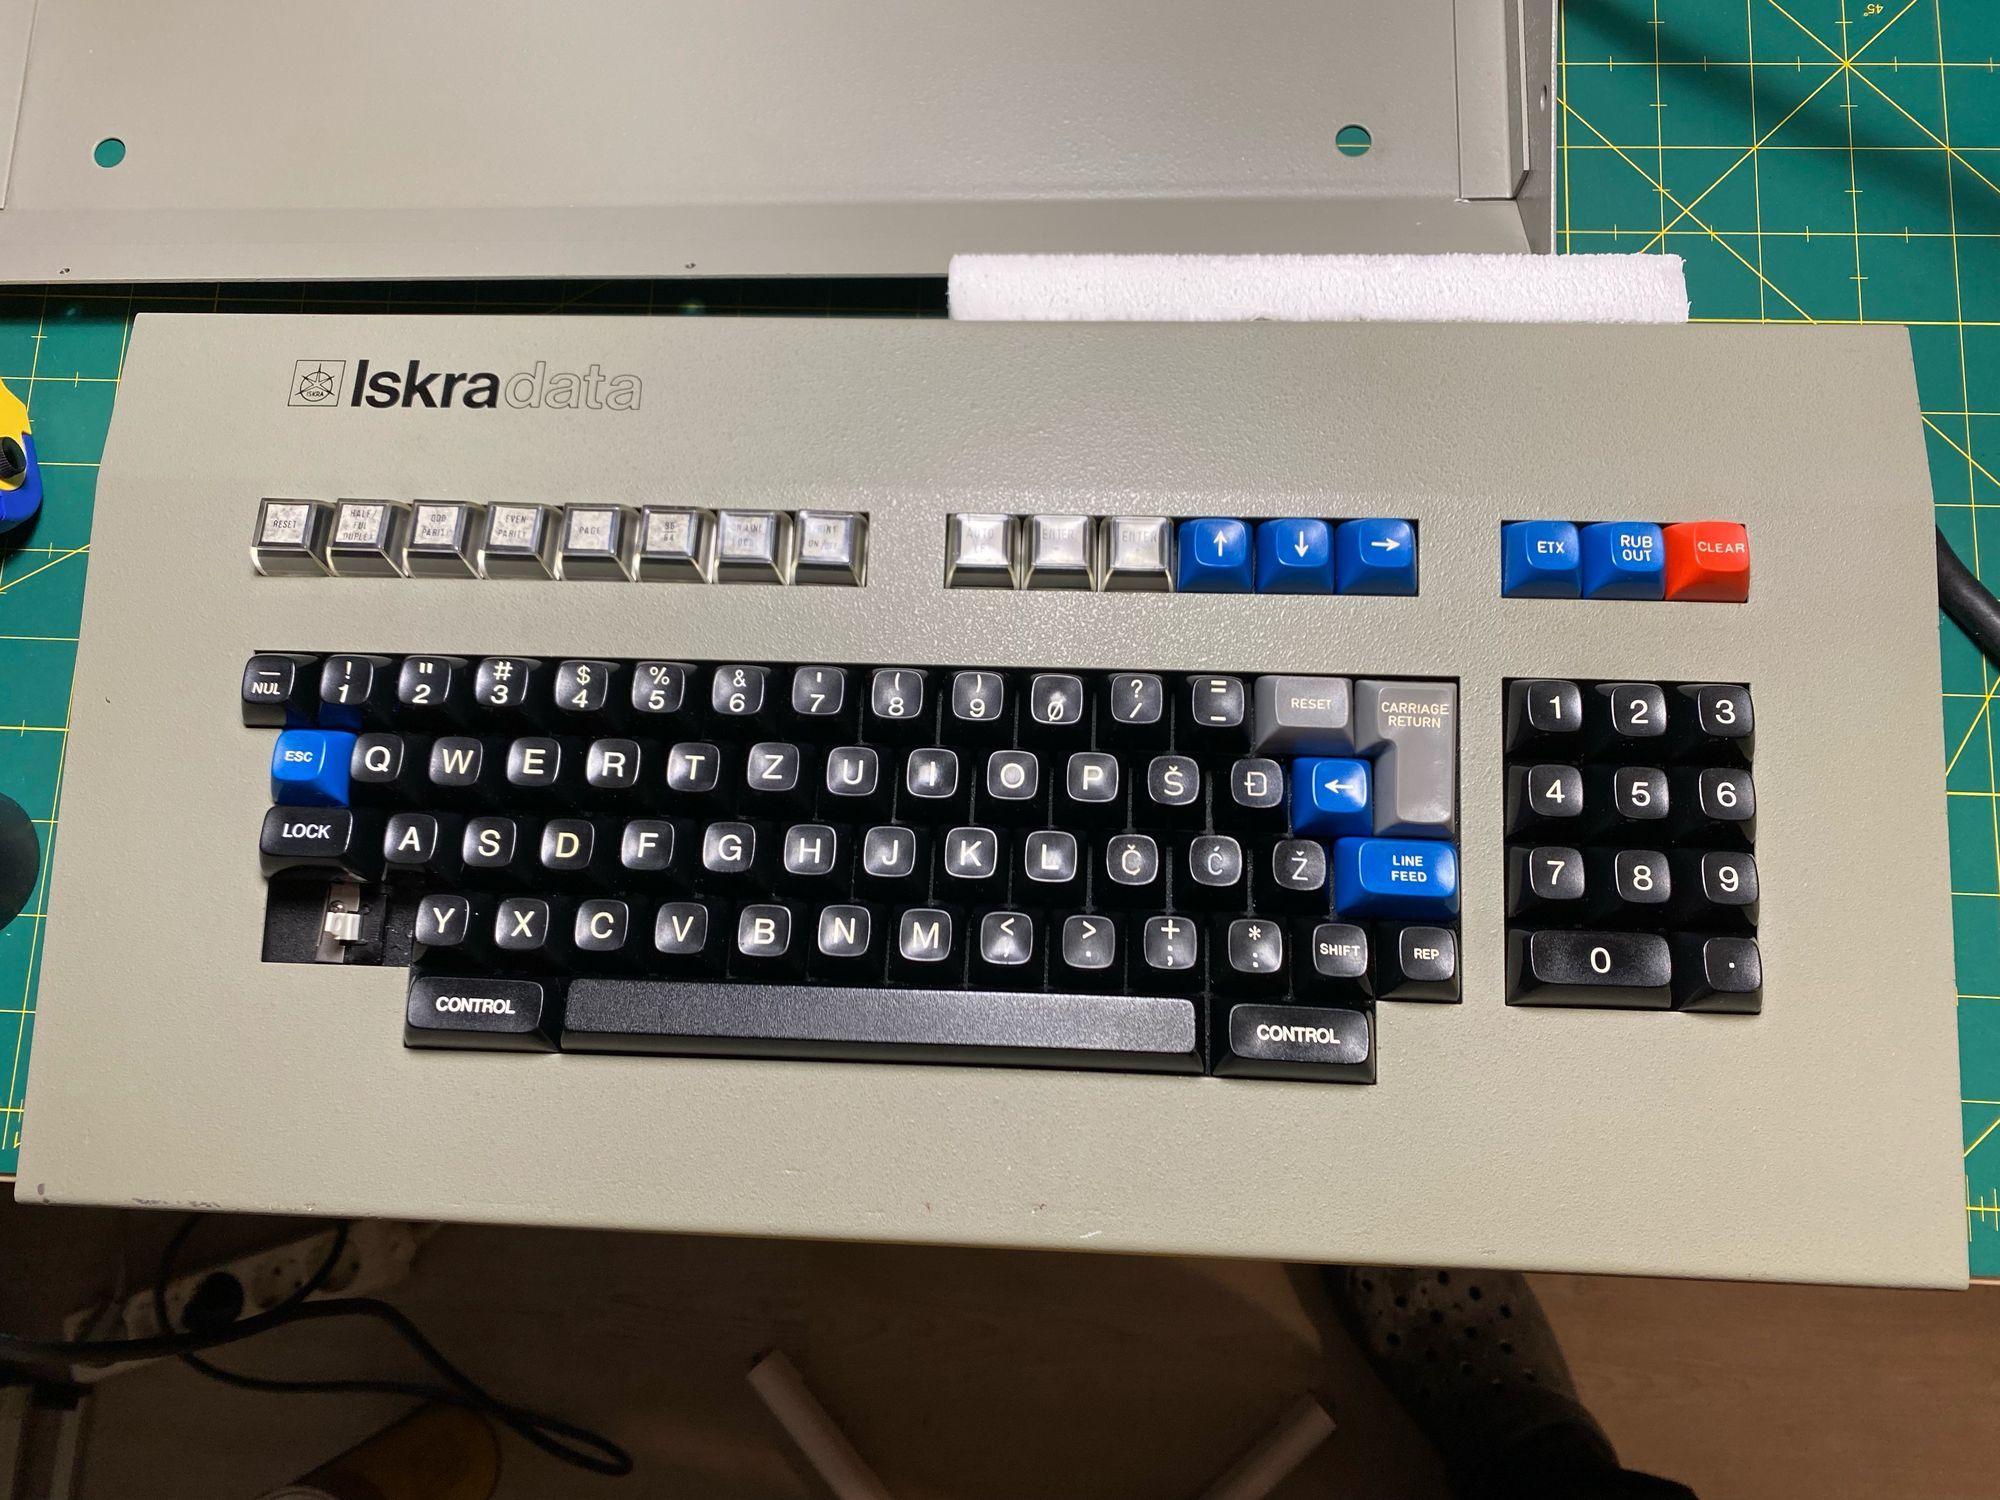
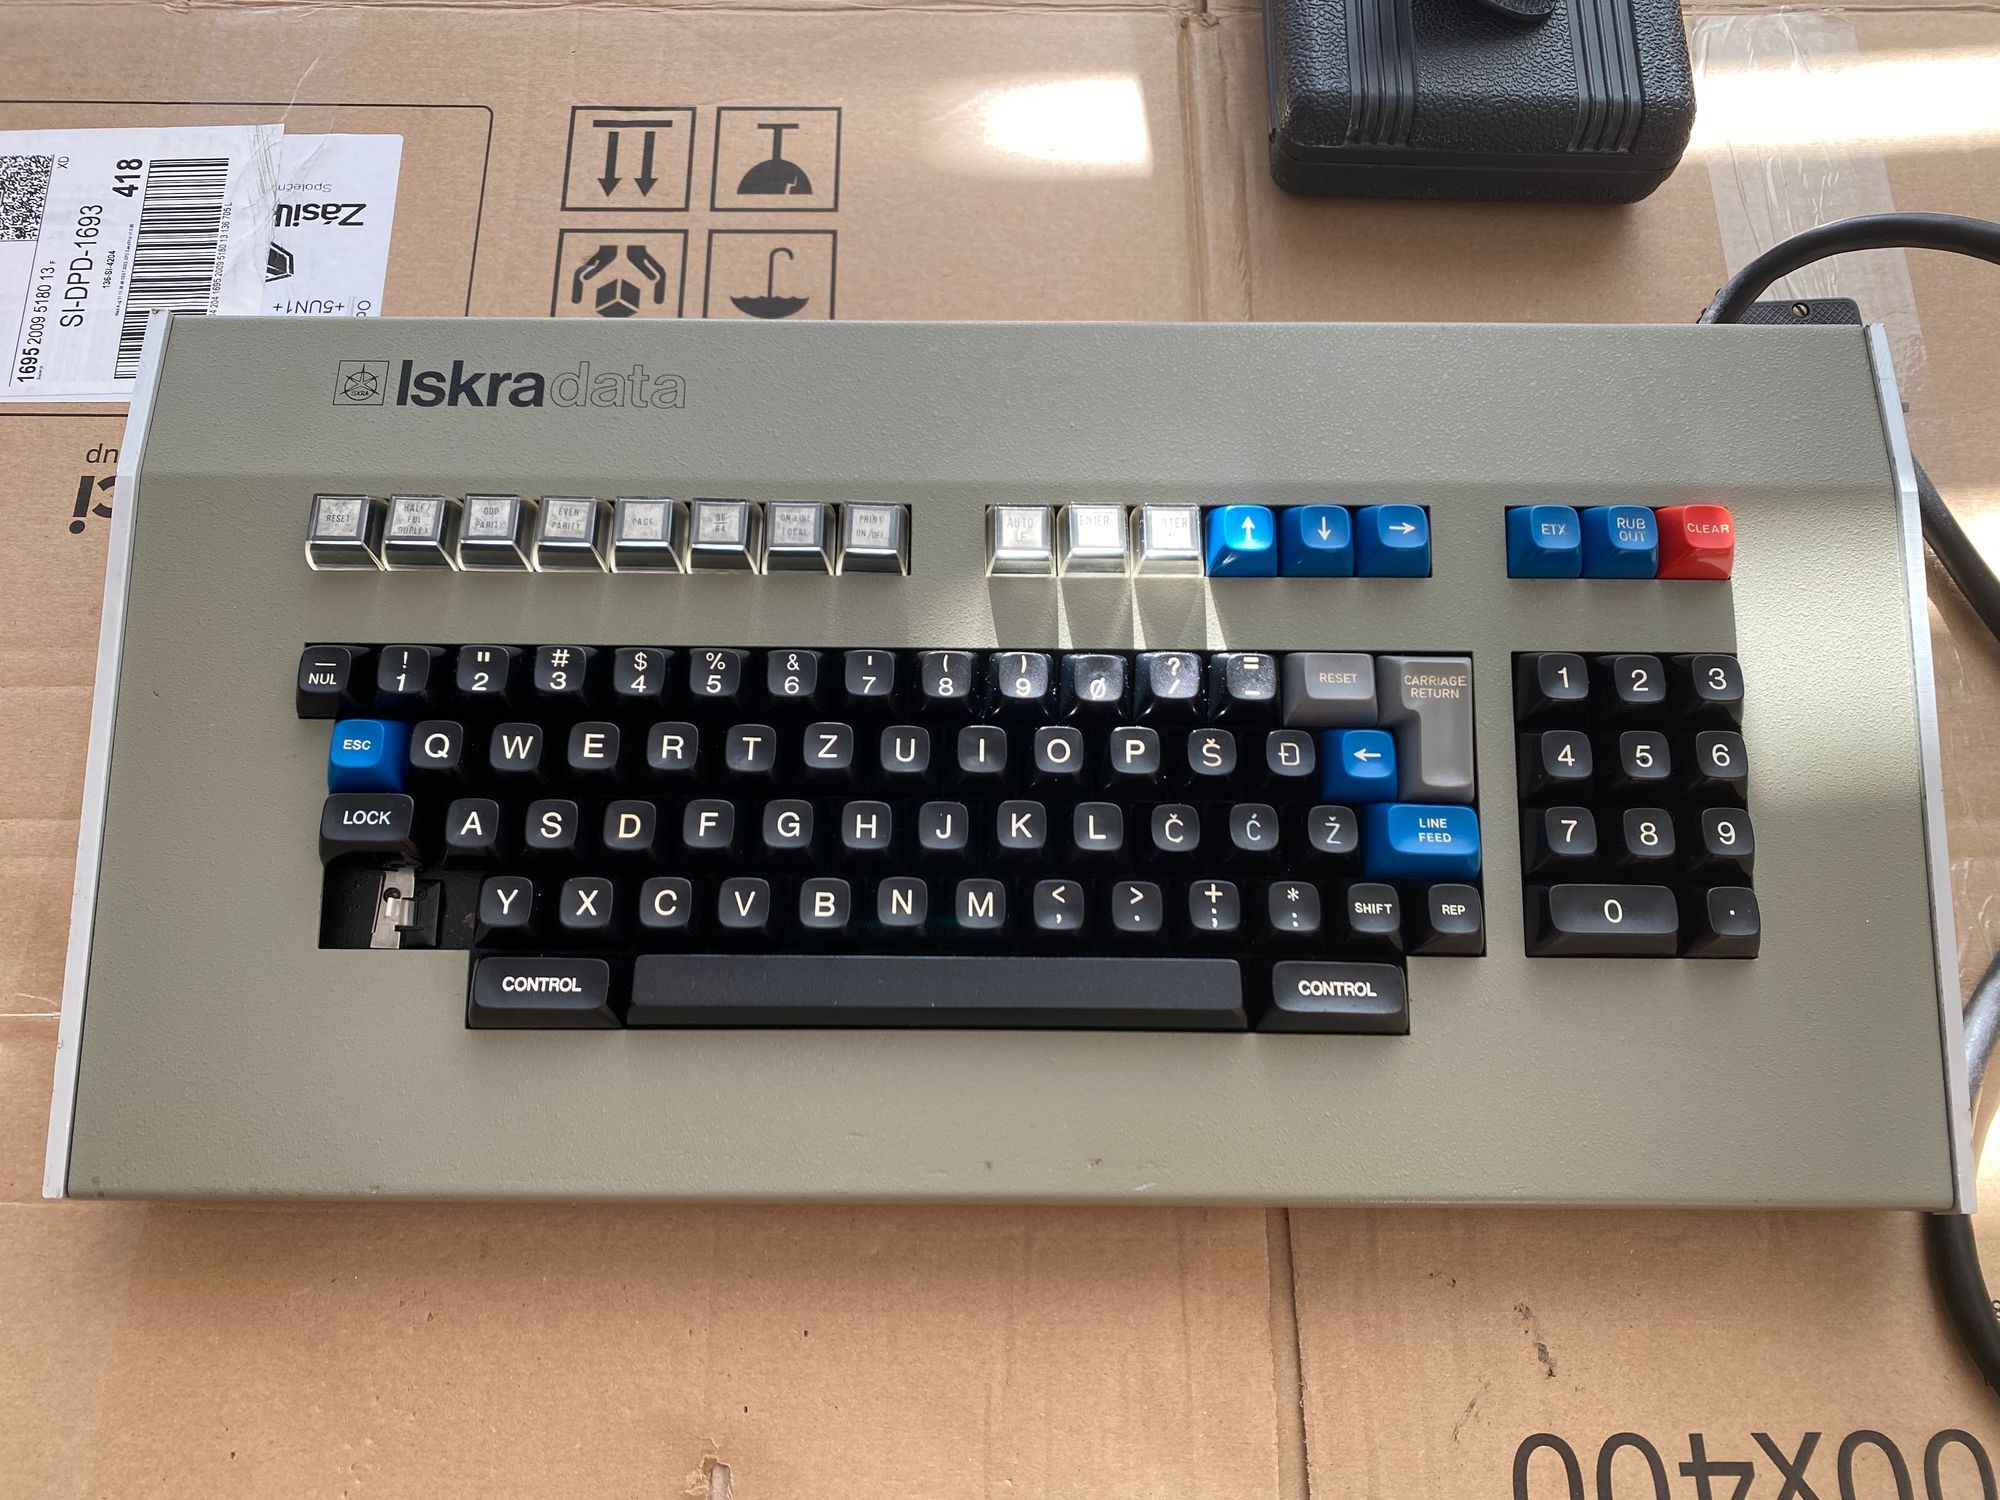
The end result was nothing short of amazing. The keyboard looked like it had just come off the assembly line, with a clean, rust-free case and shiny keys. We were amazed at how well the restoration turned out, and we couldn't be happier with the results.
To Be Continued...
Restoring this vintage Iskradata keyboard was a rewarding experience. It was our first time using rust remover and metal polish and we were pleased with the results. Moving forward, we are excited to tackle the next restoration project, the corresponding Iskradata terminal. Thank you for following along on this journey and we hope to share more restoration adventures in the future.